Feeds:
Posts
Comments

Posts Tagged ‘home care’

IMG_7139


Ever since I came to Hong Kong, I didn’t have the luxury to visit Mosche Hair Salon back home (Singapore) as often as I would love to to maintain my locks. So I had to find DIY home-care kits to give my hair the much needed moisture boost every month especially with the constant heat styling done to my hair due to my job nature. This is my to-go-to “steamer” for my hair that does wonders and gives me that same salon quality treatment, leaving my hair soft, filled with moisture and luscious! This simple kit consists of only the heater cap and a matching coloured fabric shower cap. Safe and easy to use. I’ll use this together with facial masks when I’m watching my favourite dramas in the evening after a shower.

IMG_6897

Here’s how to use it:

Step 1

Wash your hair with a scalp cleansing/anti-pollution shampoo. I use Rene Furterer Forticea for a cleaner scalp and prevent thinning hair.Rene-Furterer-Forticia_Shampoo-2_zps6080ff4f

Rinse off shampoo and apply a light layer of conditioner (just to be able to comb through the wet hair more easily to apply treatment).  Rinse conditioner off. Towel dry.

Step 2

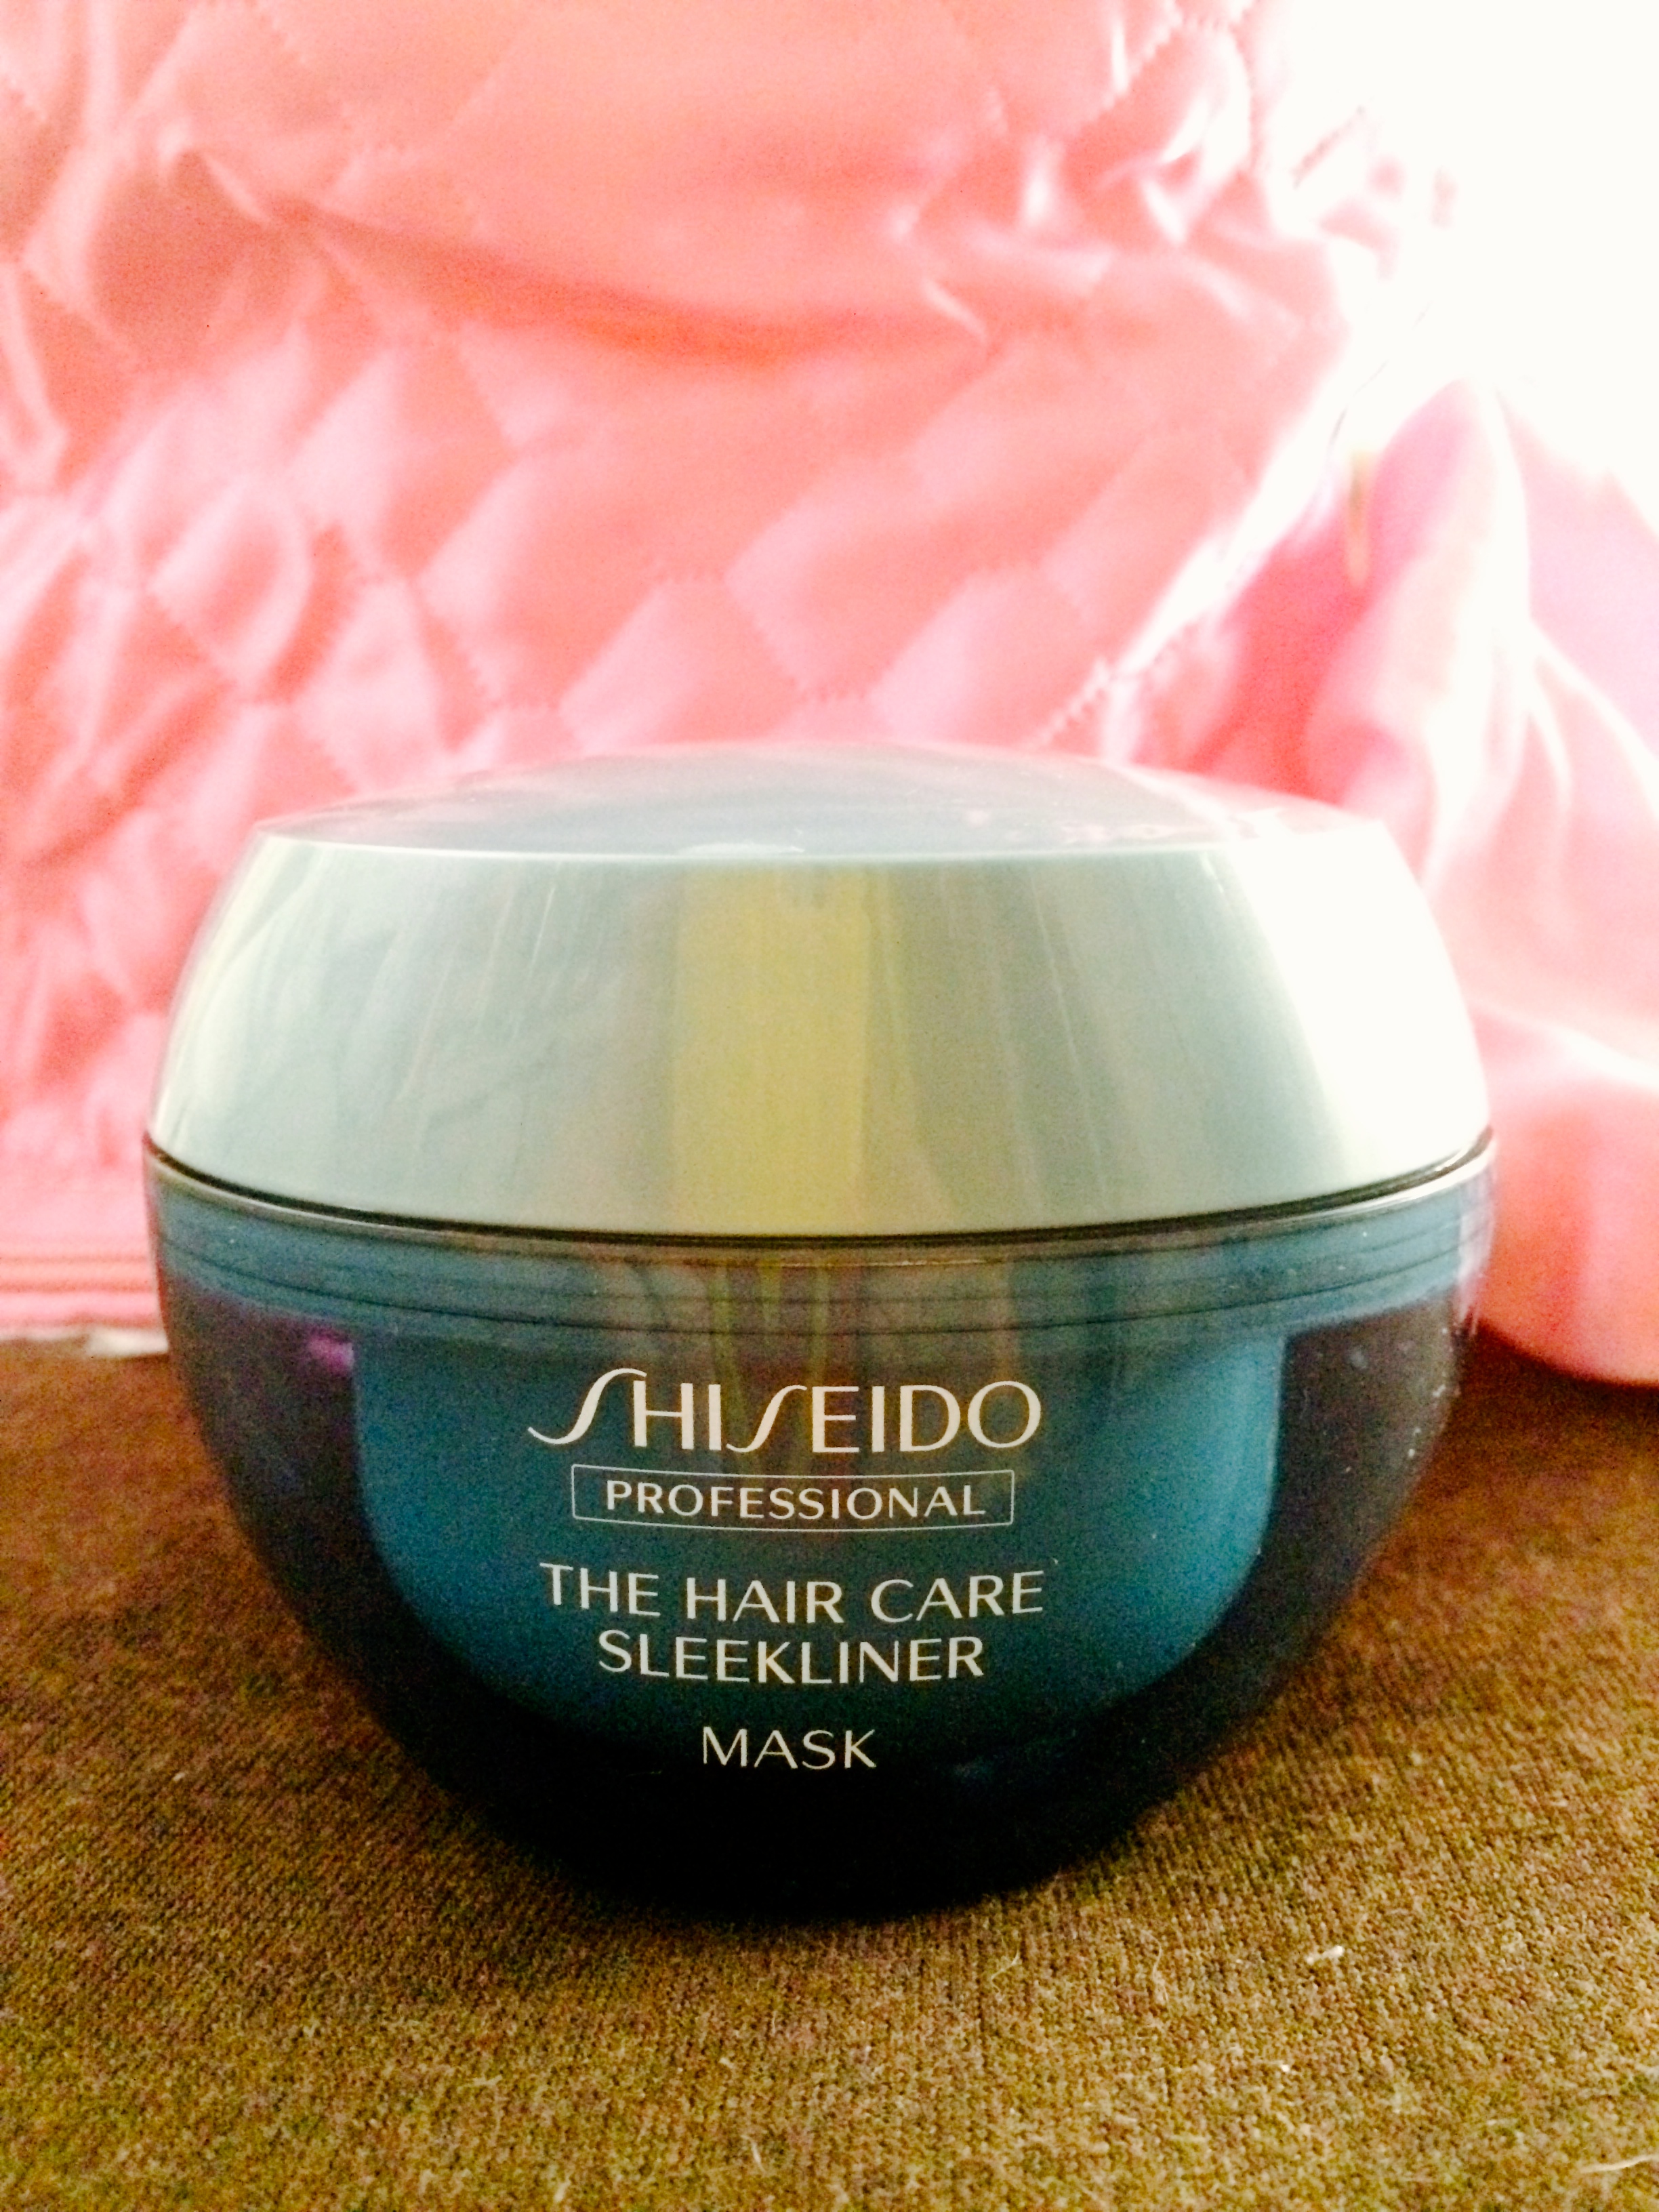
Apply any good hair treatment onto your towel dried hair. I am using Shiseido Professional Sleekliner Hair Mask currently.

IMG_7140Comb in the hair mask throughout your hair and avoid your scalp area. I would emphasise more on the ends as its usually a lot more dry and prone to breakage in my case.

IMG_7142Step 3

After hair mask/treatment is throughly applied throughout, twist your hair up into a bun for those with long hair and place the fabric shower cap over as such.IMG_7146

Step 4

Now place the heater cap over the shower cap. Avoiding your ears. And flick the switch on (lights will light up). Simple. Leave it on for about 20 minutes. IMG_6895The heating coil in the hear cap will slowly heat up. With water left behind in your towel-dried hair together with the hair mask, steam will form inside the hair mask enabling the hair mask to better work its magic on your hair.

Step 5

After 20 minutes, switch off the heating cap. Remove it and rinse out your hair with cold water. Cold water will help close up your hair follicles and trap in the moisture absorbed from the mask. And you are set to blow dry your newly revitalised hair!

This DIY kit saves a lot of time and money as I can use it as and when I want to even at 3am in the morning. Great for people who hates visiting the salon and sitting there for hours to get your hair done!

This hair steamer cap can be found in various online stores and costs between USD$10-15 depending on stores. Girls… time to hunt it down!

Happy Mid-Autumn festival everyone!

XOXO

Jessica


Read Full Post »

IMG_9302

Ever since winning the award of Best Smile for the New Paper New Face modelling competition, I have always been really particular about how white my teeth are and how I need to keep them plaque-free so no cavities will come bother me. (Also, hate visiting the dentist! So I invest more in home-care) So when a friend of mine introduced to me this Philips Sonicare toothbrush back in 2007  I got hooked! It was back in 2007 when I joined Miss Singapore Universe competition so natually I was a lot more conscious about my smile, my looks, my hair, my body etc as I was going to appear on live TV to compete. So buying this toothbrush was a no brainer. I did feel the immediate results of using Sonicare – my teeth felt smooth and plaque-free without any bits of food stuck in-between the gaps of my teeth! I became a FAN instantly! You know how when you use a manual toothbrush and you still feel like you have missed a spot after brushing? You never get it with Sonicare! Well… as the saying goes, “once you go Sonicare, you won’t turn back!”

Since then, I’ve been using Sonicare (and Sonicare lasts you a good 3-5 years depending on how well you maintain the toothbrush). I was using their Healthy White model and recently, I decided to give their top of the line model a try – Diamond Clean.

IMG_2390 IMG_2391

This model has 5 different modes – Clean, White, Polish, Gum Care & Sensitive – compared to the more basic model that I was using which only had Clean, Sensitive & Clean and White. I’ve been using the White mode for the past 2 weeks and so far loving it more and more. Found the sonic oscillations more vigorous yet still gentle on the gums and has a different rhythm compared to the regular Clean mode. And I actually feel my teeth looking a bit whiter (could be psychological but who cares! I AM more confident with my smile now!)

IMG_9370Sonicare is keeping it current for those tech-savvy peeps(which is practically everyone) by creating a USB charger built into the travel case for people like us who are always on the go! And you must also be wondering why the toothbrush packaging also came with a whiskey-like glass. That’s actually the charger and water glass for your daily use! How smart and sleek is that? With their toothbrush case updated in the design (the previous one from Healthy White was just a plain plastic white case), it’s nicer to carry it in you handbag or even slim enough to fit it into your clutch ladies! We can now brush your teeth at work, after lunch or in my case, before a photoshoot to ensure that perfect smile every time.

IMG_9185 IMG_9212Even my sweet little Mika is fond of it! *lol*

IMG_9262

As you all know that I am now living in Hong Kong, the apartments here are wayyyyyy smaller than those back home in Singapore. So compact is key! And it’s nice to see Diamond Clean fitting right in on my make-up table before I whisk it off for shoots in my bag without taking up too much space.

IMG_2386


So yeah… I am an extremely satisfied & loyal customer to Philips Sonicare and now with the Diamond Clean, I am definitely looking forward to even whiter and sparkly smiles for my photoshoots! Well good things don’t come cheap right as it has a heftier price-tag because it is the top of the line for Sonicare. (Guys, they have a more masculine Black edition) To me, it is absolutely money well spent!

IMG_9311

Retailing at HKD$1798 or SGD$319. Find it at most departmental stores like Robinsons, Sogo & Fortress etc.

Happy Easter & Happy smiles everyone!

XOXO

Jessica


Read Full Post »