Feeds:
Posts
Comments

Posts Tagged ‘DIY’


It’s about 2 months and counting to my big day and I have started to become a lot more hardworking with my home facials and nightly masks. 

Who doesn’t want to look like the most radiant and beautiful bride on your special day?

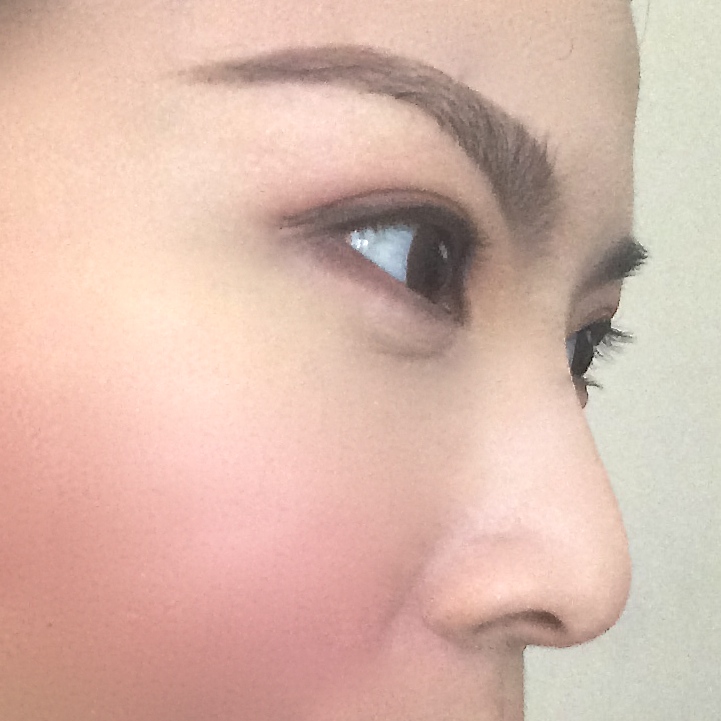
I was recently introduced to and began to  use Philips Visacare – a dual action air lift & exfoliation system – twice a week. Visacare is a skin resurfacing tool that helps remove dead skin cells, clear clogged pores, leaving you with a firmer and more radiant looking skin. Ever since I started on this home tool,  I’ve been addicted! It especially helps my problem clogged chin and nose areas rid of white heads. 

If you’re a daily user of make-up and sunblock. It is very important to do a deep cleansing of your skin to prevent clogged pores which includes adding microdermabrasion to your weekly routine. 

Here’s a video about the product review and how it works on ridding your skin of unwanted dead skin cells and clogged pores:

Philips Visacare

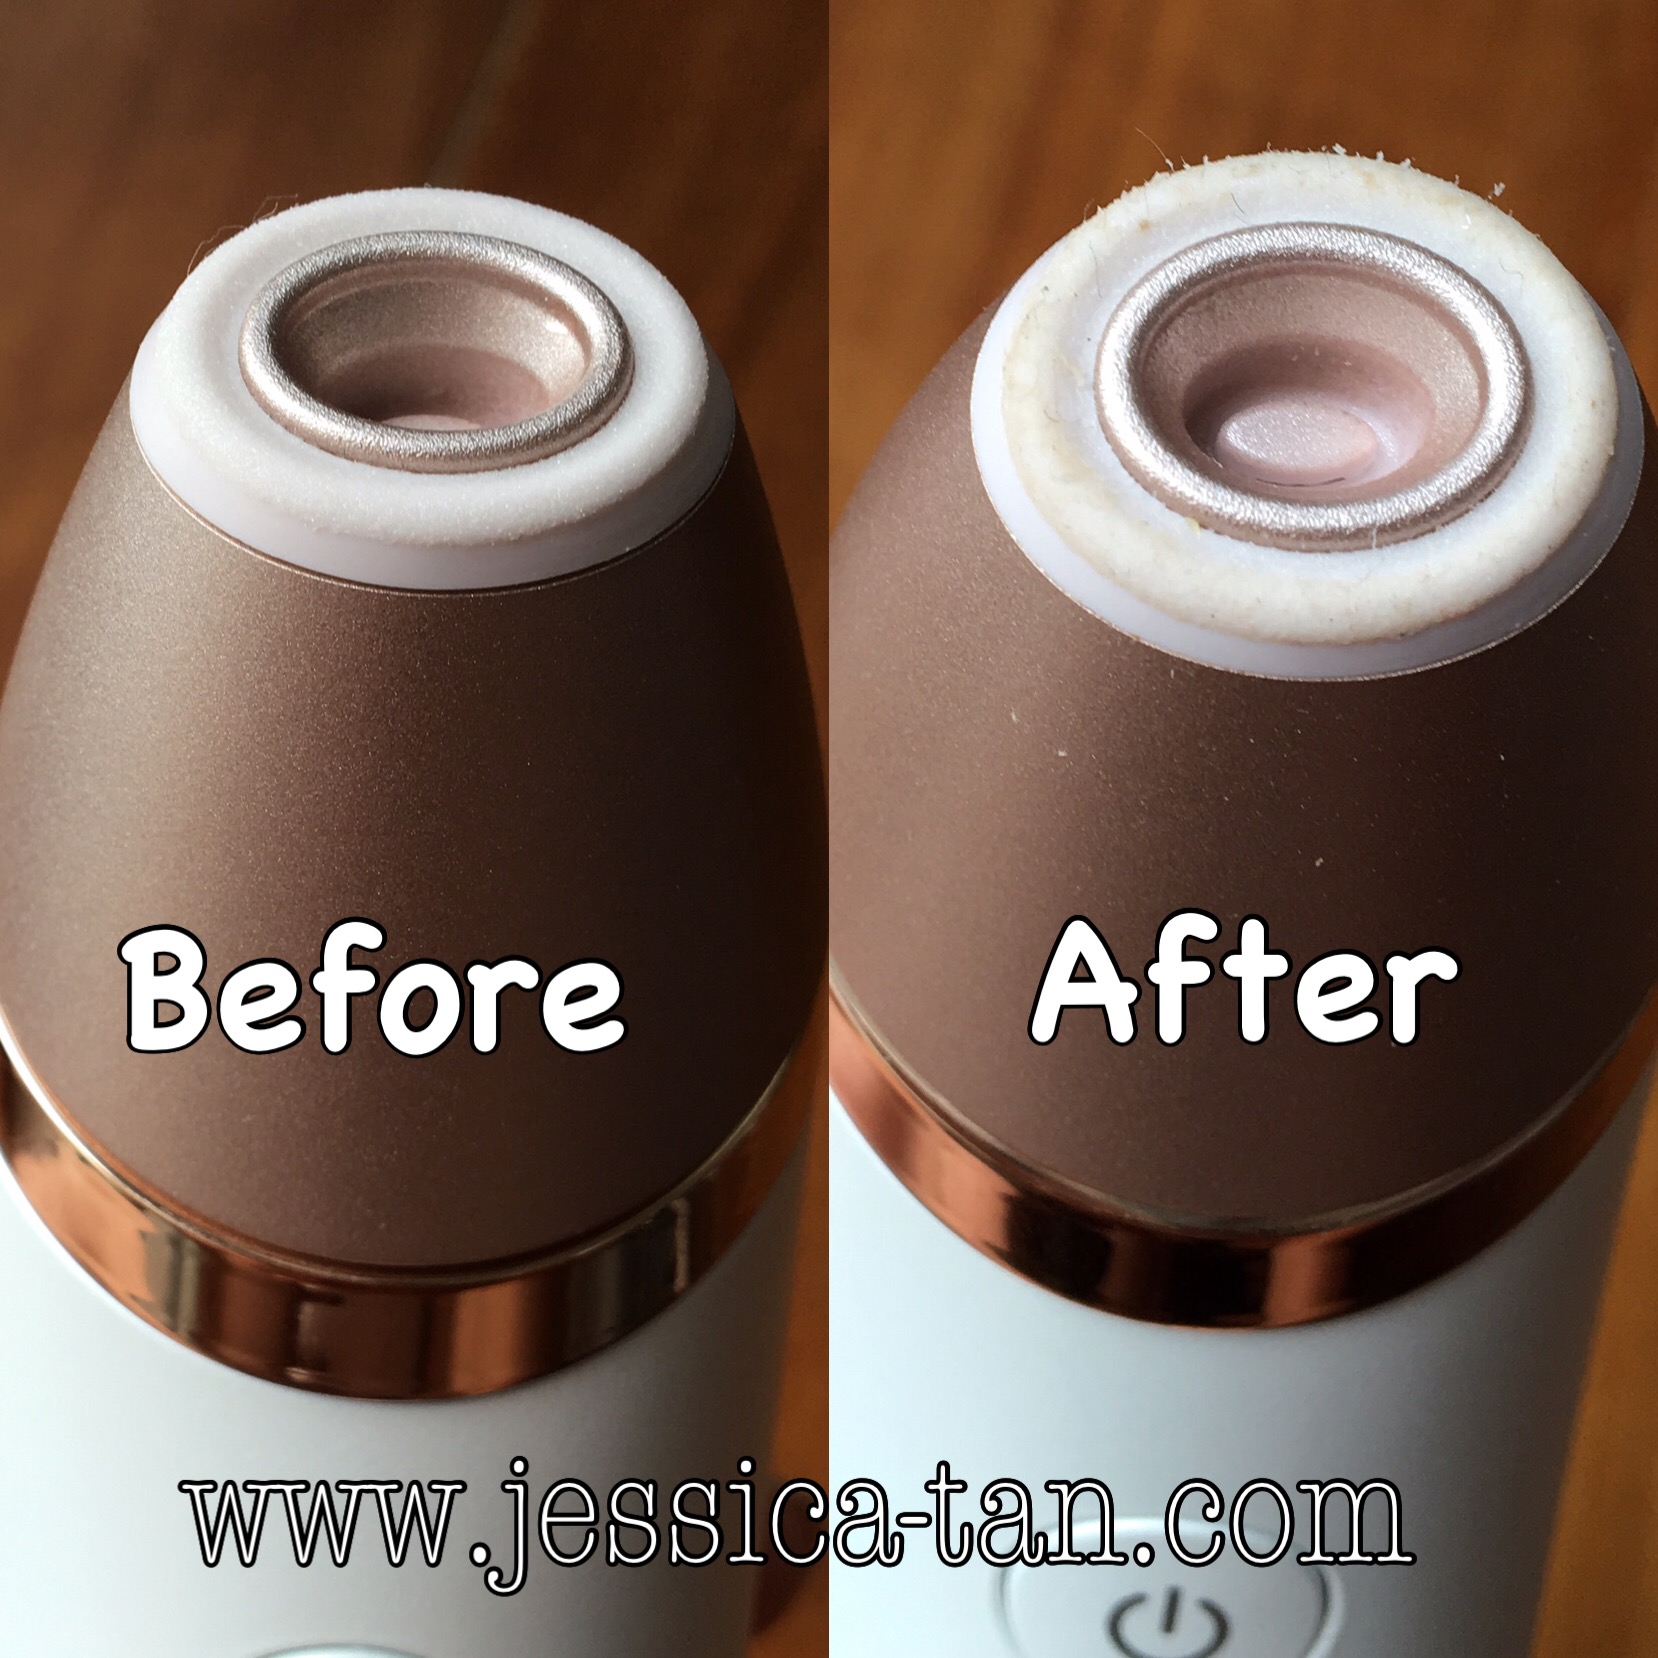
And after using the micro-dermabrasion device, I checked out the head of the tool and gleefully saw loads of dead skin cells and even some white heads sucked out of my face! (A grossly gratifying feeling) 


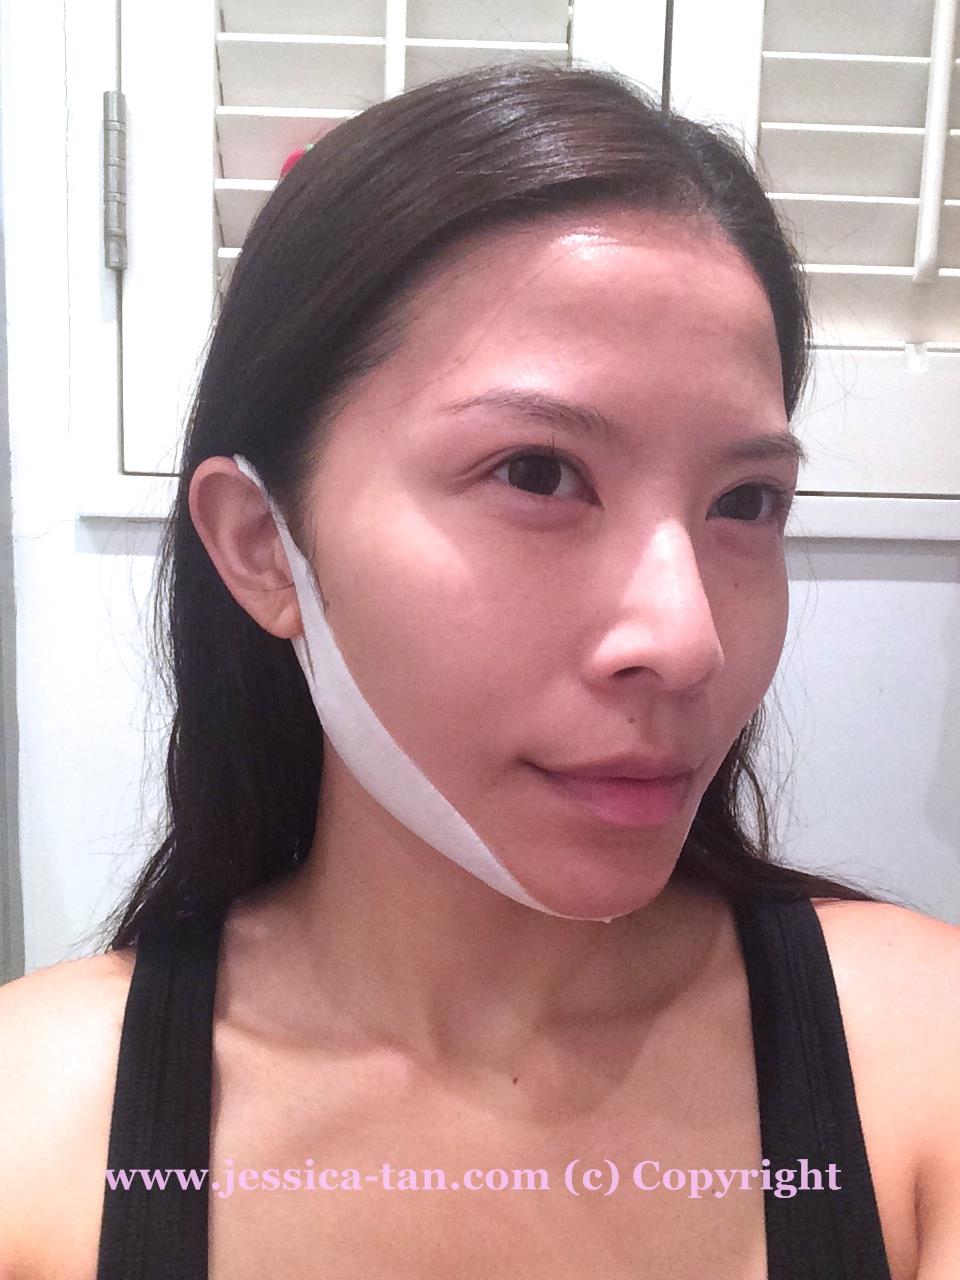
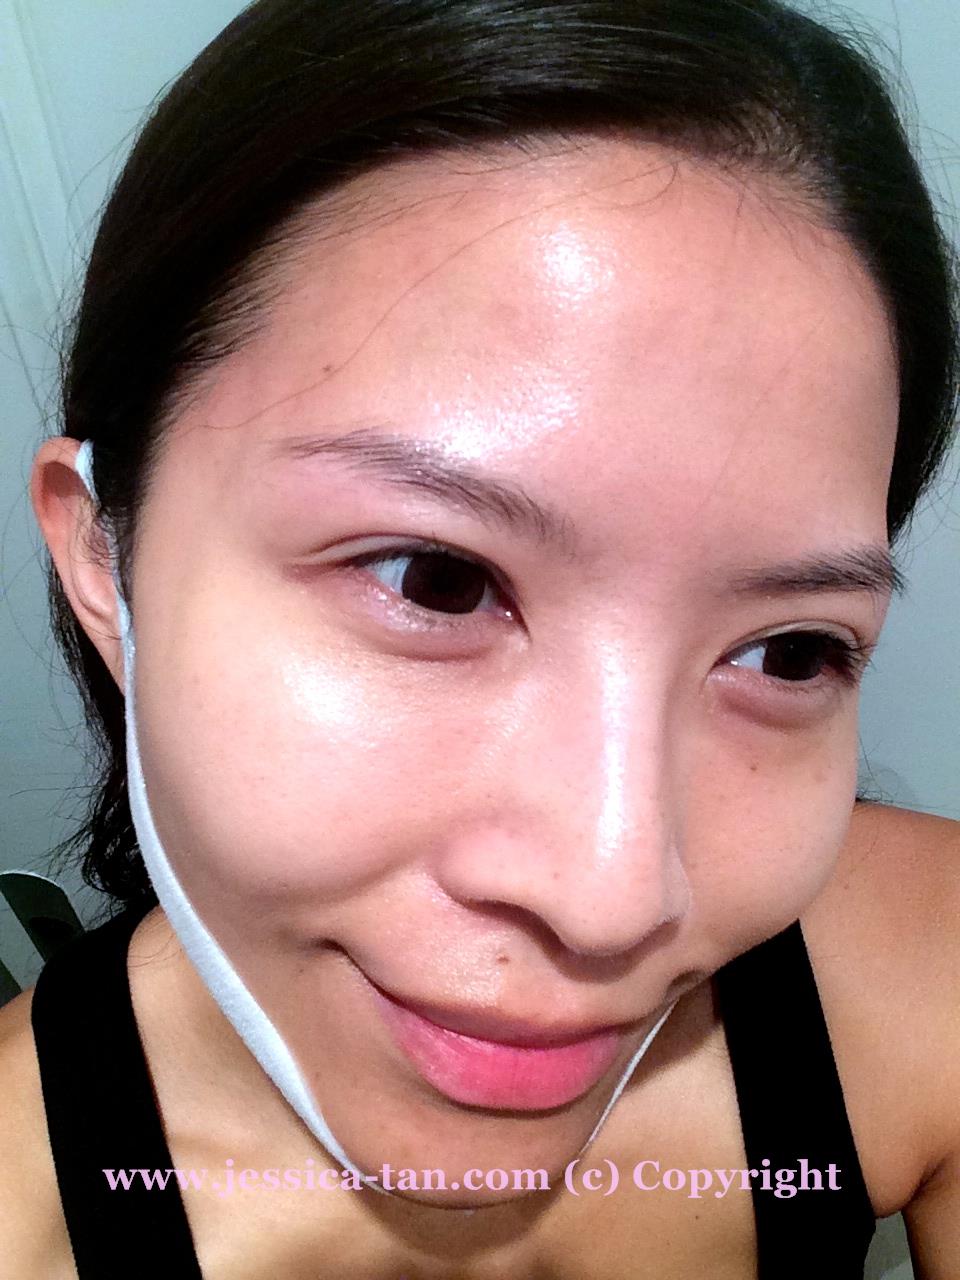
It is important to immediately use a facial mask after using Visacare as your skin is fresh and raw, so it will thirstily absorb all mask serums in an instant. Also this will aid in the formation of new and healthy youthful skin. Whilst my mask is on, I will also add an extra step of using Philips Visaboost to help enhance the absorption of the benefits of the facial mask. This tool can also be used daily with your moisturizers. 


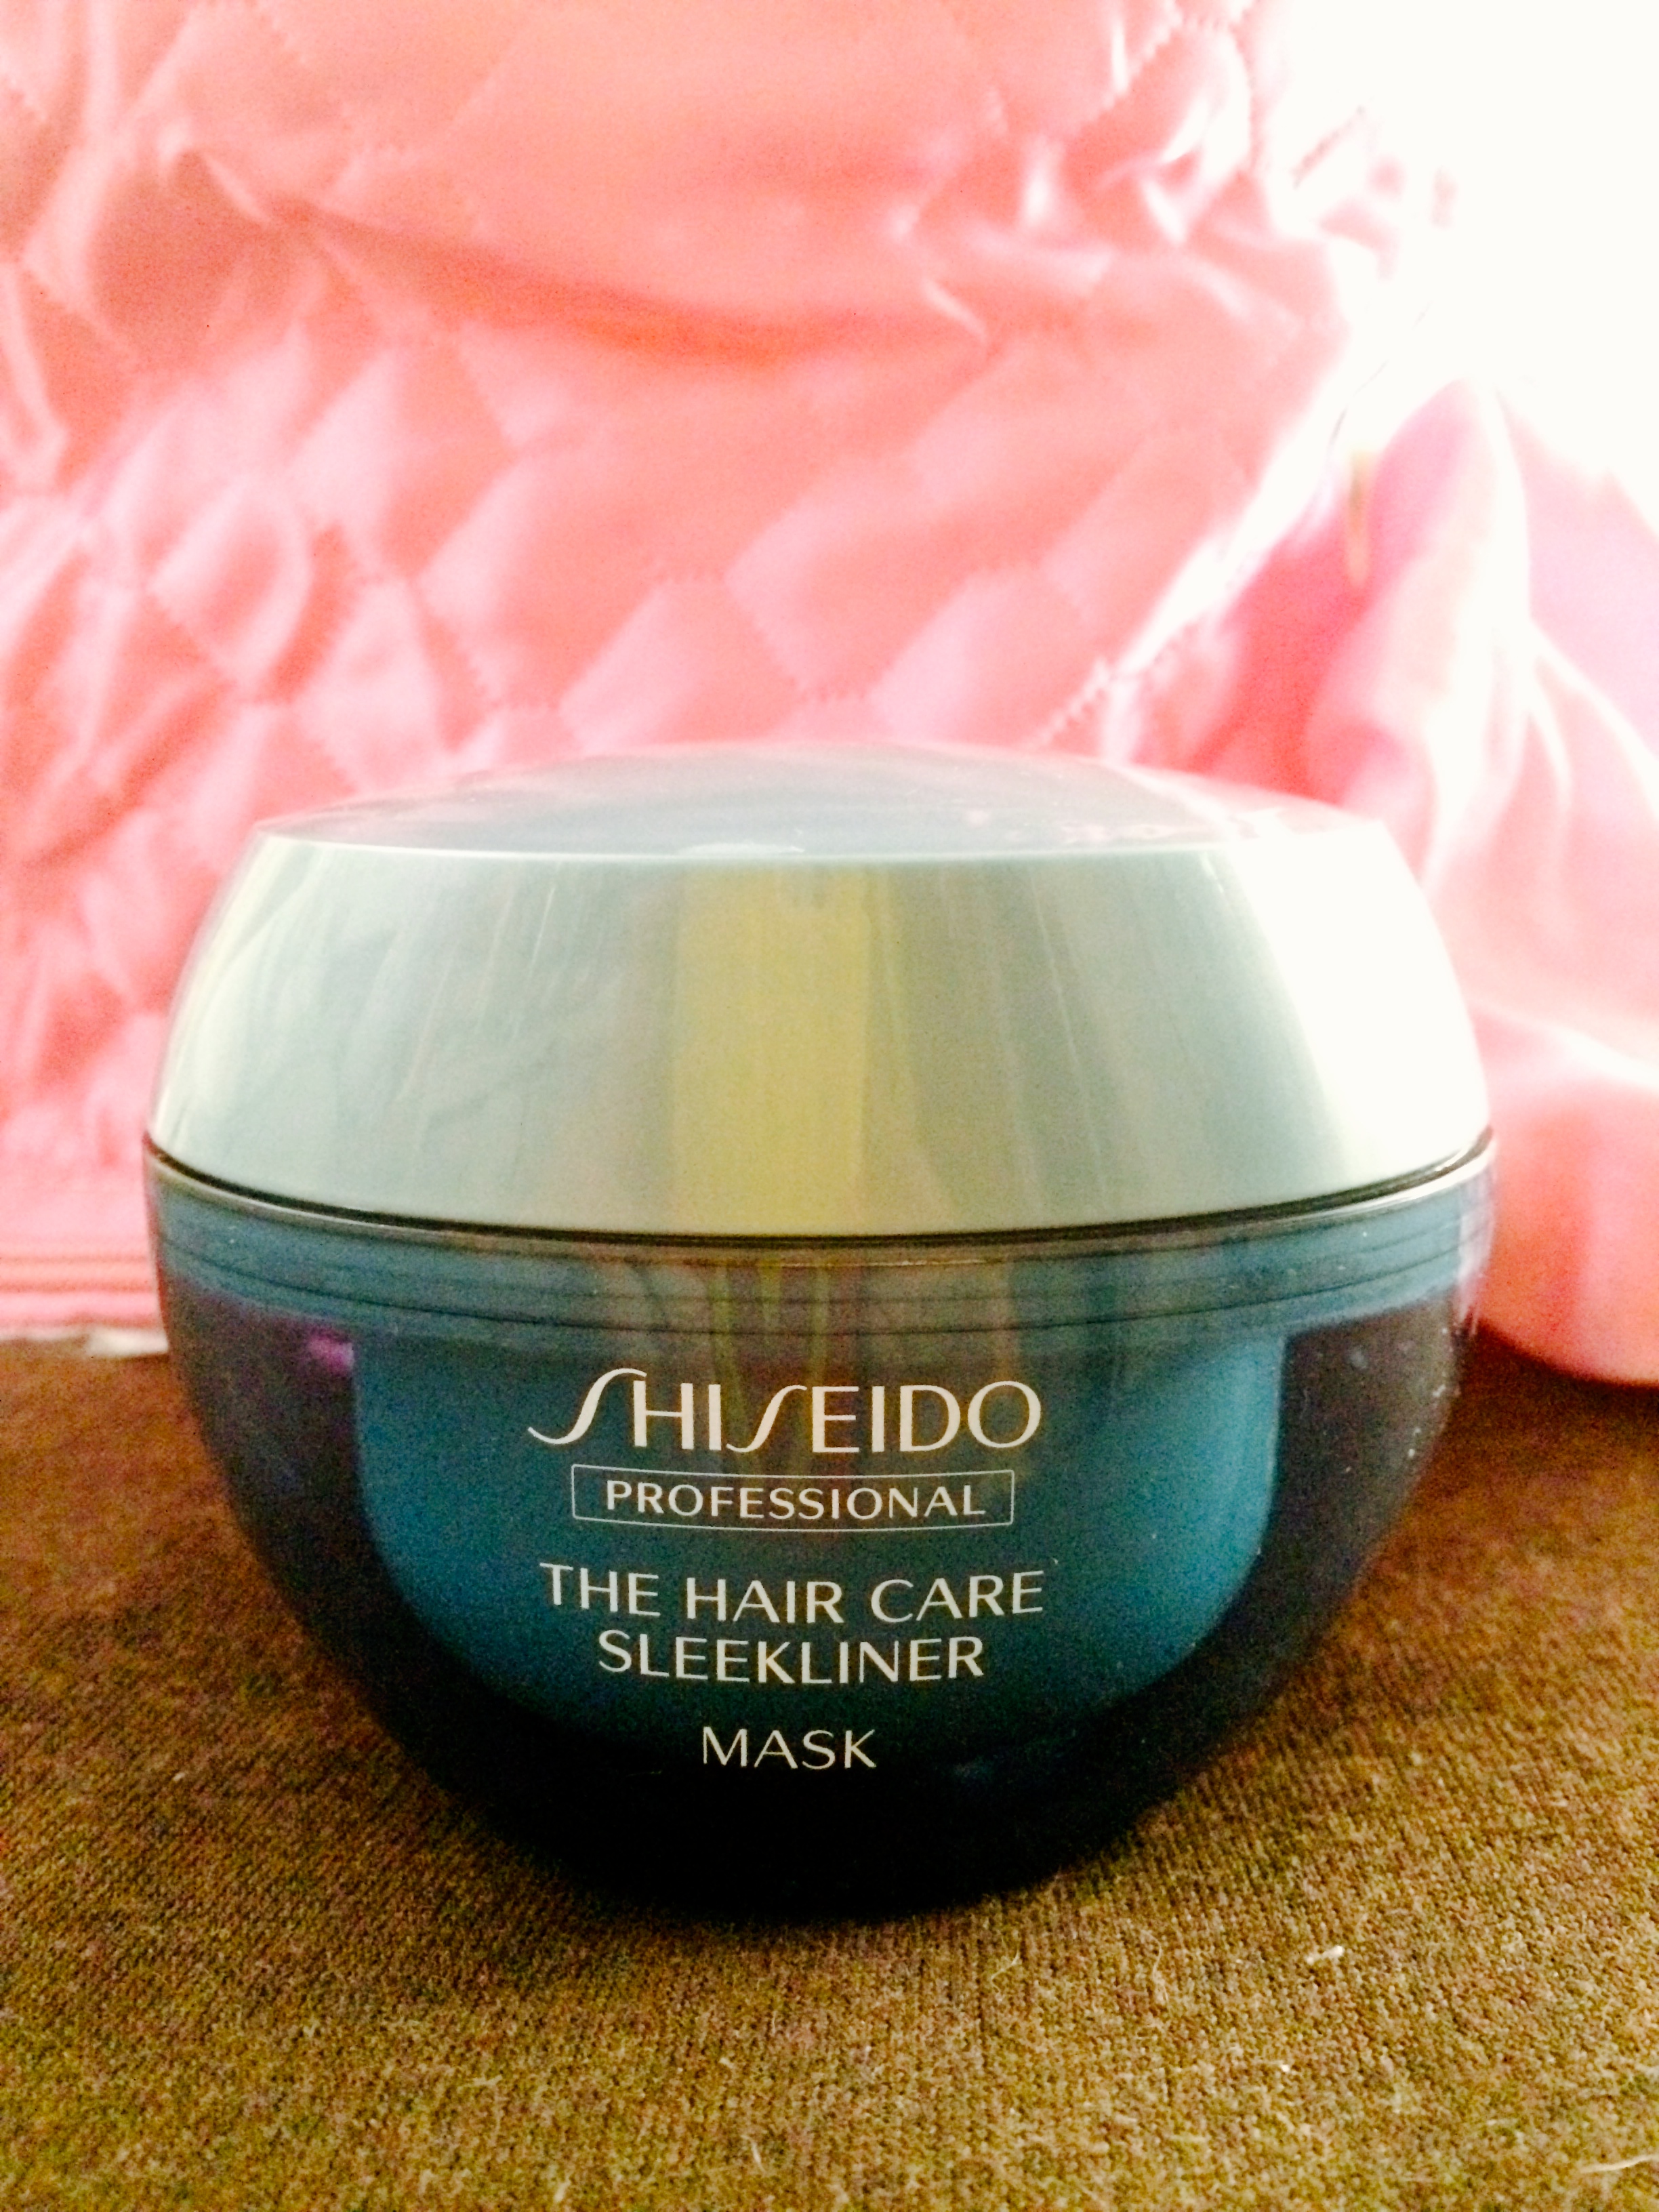
I simply love home facials and with the aid of numerous beauty tools available in the market nowadays, it makes it all the more easier. 

Ok, back to my wedding planning on my MacBook! 💕

XOXO

Jessica

Read Full Post »

Recently, I’ve been testing out products that can refine the pores on my face and also cleanse it well enough to get rid of the pollution grime I get from the air in Hong Kong. And when I saw this face cleanser offered on Groupon HK, I decided to give it a try! Bought 2 boxes for HKD338. Each box contains 32 little capsules that contains the right amount of powder for a single use.

IMG_7740

This Beauty Clear Powder is formulated for women is their 20s-30s for deep cleansing that is gentle enough not to dry out your skin. It removes excess grime & dirt in your pores so that blackheads won’t build up and controls sebum on your skin so that your facial pores are tight. Since I bought it, this cleanser has been added to my morning routine to test it out.

Each capsule is really tiny! About the size of the thumbnail. But it packs a punch!

IMG_7745

To use it, gets some getting used to as I’ve always been using foaming cleansers from a bottle or tube not in powder form. First pour out the powder onto the palm of your hand.

IMG_7753

IMG_7757

The amount of powder is a mere 1.5cm in diameter. So adding the right amount of water is crucial to make it foam nicely. Too much it becomes a white runny liquid and too little it’s just gummy. I found the right amount after a few tries which is half the capsule. After pouring out the powder onto your palm, use the same container to collect half a capsule of water from your tap (barely a few drops of water) and pour it onto the powder and mix it up till it totally dissolves.

IMG_8961

It is now a nice foamy mixture to massage into your damp face. Use it as with any facial wash – circular motion and concentrating on “dirtier” areas like the sides of your nostrils and chin.

This is an example of my first few attempts with too much water until it was so runny an hard to use.

IMG_7758

After using this for about a week, I did find my pores tighter and blackheads reduced, leaving my skin brighter and more radiant.

IMG_7868

I will definitely keep on using it because I am loving the results! Now I need to look out for this on Groupon again for a good deal! 😉

XOXO

Jessica

Read Full Post »

fmd2riv

REGEN is a household name for most Koreans as they are the largest leading beauty medical group that provides services like plastic surgery, dermatology & dentistry. Since 2010 REGEN received the Grand Prize of Medical Korea every year and they are the no.1 brand in the plastic surgery part of the Korean Customer Satisfaction Index.

Dr. Kim Woo Jung, Director of REGEN Clinic, who is ahead of his time, went ahead and developed cosmetics to reflect the distinct characteristics of cosmetic surgery and help the cubic effect. As a result he founded a way to provide a off-the-counter mask to satisfy Asia’s thirst to achieve a small & cubic face through the 2 Step Synergy Effect Mask & V Fill-Up Mask.

I got myself some of their masks to try out and was eager to see the effects of a more V-Shaped and firmer face. (who doesn’t want a slimmer firmer face with smooth pore-less skin?!) Did some research and managed to find out the key ingredients used in their masks. As the packaging is entirely in Korean, I did up a simple table of the key ingredients in English to share with all of you!

oovcfqk

The above list is for the 5 different mask types the REGEN has for the 2 Step Synergy Effect Masks. They all carry the same 2nd step mask for the V-Shaping effect. This mask uses Halophyte, which is an ingredient from the polar region, to help moisture circulation of the skin to provide a sharper face contour. It reduces water retention in the jawline area making the face look slimmer and more picture perfect.

I decided to try out the masks for pores first as I am most concerned with my open pores around my cheeks. The application of the mask is fairly straight forward with the only difference of the V-shaping mask in step 2. Since the instructions is entirely in Korean, this video helps a lot with the application of the mask just to ensure we are using it right.

hs55s2l

Apply the sheet mask as Step 1

hc11hct

2dznahb

0qq03mt

Step 2 – V-Shaping mask

Leave the mask on for a minimum of 20 minutes. I removed the step 1 mask after about 25 minutes but left the shaping mask on for an additional 10 minutes hoping to get better results.

0k5dc1f

Immediately, I went to the mirror to check my pores and miraculously they were shut tight. The exact results I wanted! As you can see from the photo below with my make-up free face.

bnfnfp3

That additional 10 minutes came up and I removed the step 2 mask. I could tell that my jawline was slightly smaller. So I used the mask again on the following night to enforce the results. This time I found jawline slimmer and sharper looking with the puffiness of water retention gone.

Results: I would say that this mask is really effective in both the pore reduction and V-shaping. Especially so for those of you who tend to have a rounder face from water retention and fatty deposits and not because of bone structure. (Why I emphasise on bone structure is because I have a squarer jawline on one side compared to the other and this won’t make my face magically symmetrical, just smaller and sharper) The pressure applied from the V-Shaping mask applies a comfortable but firm pressure that tightens the skin tone and flushes away excessive fluids in the unwanted areas including your double chin.

It’s no wonder that Paris Hilton unveiled that REGEN’s Synergy mask is her secret go-to mask especially on plane rides.

패리스힐튼 트라쇼_ 리젠 캡쳐

This mask is really worth a try and I am always a fan of home facials, using masks on myself every night to maintain a naturally healthy youthful looking skin. (A hardworking girl will always be beautiful ;P)

It is available in:

Hong Kong – Watsons  at HKD$187.50/box of 5 or HKD$37.50/piece

Singapore – http://www.hermo.sg/flagship/regencos.html at SGD$32.20/box of 5 or SGD$7/piece

Look out for my next blog post of REGEN’s V Fill-Up Mask for smoothening out fine lines and wrinkles on top of reshaping your face shape naturally.

XOXO

Jessica

Read Full Post »

IMG_7139


Ever since I came to Hong Kong, I didn’t have the luxury to visit Mosche Hair Salon back home (Singapore) as often as I would love to to maintain my locks. So I had to find DIY home-care kits to give my hair the much needed moisture boost every month especially with the constant heat styling done to my hair due to my job nature. This is my to-go-to “steamer” for my hair that does wonders and gives me that same salon quality treatment, leaving my hair soft, filled with moisture and luscious! This simple kit consists of only the heater cap and a matching coloured fabric shower cap. Safe and easy to use. I’ll use this together with facial masks when I’m watching my favourite dramas in the evening after a shower.

IMG_6897

Here’s how to use it:

Step 1

Wash your hair with a scalp cleansing/anti-pollution shampoo. I use Rene Furterer Forticea for a cleaner scalp and prevent thinning hair.Rene-Furterer-Forticia_Shampoo-2_zps6080ff4f

Rinse off shampoo and apply a light layer of conditioner (just to be able to comb through the wet hair more easily to apply treatment).  Rinse conditioner off. Towel dry.

Step 2

Apply any good hair treatment onto your towel dried hair. I am using Shiseido Professional Sleekliner Hair Mask currently.

IMG_7140Comb in the hair mask throughout your hair and avoid your scalp area. I would emphasise more on the ends as its usually a lot more dry and prone to breakage in my case.

IMG_7142Step 3

After hair mask/treatment is throughly applied throughout, twist your hair up into a bun for those with long hair and place the fabric shower cap over as such.IMG_7146

Step 4

Now place the heater cap over the shower cap. Avoiding your ears. And flick the switch on (lights will light up). Simple. Leave it on for about 20 minutes. IMG_6895The heating coil in the hear cap will slowly heat up. With water left behind in your towel-dried hair together with the hair mask, steam will form inside the hair mask enabling the hair mask to better work its magic on your hair.

Step 5

After 20 minutes, switch off the heating cap. Remove it and rinse out your hair with cold water. Cold water will help close up your hair follicles and trap in the moisture absorbed from the mask. And you are set to blow dry your newly revitalised hair!

This DIY kit saves a lot of time and money as I can use it as and when I want to even at 3am in the morning. Great for people who hates visiting the salon and sitting there for hours to get your hair done!

This hair steamer cap can be found in various online stores and costs between USD$10-15 depending on stores. Girls… time to hunt it down!

Happy Mid-Autumn festival everyone!

XOXO

Jessica


Read Full Post »

Today, I am going to share with all you girls this simple yet really effective way to curl your eyelashes with tools that you definitely have at home – a hairdryer & your eyelash curler.

Firstly, choose a good eyelash curler suitable to the shape of your eye socket. To me, Asian eyes tend to be less deep set and flatter in the curvature, so brands like Shu Uemura & Shiseido are likely to be more suitable to our eyes. My personal favourite is Shu Uemura. Invest in a good eyelash curler and it will last you for many years!

I have typically Asian eyelashes, short & straight, but I found a way to keep my lashes curled all day with heavy layers of mascara. Usually, with many layers of mascara, my lashes tend to droop pretty quickly and loose the curled effect.

This is how I do it:

1. Heat up the eyelash curler with your hairdryer at low speed for 5-10 seconds till the curler is heated up but not too hot on your eyelids.

IMG_3813

2. Curl your lashes as per normal. Gently clamp down on your lashes closest to your eyelids, release, and clamp down again in an upward motion towards the tip of your eyelashes almost perpendicular to your eye. It is about 10 gentle clamps with the curler.

IMG_3808

TIP: Make sure you do not heat your eyelash curler for more than 10 seconds or you may overheat the metal and burn your eyelids.

3. Repeat Step 1 and Step 2. I usually will do this 3 times on each eye.

IMG_3801

My lashes before curling – straight as hell

IMG_3776

My lashes after using a heated eyelash curler

IMG_3779

I love how easy my eyelashes curls, opening up my eyes instantly

4. Once you have achieved the curled effect you want, apply 2-3 coats of mascara.

IMG_3784

A false lash effect achieved!

I find this method much more effective than just using an eyelash curler on its own, or even an expensive heated eyelash curler. Especially for my type of short and straight eyelashes. The compression and heat from using a hairdryer with your eyelash curler will create a temporary permed effect to last you throughout the day. It’s the same concept as using a heated tong for your hair to create curls – this is the miniature version!

Try it to believe it!

XOXO

Jessica

Read Full Post »

IMG_3371

(Curls using Miracurl, jewellery from Mint Bauble)

Applying foundation on your face is one of the most basic forms of make-up, but it isn’t the easiest to do it well. Firstly, you have to find the perfect match of colour to your skin tone, then a foundation brand that doesn’t just sit on your skin but blends in like it’s part of your skin. To me, the perfect Summer time foundations that work great are RMK’s liquid foundation & Kate’s Powderless Liquid for Cover.


IMG_3342

Both these foundations keep your skin pretty much shine-free throughout the hot and humid days and they don’t cake up from the heat! If you are wondering why my foundations are in different shades – the RMK one darker(one or two shades darker than my skin tone) & Kate a lighter shade(matches my actual skin tone). I use 2 different shades to “sculpt” my face and give it a slimming effect. Great for days when you feel that your face is retaining water from a late night of partying, or its that time of the month…

Start with the darker shade first. In my case, I am using RMK liquid foundation. Apply it under your cheekbone area till your jawline.

IMG_3340

Blend it downwards towards your neck using your fingers or a foundation sponge. (I simply use my fingers)

After that, apply the lighter shade on the peaks of your cheekbone.

IMG_3345

Blend in the lighter shade downwards towards the darker shade. Make sure both the foundations blend in well, without being able to see a distinctive change in colours.

After your base foundation is done, use a highlighter pen (I am using YSL’s Touché Éclat) on your nose bridge, under eye area & smile lines. Focus on your nose bridge – this will make your nose seem sharper & higher. (I often get asked if my nose is fake, or who is the surgeon that did my nose! I take that as a compliment but it’s just good make-up tricks peeps!)

IMG_2347

(picture from previous post on Touché Éclat)

Blend in the highlights & apply a layer of translucent loose powder on your face. Get a brown-shade blush ready to create a more shapely face. Here I am using MAC’s Wonderwoman blush which carries 3 tones – pink blush, brown shading blush & a highlight blush.

IMG_3351

Use an eyeshadow brush to pick up some of the brown blush, apply it on the sides of your nose bridge.

IMG_3352

IMG_3353

This creates a sharper & slimmer nose.

TIP: Use the highlight blush on your under eye and cheekbone area for a radiant glow!

Now that your perfect base is done. (which is oh-so important!) You can just stop right here and add a touch of blush, brows & mascara & you are good to go! But I am going to carry on to show you my favourite falsies to use to brighten up your eyes and NOT have that “umbrellas shading your eyes” look. If you know what I mean… 😉

IMG_3358

These are the 3/4 length falsies which wing-out to longer lashes at the ends. Easily found in any SASA or Watson’s stores. MAC & Shu Uemura have them too but they are a lot more costly.

So, curl your lashes, apply a layer of mascara, then glue on these falsies from about 1/3 distance away from your tear-duct.

IMG_3359

See how they immediately open up my eyes with the winged effect of the lashes. And they are much easier to use too!

IMG_3360

Do the same for the other eye. Apply a tad of lip gloss/balm and we are done!

Ready for a slimmer more sculpted face? Try out these little tricks of mine which I use daily when I head out for castings!

XOXO

Jessica


Read Full Post »

IMG_2750


Ever since I went to Tokyo over the Easter long weekend to celebrate my birthday, I was inspired to have my hair curled and styled just like the Japanese! So when I returned back to Hong Kong, I immediately took out my new Miracurl and started fiddling with it. And it was a pleasant surprise that Miracurl made, the once gruelling and time-consuming, hair-curling easy and straightforward more than ever.


Previously, I used my heating tongs (which I had given away since) to create curly locks on my own. This always took me eons and I had to be constantly mindful to not burn my face/neck with the heating tong… Hence, unless I had tons of time, I would never touch those heating tongs.

IMG_2767

But with this latest product from Babyliss Pro, it took me a mere 10 minutes or less! And the curls turned out beautiful and looked as if they were professionally done. It is such a simple tool to use – basically you section your hair no more than 3cm, put the bunch of hair into the V-shaped part of the Miracurl, squeeze, wait for 10 seconds, and it’s done!

I did up a simple video tutorial to show you how simple and easy it really is:

Miracurl is now retailing in Hong Kong at:

LOG-ON, City Store, SOGO, AEON, Fortress, Rosy Rain  at HKD$1689.

In Singapore it is retailing at: 

Selected Watsons stores island-wide at promotional price of SGD$199 from 01-28 May 2014. Retail price is SGD$259.

I know it is one of the more pricey hair curlers in the market, but it is worth every penny; it saves time, it is safe (no more burning of your face or neck *ouch!*) and it is versatile with any hair length! (you can share this with just about anyone, including your boyfriend).

Also, be mindful of the cheaper priced “Miracurls” in the market as there are plenty of knock-offs owing to its world-wide popularity. These knock-offs may not have complied with strict quality controls and may be a hazard to use.

Miracurl has the thumbs up from this happy customer! 🙂

XOXO

Jessica

For more information, do visit:

Facebook Page

BaByliss PRO Asia Facebook Fan Page

MiraCurl ™ Website:

http://www.babylisspro-asia-miracurl.com

Miracurl


Read Full Post »

Friends have been asking me how I am able to do this “professionally” done hairstyle all by myself. Whenever I attend events, dinners, parties etc in this hairstyle, I always get very nice comments on it and often think that I came from a photoshoot because of my nice up-do! So… when I say to them it’s really easy and takes me less than 10 minutes, no one believes me.

This is the messy donut which I prefer for a slightly more casual feel:

IMG_1312And the sleeked donut for a more glamourous Hollywood-look:

IMG_1556

IMG_1553So now… watch this 6 minute video tutorial I made to show you how it’s done! (I wasn’t joking when I said it takes me less than 10 minutes)

Hope this helps you all! It took me some time (a few months maybe?) to figure out this method since I purchased this donut to use. I found the official methods much more difficult and challenging to DIY. Have fun practicing!

XOXO

Jessica


20140330-024217.jpg

Read Full Post »

IMG_2041


It’s been about a week or so since I’ve received my Urban Decay Naked 2 palette (paid £37 for it) in the mail and I’ve been happily experimenting on the wonderful taupe colours! Since I am now living in Hong Kong, it is so hard to find this palette!!! Moreover, the online websites that carry the Naked palette had no stock since the Christmas season until recently. 😦 For those living in 852, you can check out BeautyBay.com or lookfantastic.com for beauty products you can’t find locally. It helps that these websites offer free international delivery!

IMG_2037

So… how do you create a simple day look in under 15 minutes with Naked 2? (HINT: don’t try to use every colour you think it’s pretty! Less is more) I know it’s VERY VERY tempting to want to use all these pretty colours inside the palette all at once! (I was guilty of it on the first few days upon receiving it *hiaks* but it also gave me a good idea which colour combination works) All you need is 3 colours in the palette. (Yes, you heard me… THREE) Namely Foxy, Booty Call & YDK.

First, use Foxy under your eyebrows for a slight highlight. (P.S. Foxy is also a great colour to use to highlight your nose bridge & lighten under eye dark circles) Then apply Booty Call all over your eye socket area. Don’t have to be too detailed with this as all you need to do is to make sure your eye socket area is totally covered with this base colour. 

IMG_1966

Once that is done, now comes YDK to add a 3D effect to your eyes and make them shine.

IMG_2033

As you can see, I only added YDK towards the end of my eye socket area from lash line to the start of my brow bone. (approx. 1/3 of my eye) If you are new to applying make-up, just imagine your eye socket is divided into 3 parts. Tear duct to before the mid line of your eye or the highest point of your eyeball is the first section. Second section is the mid point of your eye or centreline or highest point of your eyeball. And last section is towards the edge of your eye where I am applying YDK. Add a little YDK to that section and slowly blend inwards. Ensure that you don’t overdo this so as to not have 2 stark contrasting colours on your eye. It should look like the colours naturally merge from light to dark.

IMG_1995

With only 3 simple colours, you have a nice, natural & seemingly professional DIY day-look. Now, flip the Urban Decay’s brush over to the flat brush and dip it into the dark colours. I used Busted which is a dark brown, but you can also use Blackout for a sharper look. Line your lash line with this dark eyeshadow colour. I like to wing my eyeliner upwards to create a more cat-eye look. Finally, curl your lashes & coat them with layers of mascara & you are done! Remember to use a coral toned blush for a natural flush look.

IMG_1997

This is my simple 15-minute day look created using the Naked 2 palette’s colours. Hope this is helpful to those who own this palette & those who are new to applying eyeshadows! Have fun!

Now… I’m totally tempted to splurge on the Naked 3 palette to play with a new set of colours! Maybe I will treat myself to it on my birthday in April! *hee*

XOXO

Jessica


Read Full Post »