Feeds:
Posts
Comments

Posts Tagged ‘Watsons’

fmd2riv

REGEN is a household name for most Koreans as they are the largest leading beauty medical group that provides services like plastic surgery, dermatology & dentistry. Since 2010 REGEN received the Grand Prize of Medical Korea every year and they are the no.1 brand in the plastic surgery part of the Korean Customer Satisfaction Index.

Dr. Kim Woo Jung, Director of REGEN Clinic, who is ahead of his time, went ahead and developed cosmetics to reflect the distinct characteristics of cosmetic surgery and help the cubic effect. As a result he founded a way to provide a off-the-counter mask to satisfy Asia’s thirst to achieve a small & cubic face through the 2 Step Synergy Effect Mask & V Fill-Up Mask.

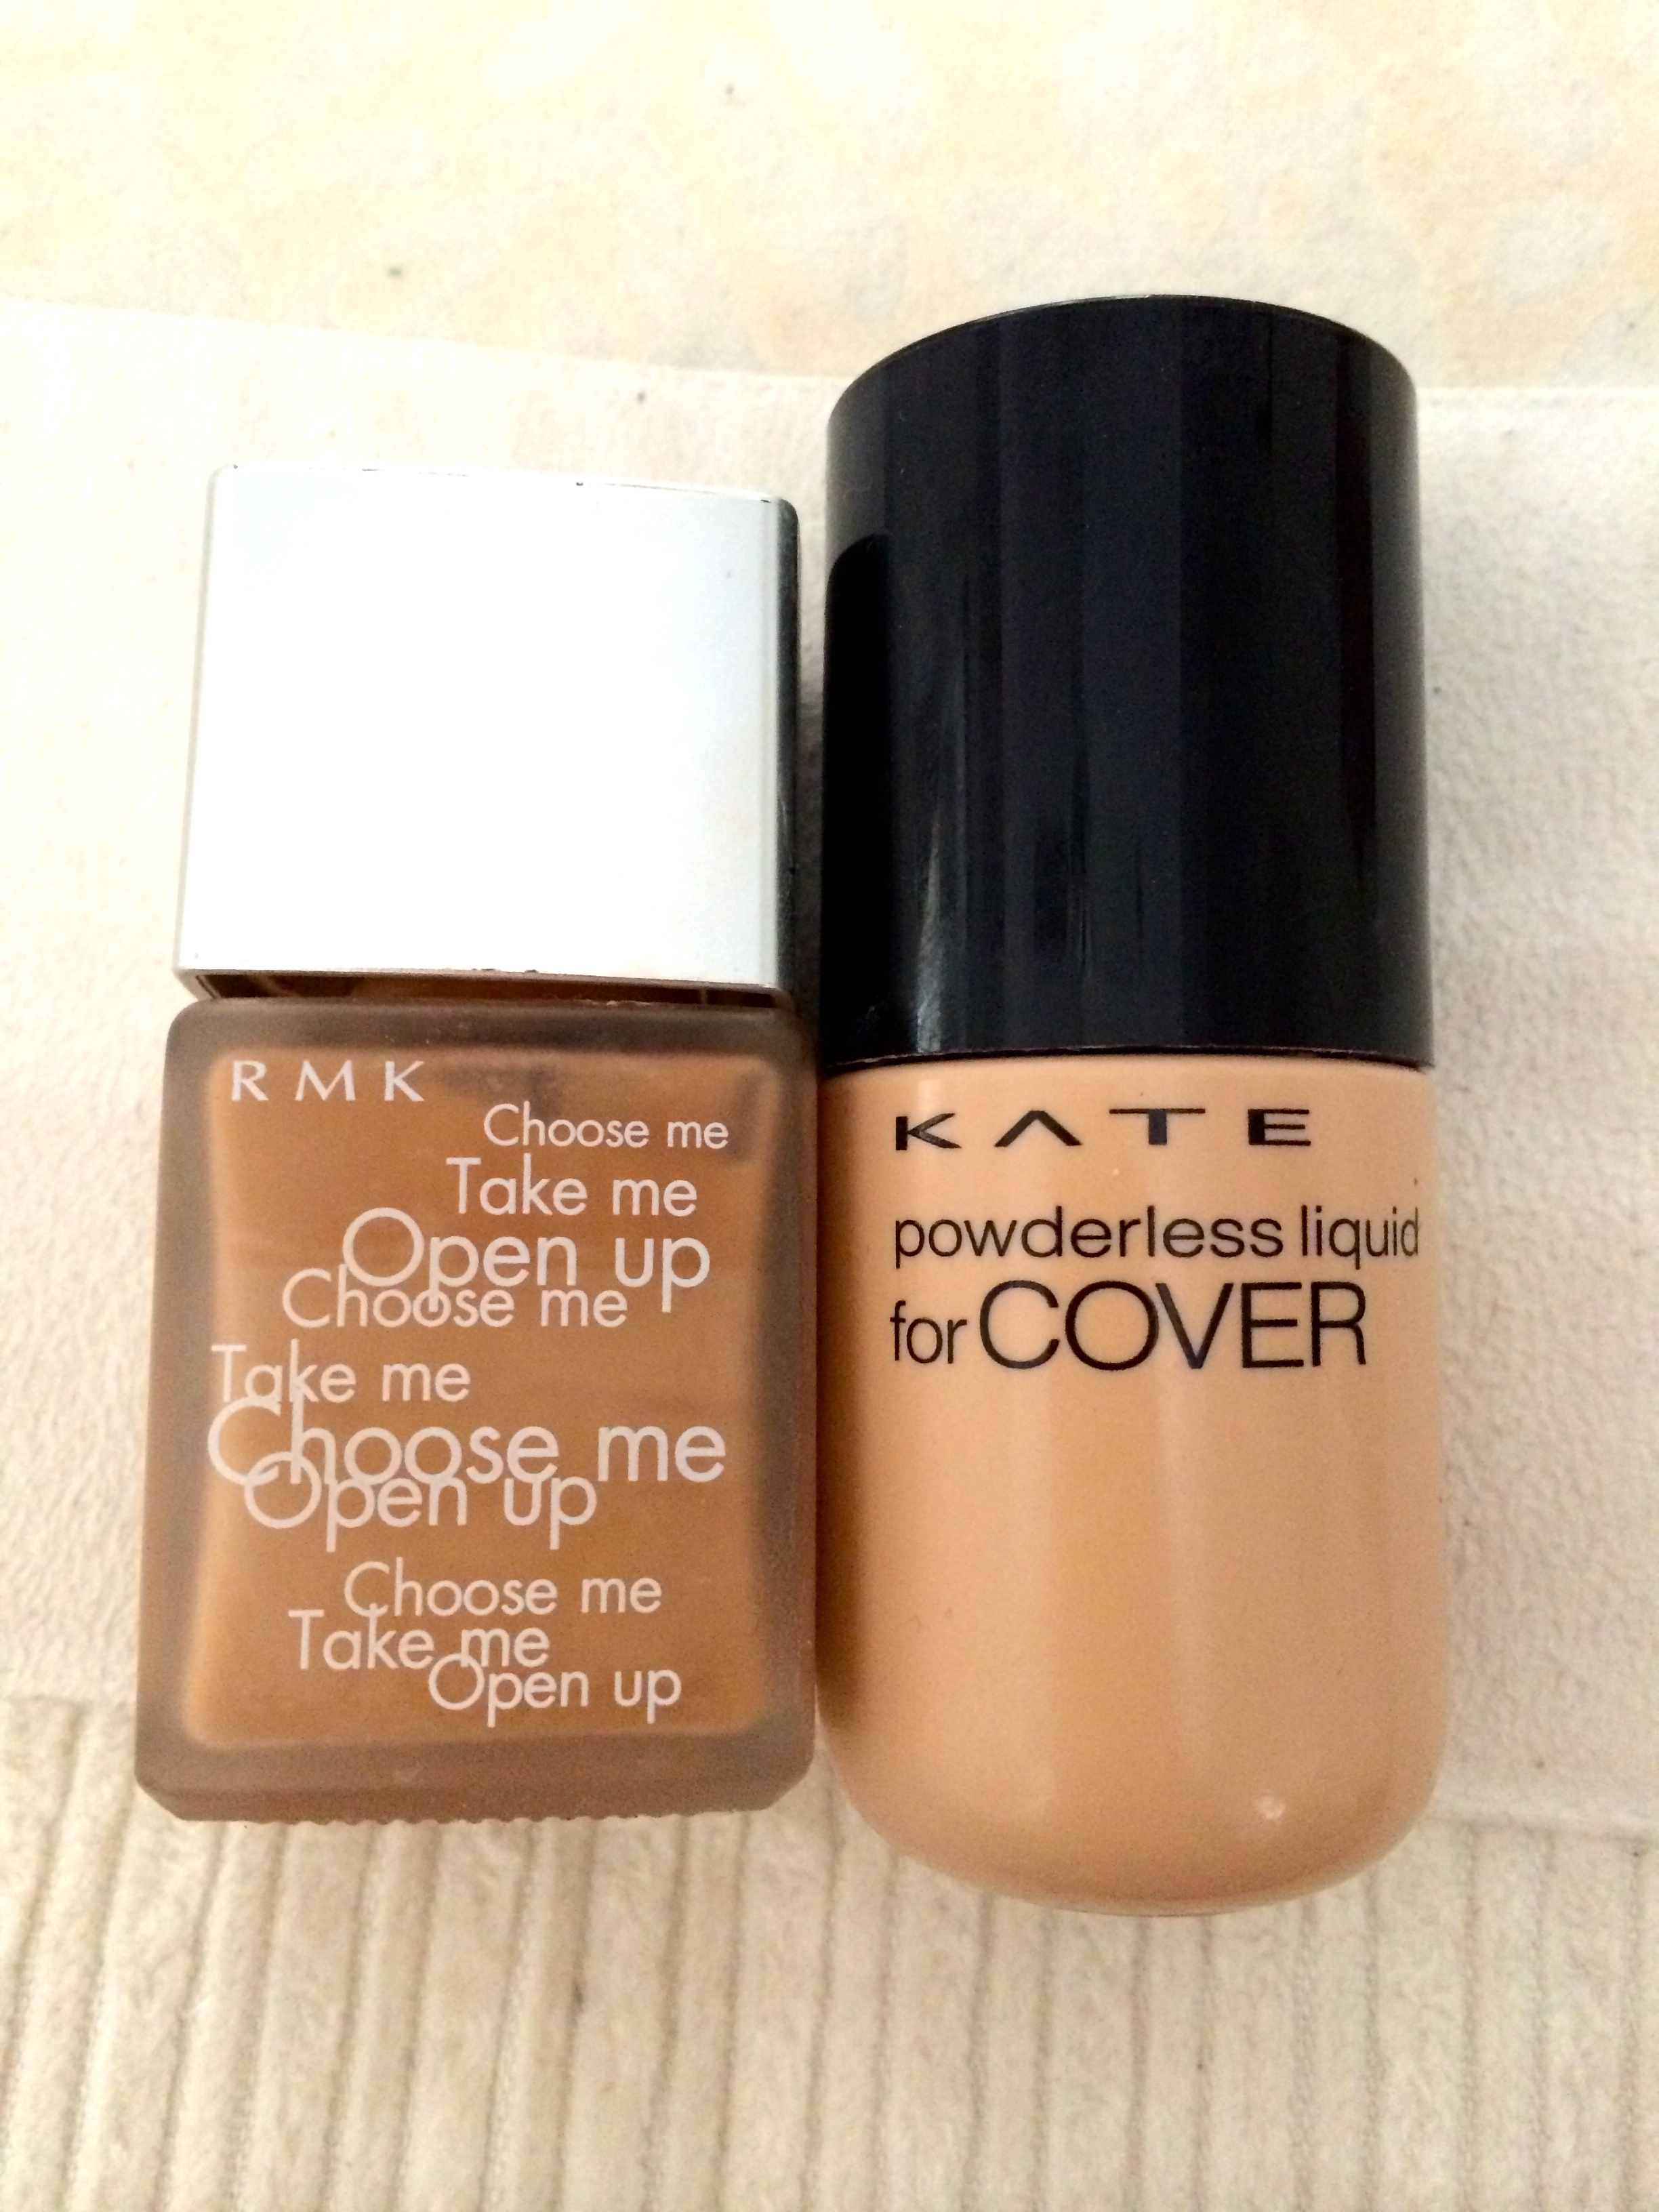
I got myself some of their masks to try out and was eager to see the effects of a more V-Shaped and firmer face. (who doesn’t want a slimmer firmer face with smooth pore-less skin?!) Did some research and managed to find out the key ingredients used in their masks. As the packaging is entirely in Korean, I did up a simple table of the key ingredients in English to share with all of you!

oovcfqk

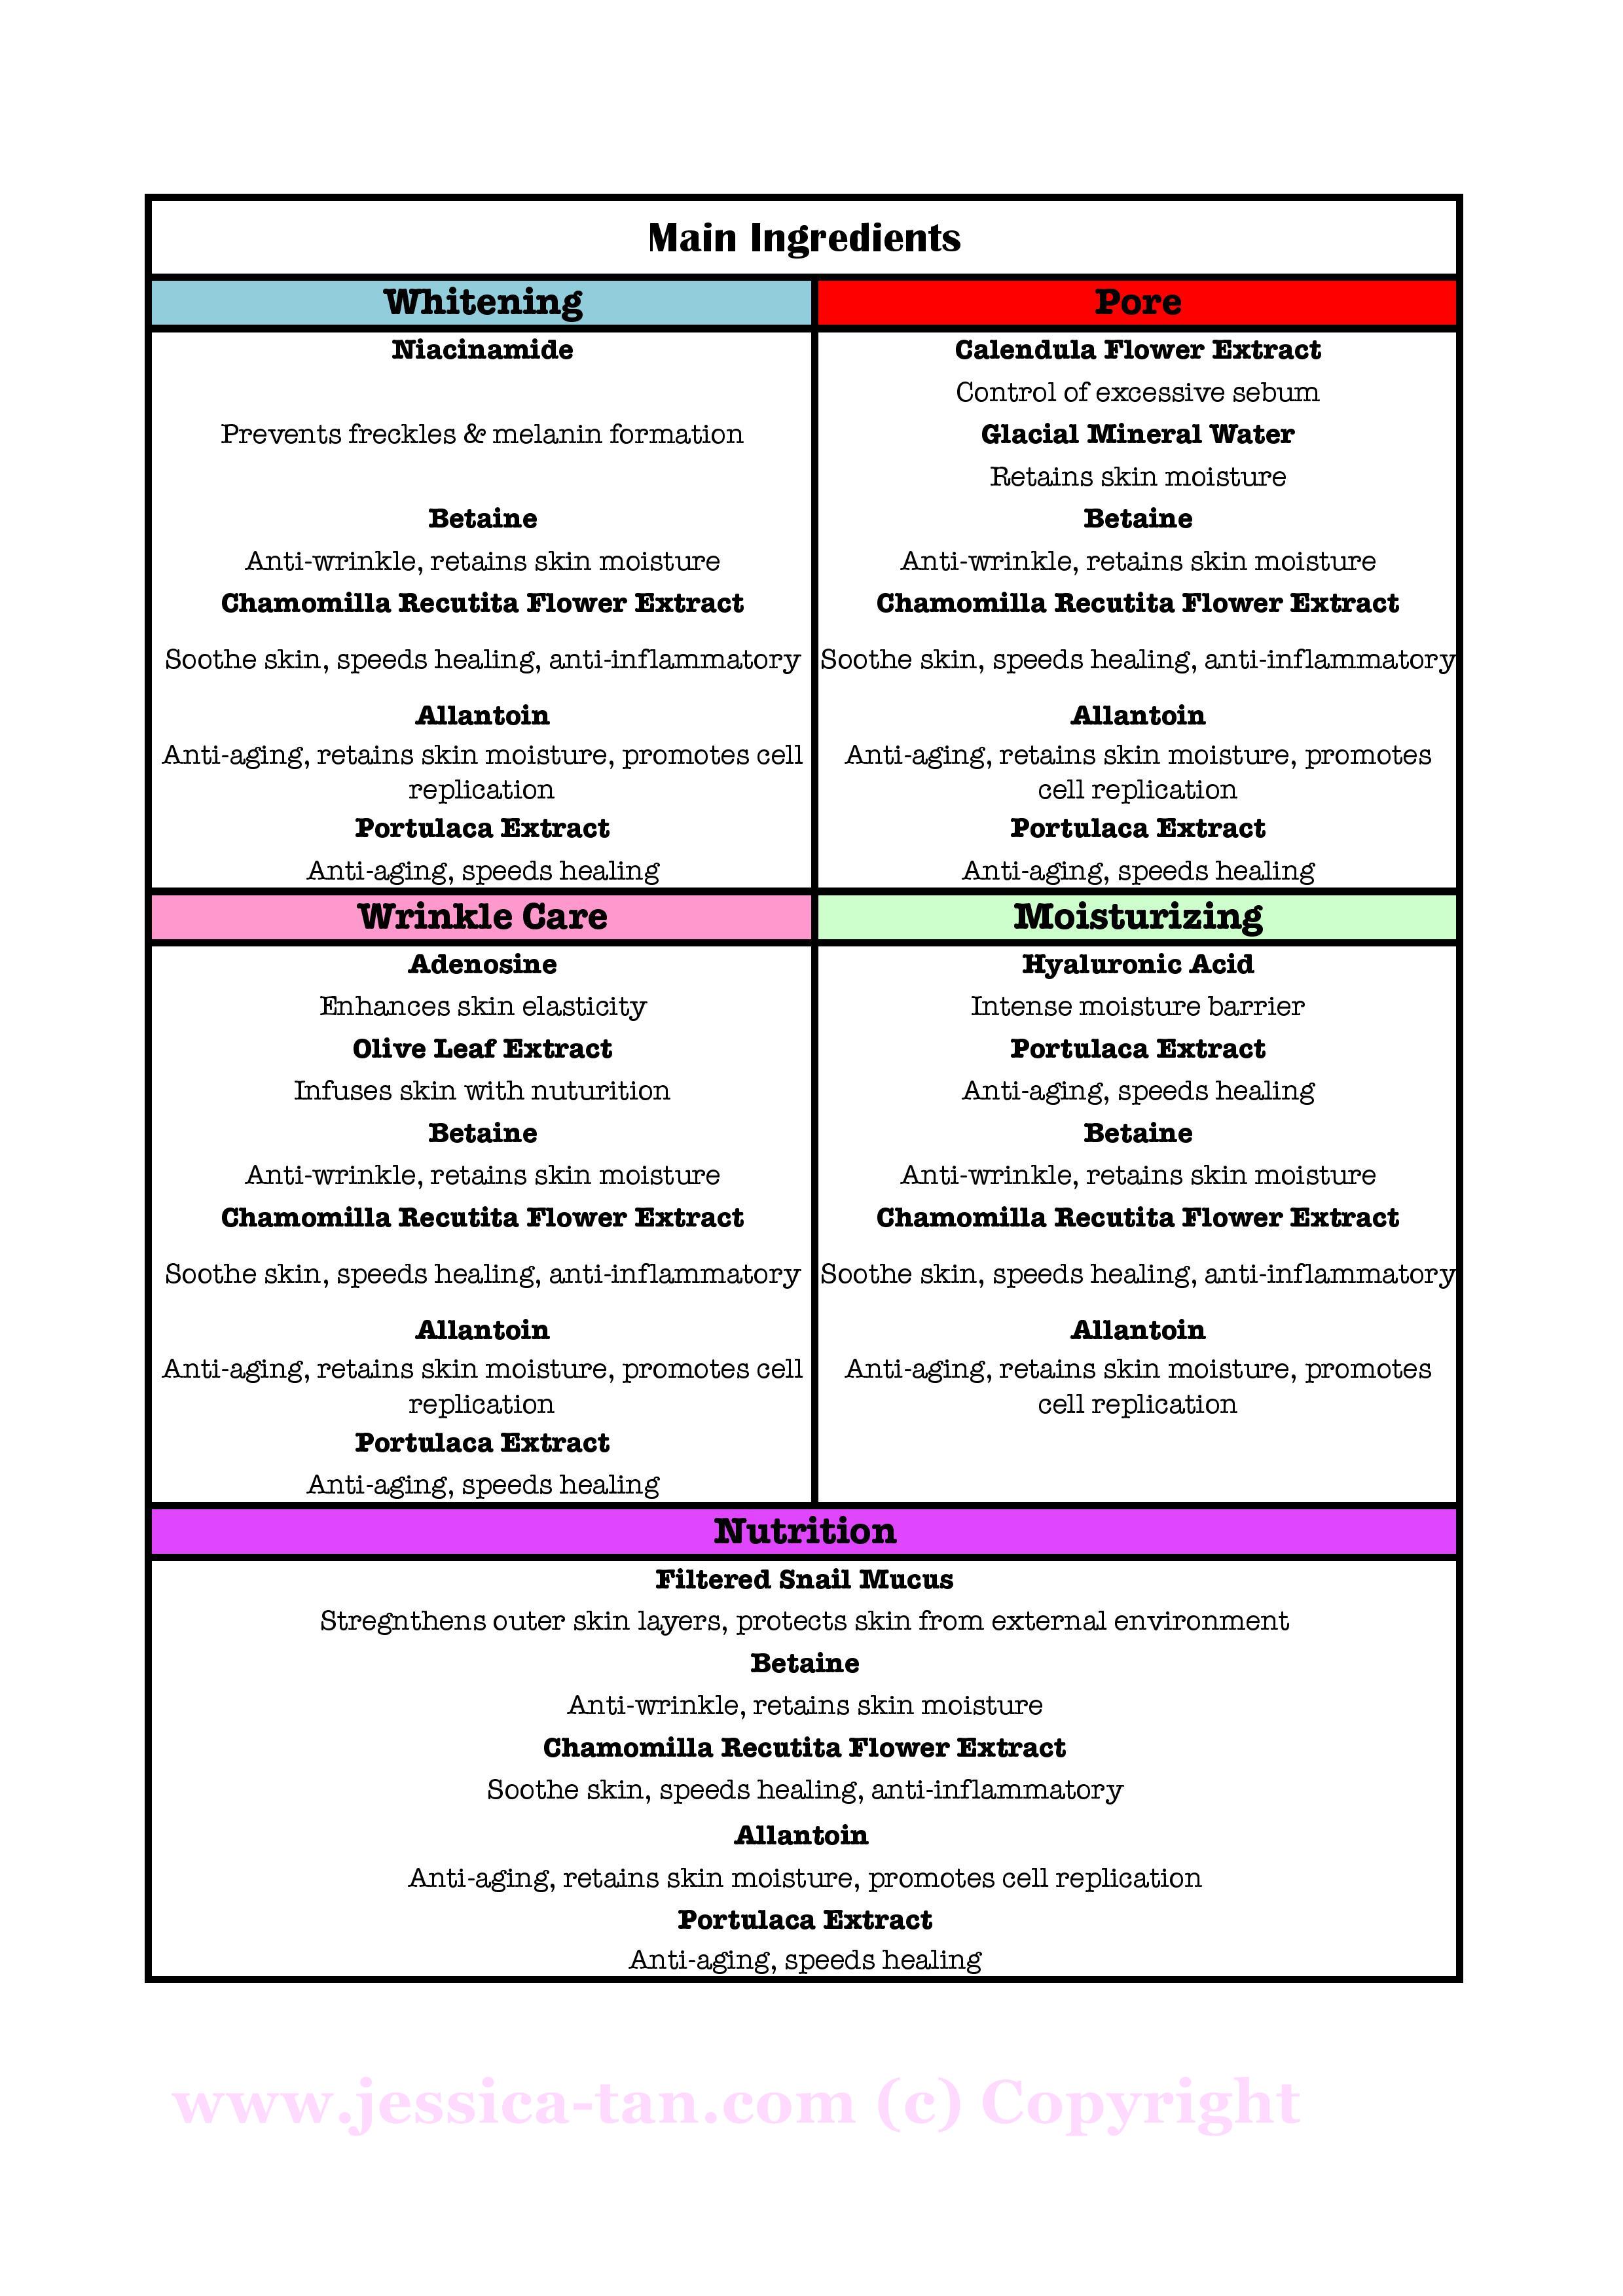
The above list is for the 5 different mask types the REGEN has for the 2 Step Synergy Effect Masks. They all carry the same 2nd step mask for the V-Shaping effect. This mask uses Halophyte, which is an ingredient from the polar region, to help moisture circulation of the skin to provide a sharper face contour. It reduces water retention in the jawline area making the face look slimmer and more picture perfect.

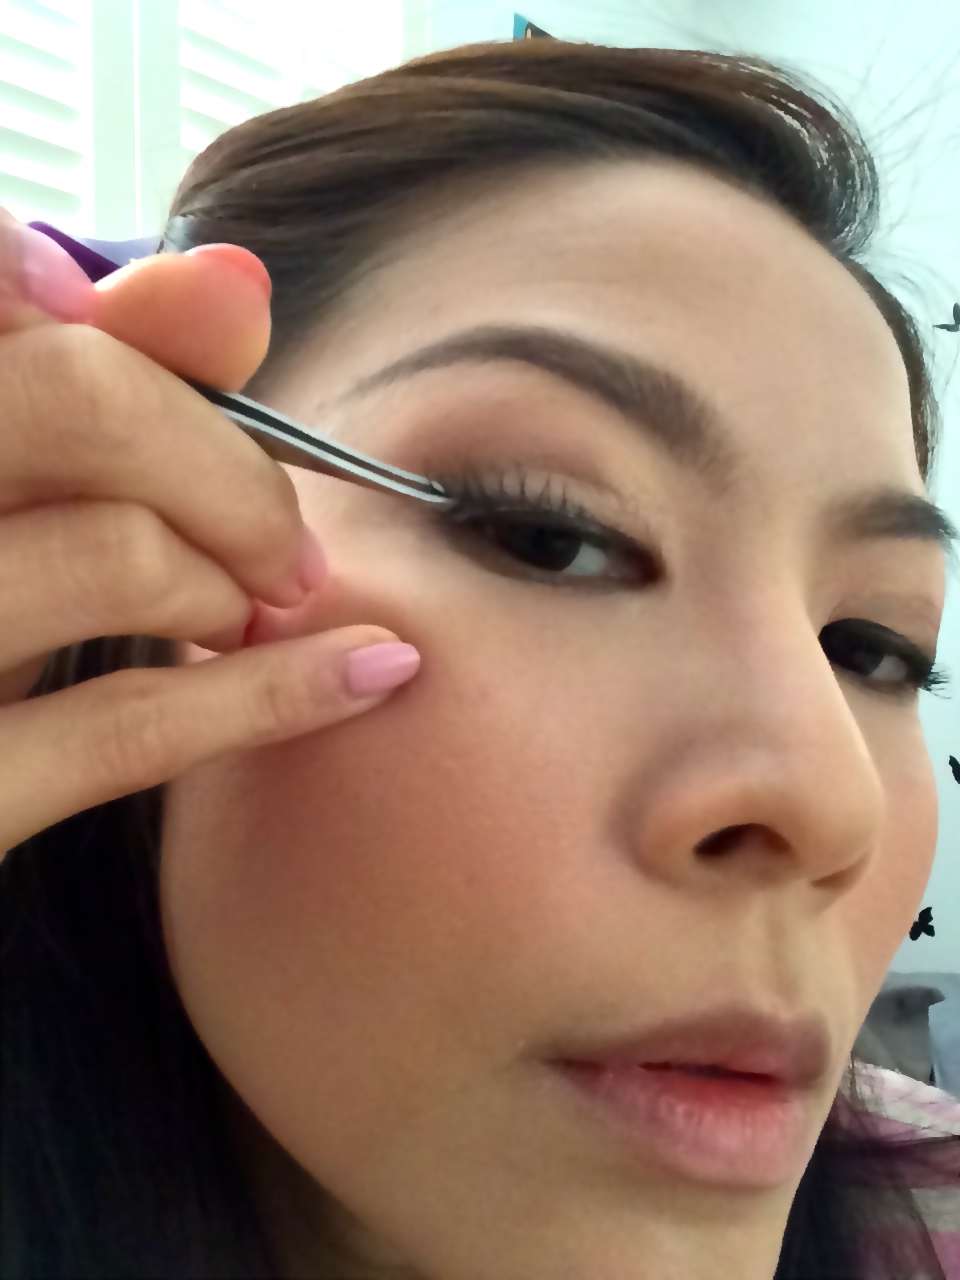
I decided to try out the masks for pores first as I am most concerned with my open pores around my cheeks. The application of the mask is fairly straight forward with the only difference of the V-shaping mask in step 2. Since the instructions is entirely in Korean, this video helps a lot with the application of the mask just to ensure we are using it right.

hs55s2l

Apply the sheet mask as Step 1

hc11hct

2dznahb

0qq03mt

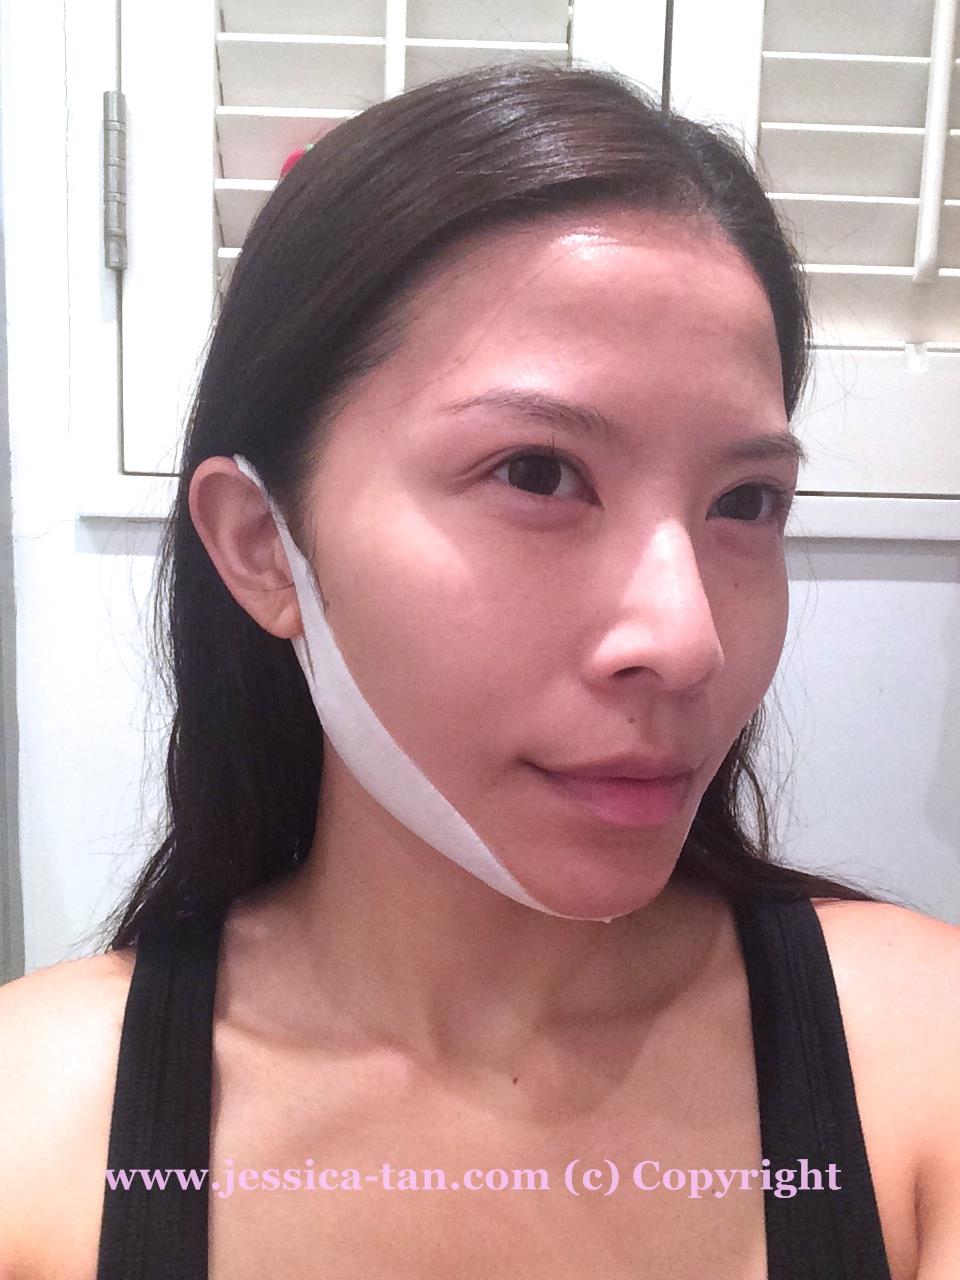
Step 2 – V-Shaping mask

Leave the mask on for a minimum of 20 minutes. I removed the step 1 mask after about 25 minutes but left the shaping mask on for an additional 10 minutes hoping to get better results.

0k5dc1f

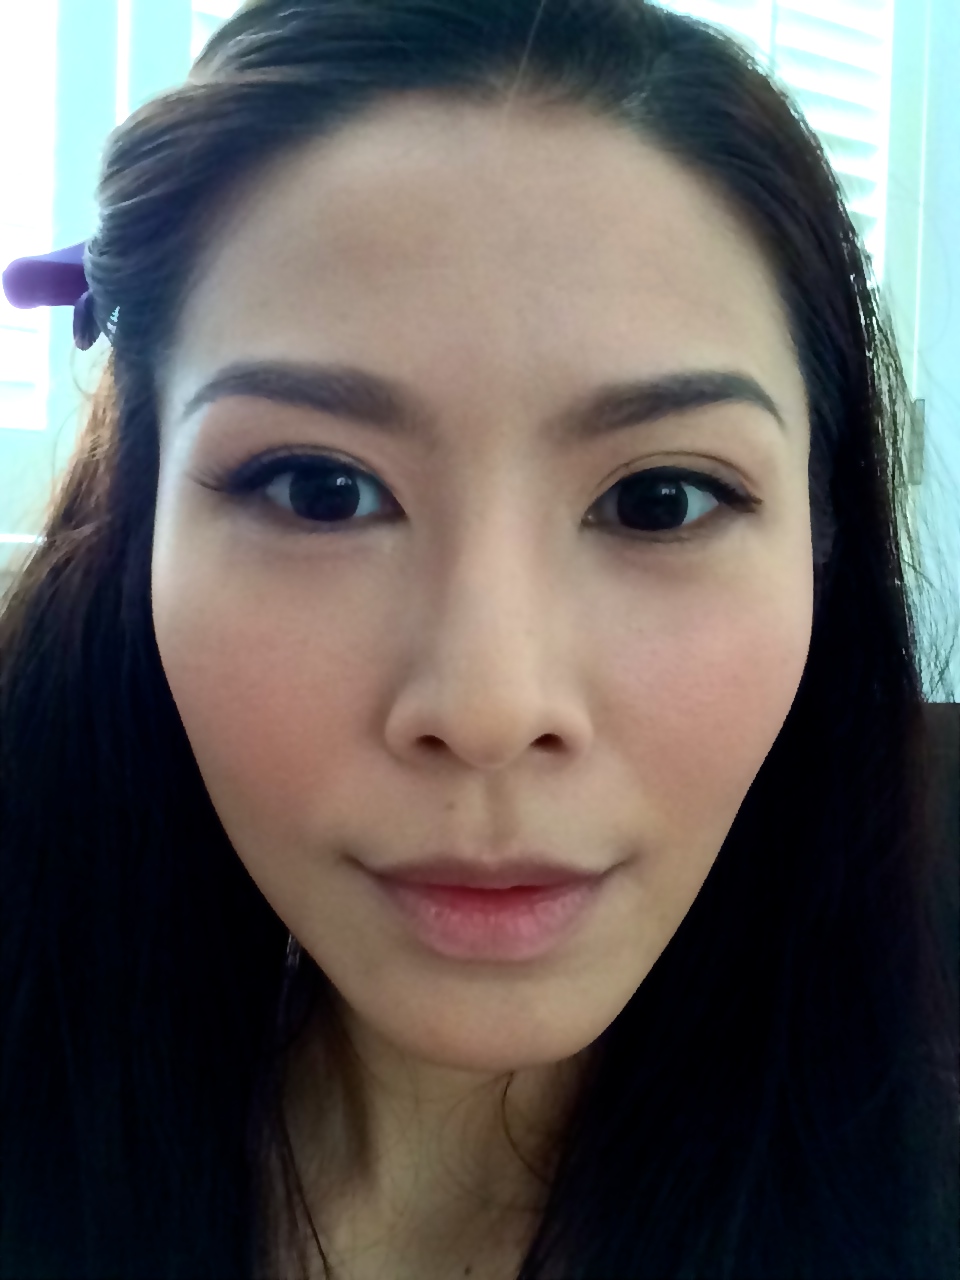
Immediately, I went to the mirror to check my pores and miraculously they were shut tight. The exact results I wanted! As you can see from the photo below with my make-up free face.

bnfnfp3

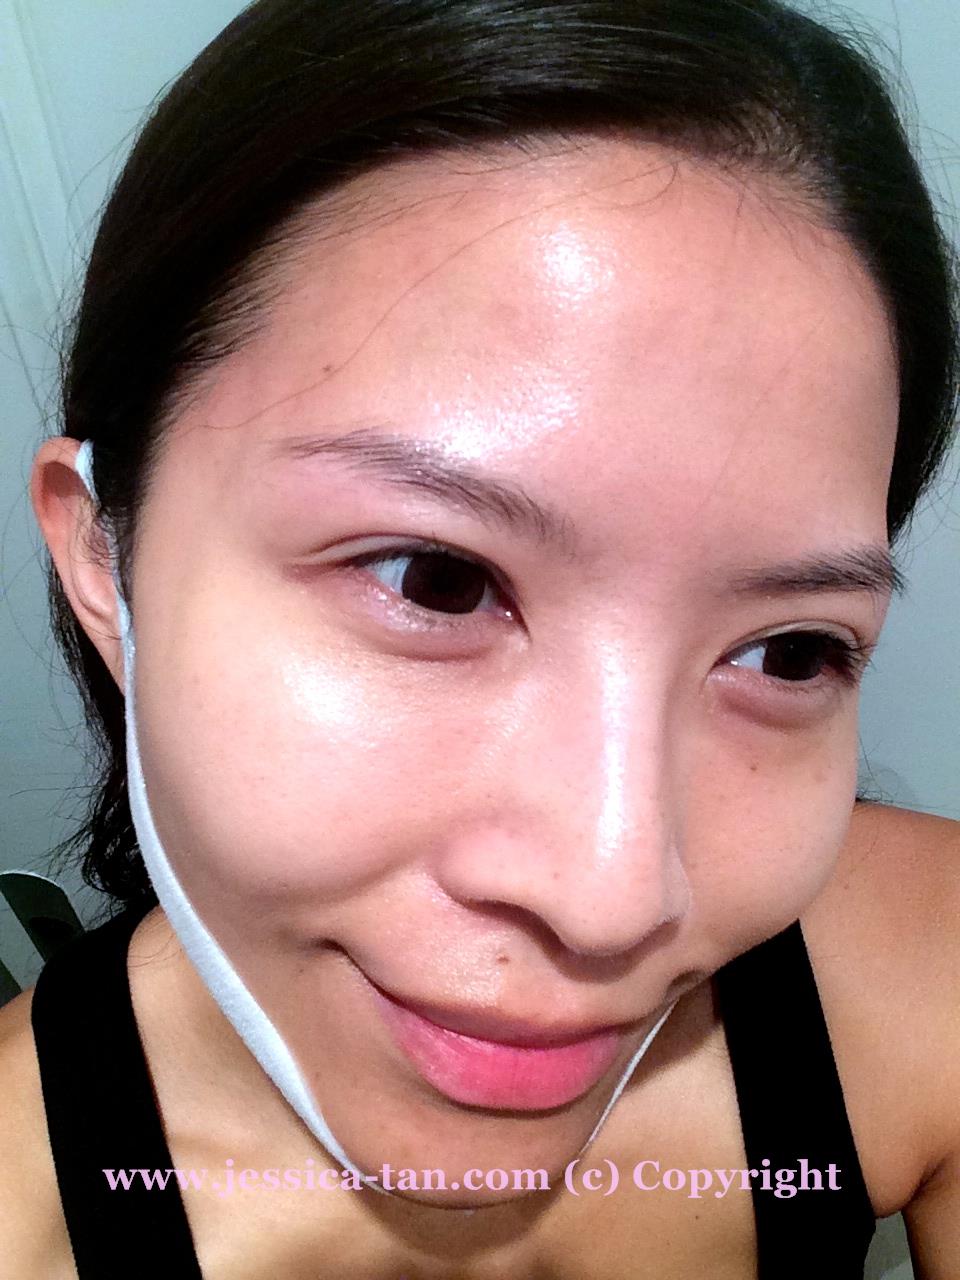
That additional 10 minutes came up and I removed the step 2 mask. I could tell that my jawline was slightly smaller. So I used the mask again on the following night to enforce the results. This time I found jawline slimmer and sharper looking with the puffiness of water retention gone.

Results: I would say that this mask is really effective in both the pore reduction and V-shaping. Especially so for those of you who tend to have a rounder face from water retention and fatty deposits and not because of bone structure. (Why I emphasise on bone structure is because I have a squarer jawline on one side compared to the other and this won’t make my face magically symmetrical, just smaller and sharper) The pressure applied from the V-Shaping mask applies a comfortable but firm pressure that tightens the skin tone and flushes away excessive fluids in the unwanted areas including your double chin.

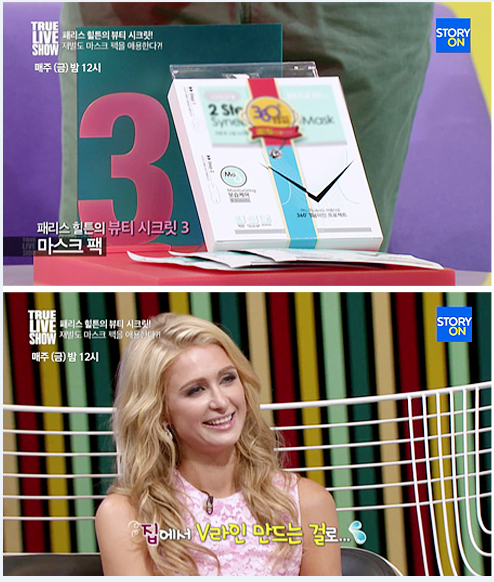
It’s no wonder that Paris Hilton unveiled that REGEN’s Synergy mask is her secret go-to mask especially on plane rides.

패리스힐튼 트라쇼_ 리젠 캡쳐

This mask is really worth a try and I am always a fan of home facials, using masks on myself every night to maintain a naturally healthy youthful looking skin. (A hardworking girl will always be beautiful ;P)

It is available in:

Hong Kong – Watsons  at HKD$187.50/box of 5 or HKD$37.50/piece

Singapore – http://www.hermo.sg/flagship/regencos.html at SGD$32.20/box of 5 or SGD$7/piece

Look out for my next blog post of REGEN’s V Fill-Up Mask for smoothening out fine lines and wrinkles on top of reshaping your face shape naturally.

XOXO

Jessica

Read Full Post »

IMG_3371

(Curls using Miracurl, jewellery from Mint Bauble)

Applying foundation on your face is one of the most basic forms of make-up, but it isn’t the easiest to do it well. Firstly, you have to find the perfect match of colour to your skin tone, then a foundation brand that doesn’t just sit on your skin but blends in like it’s part of your skin. To me, the perfect Summer time foundations that work great are RMK’s liquid foundation & Kate’s Powderless Liquid for Cover.


IMG_3342

Both these foundations keep your skin pretty much shine-free throughout the hot and humid days and they don’t cake up from the heat! If you are wondering why my foundations are in different shades – the RMK one darker(one or two shades darker than my skin tone) & Kate a lighter shade(matches my actual skin tone). I use 2 different shades to “sculpt” my face and give it a slimming effect. Great for days when you feel that your face is retaining water from a late night of partying, or its that time of the month…

Start with the darker shade first. In my case, I am using RMK liquid foundation. Apply it under your cheekbone area till your jawline.

IMG_3340

Blend it downwards towards your neck using your fingers or a foundation sponge. (I simply use my fingers)

After that, apply the lighter shade on the peaks of your cheekbone.

IMG_3345

Blend in the lighter shade downwards towards the darker shade. Make sure both the foundations blend in well, without being able to see a distinctive change in colours.

After your base foundation is done, use a highlighter pen (I am using YSL’s Touché Éclat) on your nose bridge, under eye area & smile lines. Focus on your nose bridge – this will make your nose seem sharper & higher. (I often get asked if my nose is fake, or who is the surgeon that did my nose! I take that as a compliment but it’s just good make-up tricks peeps!)

IMG_2347

(picture from previous post on Touché Éclat)

Blend in the highlights & apply a layer of translucent loose powder on your face. Get a brown-shade blush ready to create a more shapely face. Here I am using MAC’s Wonderwoman blush which carries 3 tones – pink blush, brown shading blush & a highlight blush.

IMG_3351

Use an eyeshadow brush to pick up some of the brown blush, apply it on the sides of your nose bridge.

IMG_3352

IMG_3353

This creates a sharper & slimmer nose.

TIP: Use the highlight blush on your under eye and cheekbone area for a radiant glow!

Now that your perfect base is done. (which is oh-so important!) You can just stop right here and add a touch of blush, brows & mascara & you are good to go! But I am going to carry on to show you my favourite falsies to use to brighten up your eyes and NOT have that “umbrellas shading your eyes” look. If you know what I mean… 😉

IMG_3358

These are the 3/4 length falsies which wing-out to longer lashes at the ends. Easily found in any SASA or Watson’s stores. MAC & Shu Uemura have them too but they are a lot more costly.

So, curl your lashes, apply a layer of mascara, then glue on these falsies from about 1/3 distance away from your tear-duct.

IMG_3359

See how they immediately open up my eyes with the winged effect of the lashes. And they are much easier to use too!

IMG_3360

Do the same for the other eye. Apply a tad of lip gloss/balm and we are done!

Ready for a slimmer more sculpted face? Try out these little tricks of mine which I use daily when I head out for castings!

XOXO

Jessica


Read Full Post »

IMG_2750


Ever since I went to Tokyo over the Easter long weekend to celebrate my birthday, I was inspired to have my hair curled and styled just like the Japanese! So when I returned back to Hong Kong, I immediately took out my new Miracurl and started fiddling with it. And it was a pleasant surprise that Miracurl made, the once gruelling and time-consuming, hair-curling easy and straightforward more than ever.


Previously, I used my heating tongs (which I had given away since) to create curly locks on my own. This always took me eons and I had to be constantly mindful to not burn my face/neck with the heating tong… Hence, unless I had tons of time, I would never touch those heating tongs.

IMG_2767

But with this latest product from Babyliss Pro, it took me a mere 10 minutes or less! And the curls turned out beautiful and looked as if they were professionally done. It is such a simple tool to use – basically you section your hair no more than 3cm, put the bunch of hair into the V-shaped part of the Miracurl, squeeze, wait for 10 seconds, and it’s done!

I did up a simple video tutorial to show you how simple and easy it really is:

Miracurl is now retailing in Hong Kong at:

LOG-ON, City Store, SOGO, AEON, Fortress, Rosy Rain  at HKD$1689.

In Singapore it is retailing at: 

Selected Watsons stores island-wide at promotional price of SGD$199 from 01-28 May 2014. Retail price is SGD$259.

I know it is one of the more pricey hair curlers in the market, but it is worth every penny; it saves time, it is safe (no more burning of your face or neck *ouch!*) and it is versatile with any hair length! (you can share this with just about anyone, including your boyfriend).

Also, be mindful of the cheaper priced “Miracurls” in the market as there are plenty of knock-offs owing to its world-wide popularity. These knock-offs may not have complied with strict quality controls and may be a hazard to use.

Miracurl has the thumbs up from this happy customer! 🙂

XOXO

Jessica

For more information, do visit:

Facebook Page

BaByliss PRO Asia Facebook Fan Page

MiraCurl ™ Website:

http://www.babylisspro-asia-miracurl.com

Miracurl


Read Full Post »