(Curls using Miracurl, jewellery from Mint Bauble)
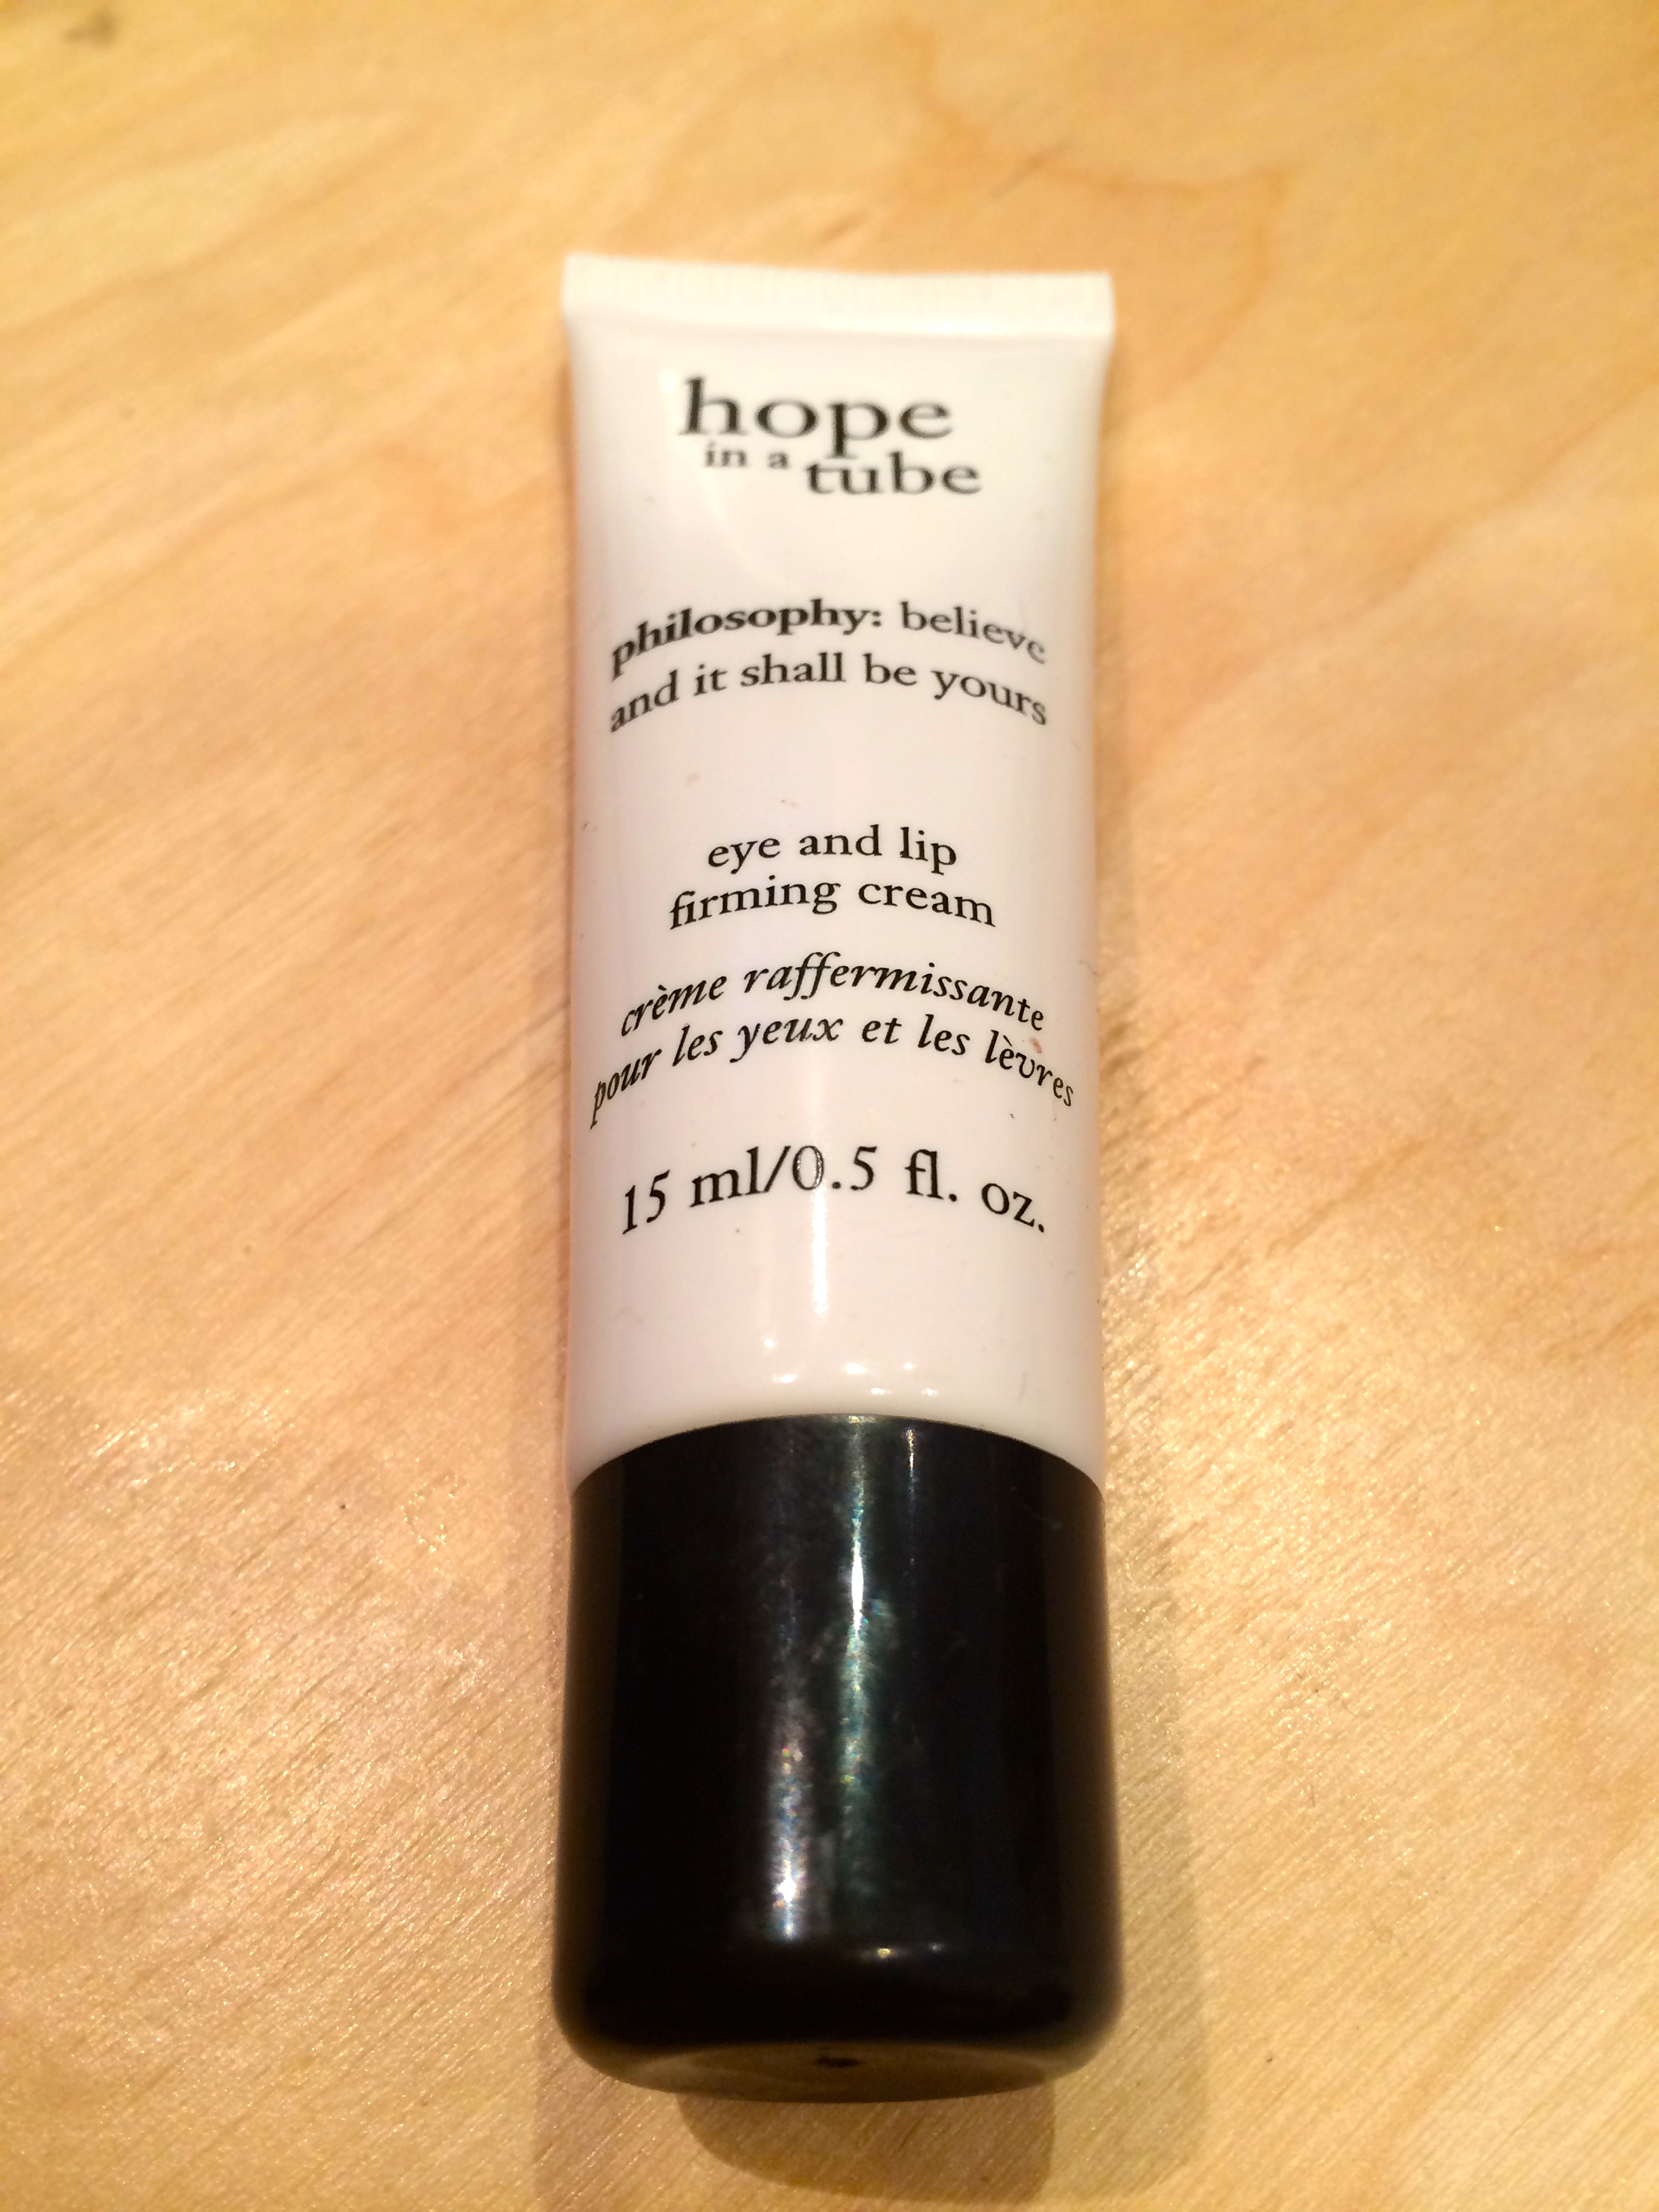
Applying foundation on your face is one of the most basic forms of make-up, but it isn’t the easiest to do it well. Firstly, you have to find the perfect match of colour to your skin tone, then a foundation brand that doesn’t just sit on your skin but blends in like it’s part of your skin. To me, the perfect Summer time foundations that work great are RMK’s liquid foundation & Kate’s Powderless Liquid for Cover.
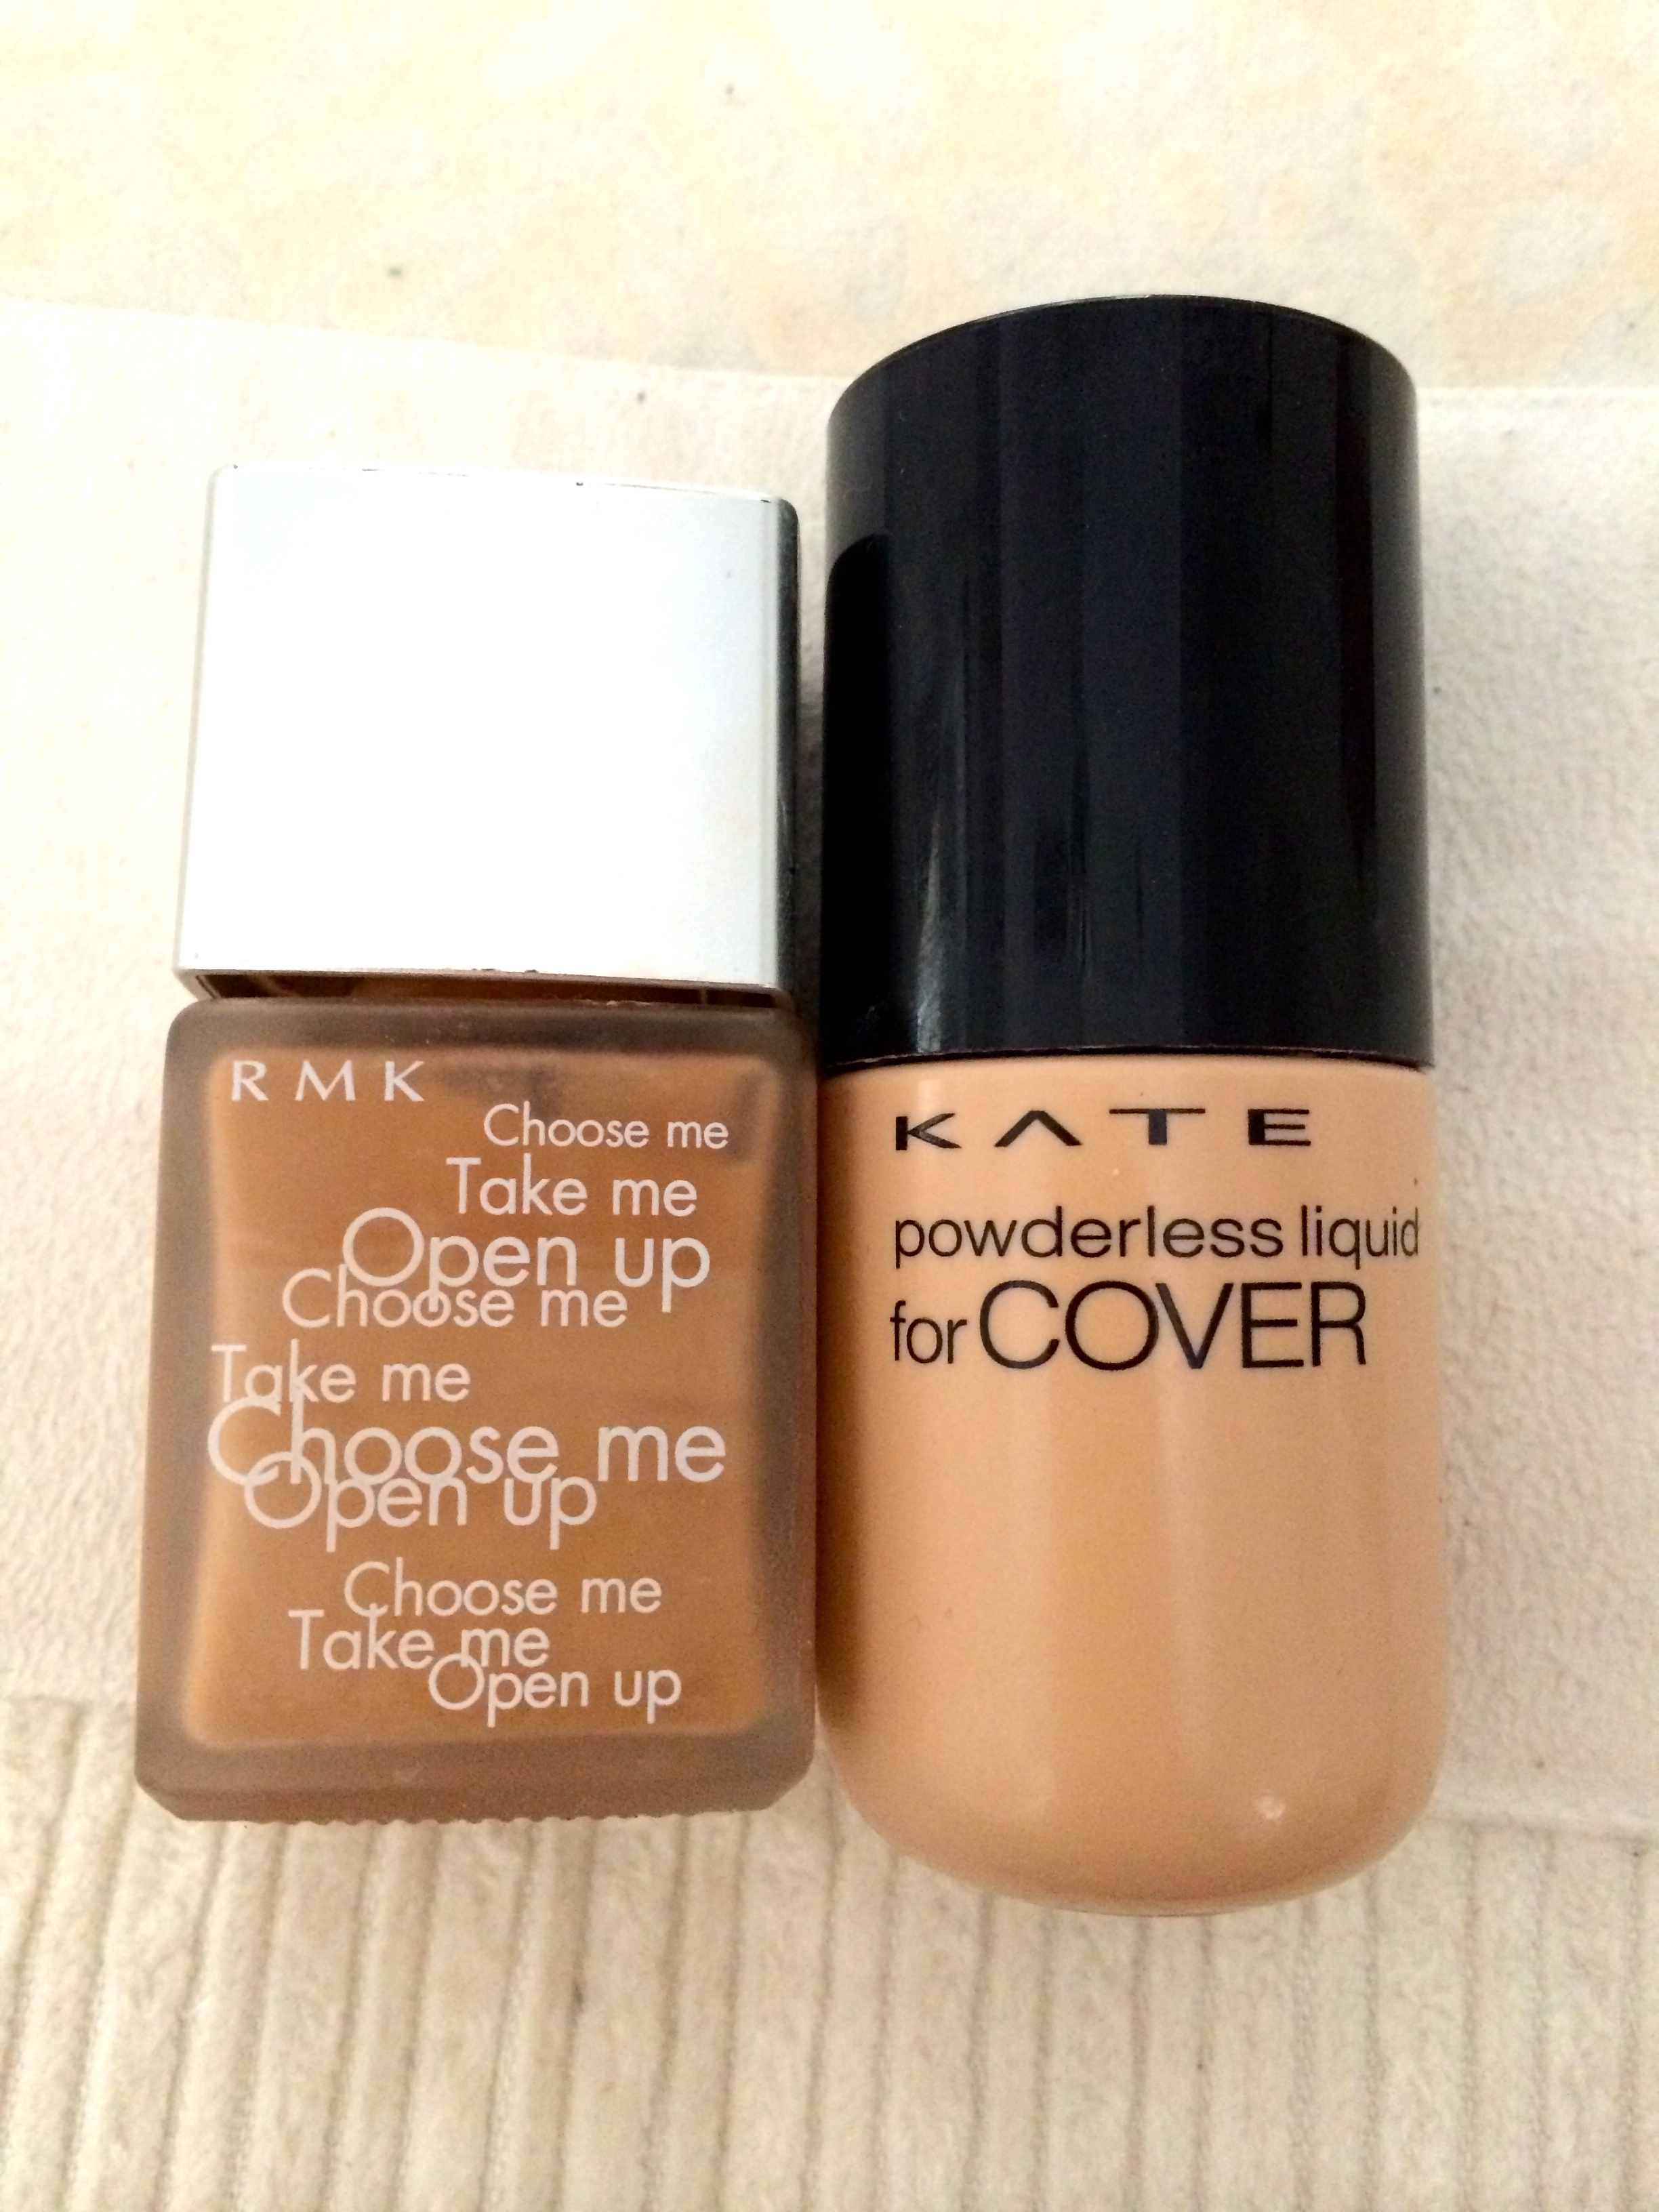
Both these foundations keep your skin pretty much shine-free throughout the hot and humid days and they don’t cake up from the heat! If you are wondering why my foundations are in different shades – the RMK one darker(one or two shades darker than my skin tone) & Kate a lighter shade(matches my actual skin tone). I use 2 different shades to “sculpt” my face and give it a slimming effect. Great for days when you feel that your face is retaining water from a late night of partying, or its that time of the month…
Start with the darker shade first. In my case, I am using RMK liquid foundation. Apply it under your cheekbone area till your jawline.

Blend it downwards towards your neck using your fingers or a foundation sponge. (I simply use my fingers)
After that, apply the lighter shade on the peaks of your cheekbone.

Blend in the lighter shade downwards towards the darker shade. Make sure both the foundations blend in well, without being able to see a distinctive change in colours.
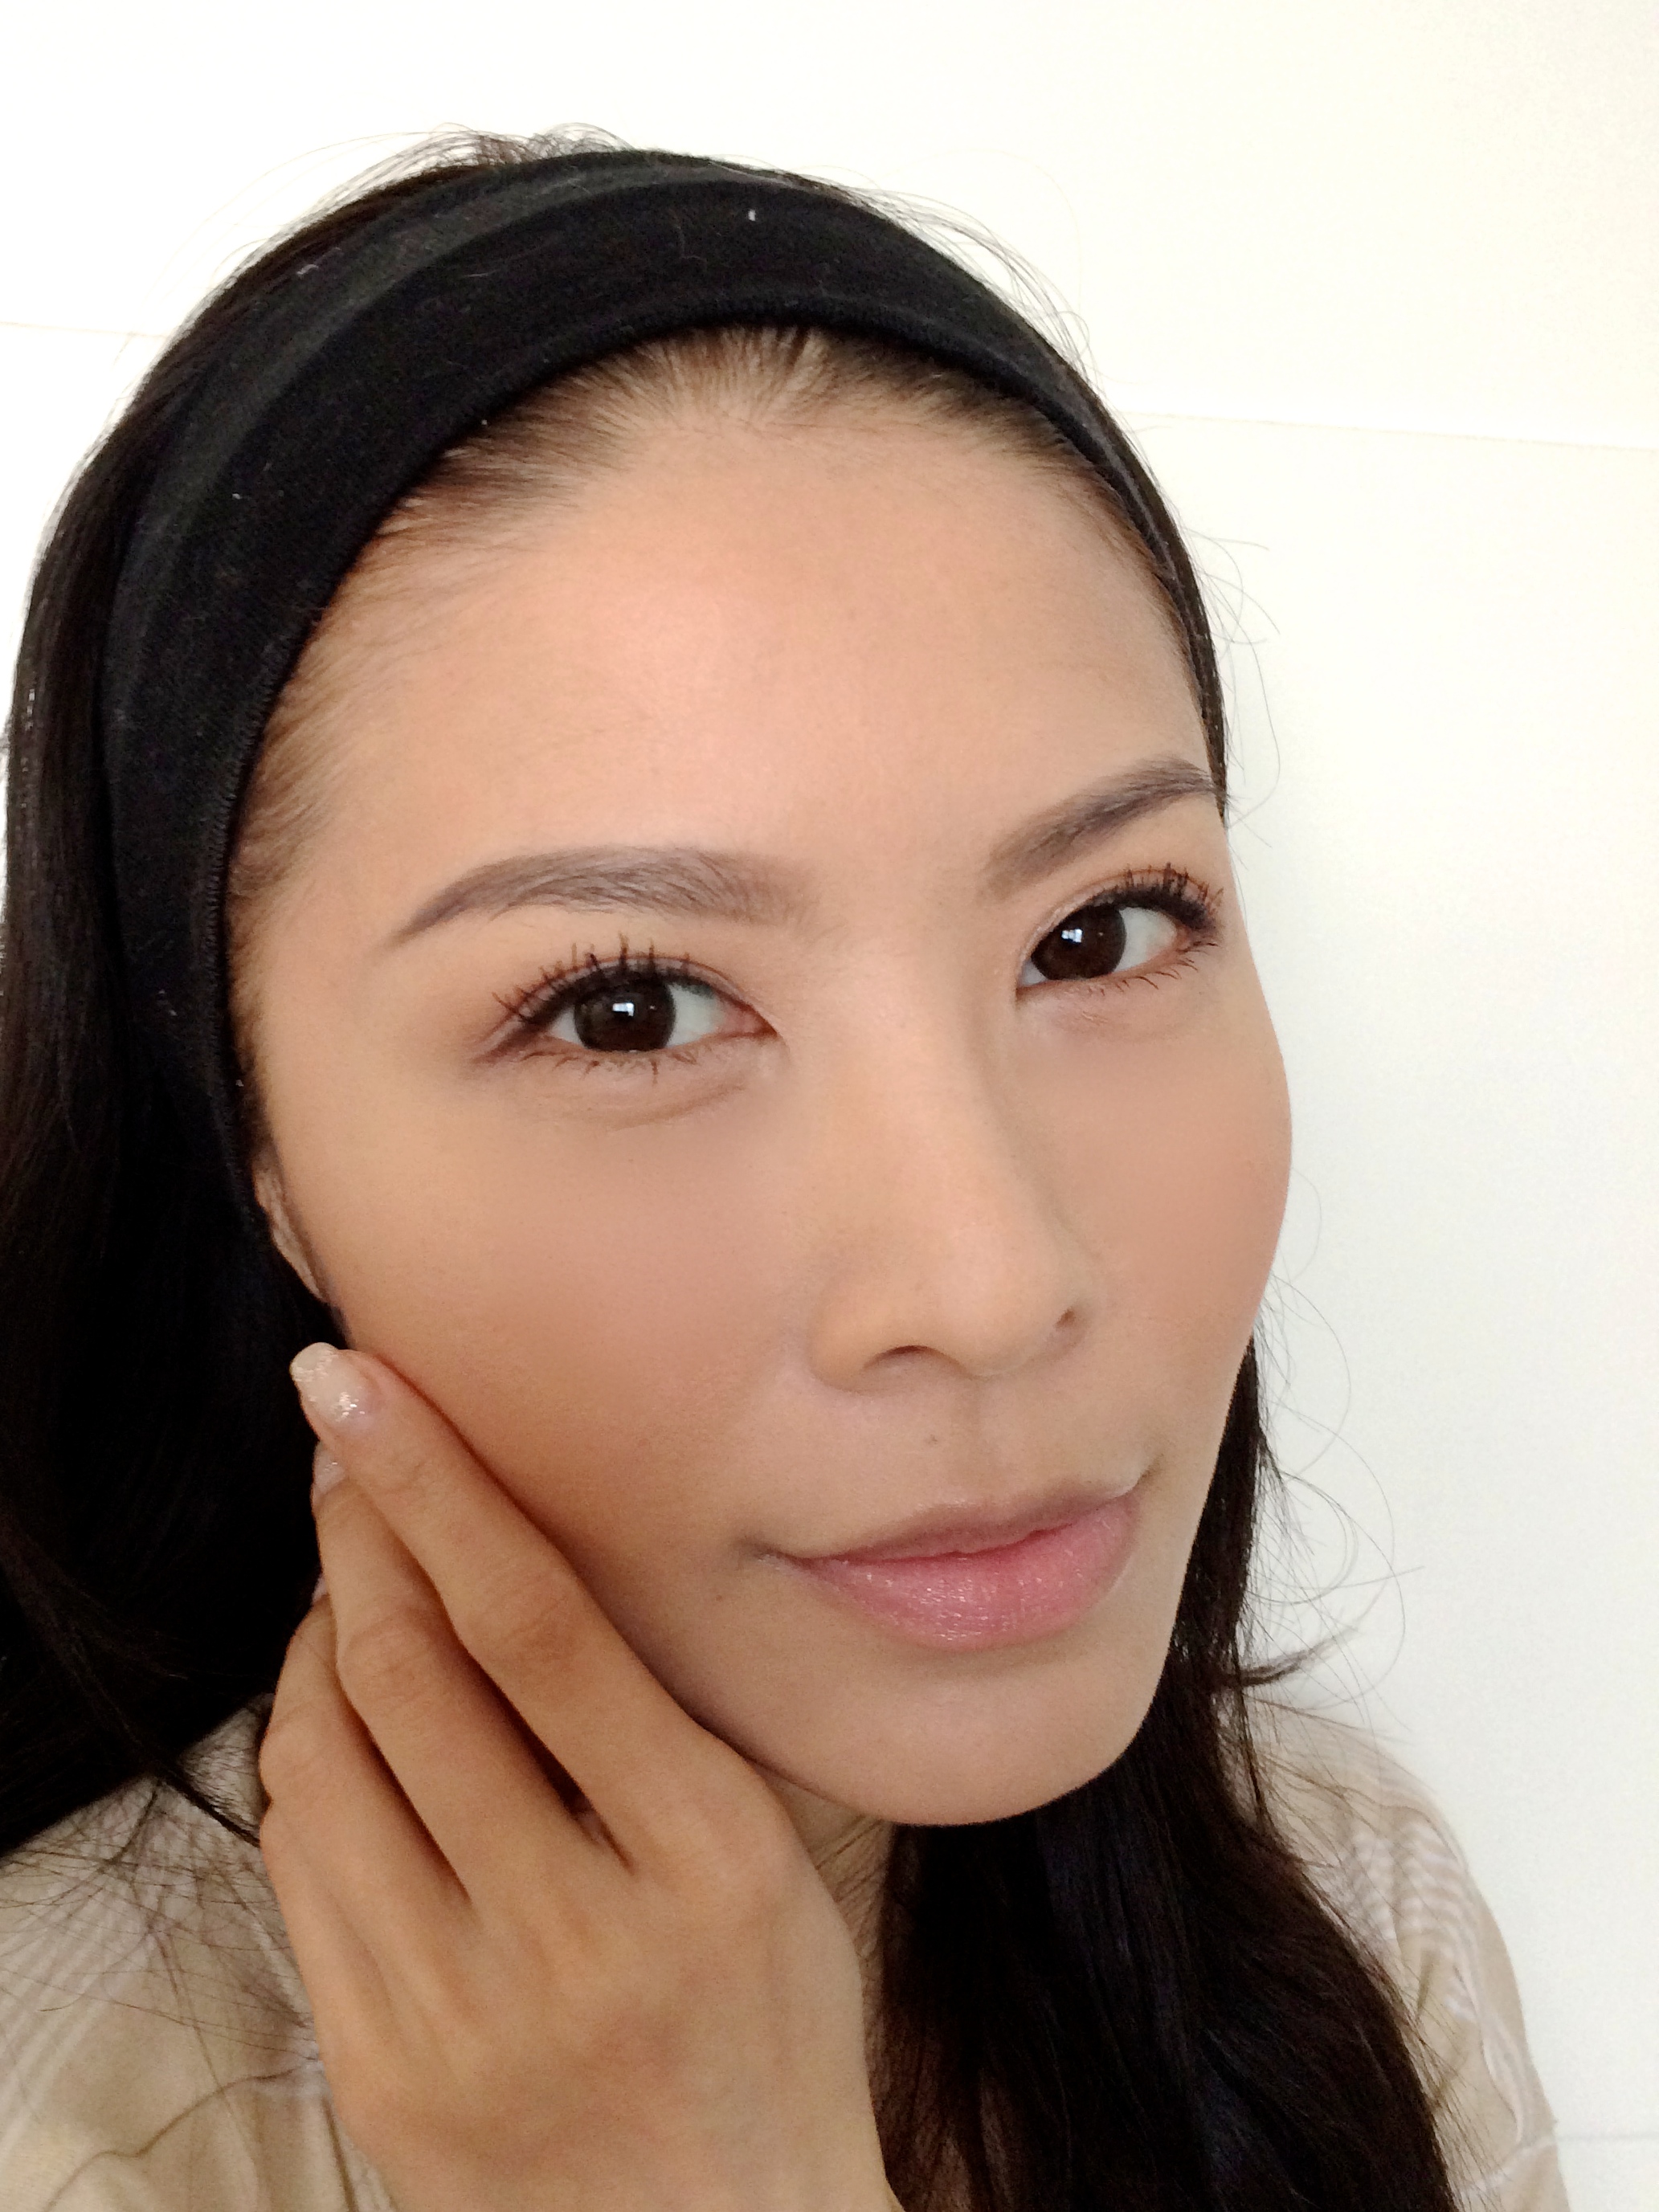
After your base foundation is done, use a highlighter pen (I am using YSL’s Touché Éclat) on your nose bridge, under eye area & smile lines. Focus on your nose bridge – this will make your nose seem sharper & higher. (I often get asked if my nose is fake, or who is the surgeon that did my nose! I take that as a compliment but it’s just good make-up tricks peeps!)

(picture from previous post on Touché Éclat)
Blend in the highlights & apply a layer of translucent loose powder on your face. Get a brown-shade blush ready to create a more shapely face. Here I am using MAC’s Wonderwoman blush which carries 3 tones – pink blush, brown shading blush & a highlight blush.
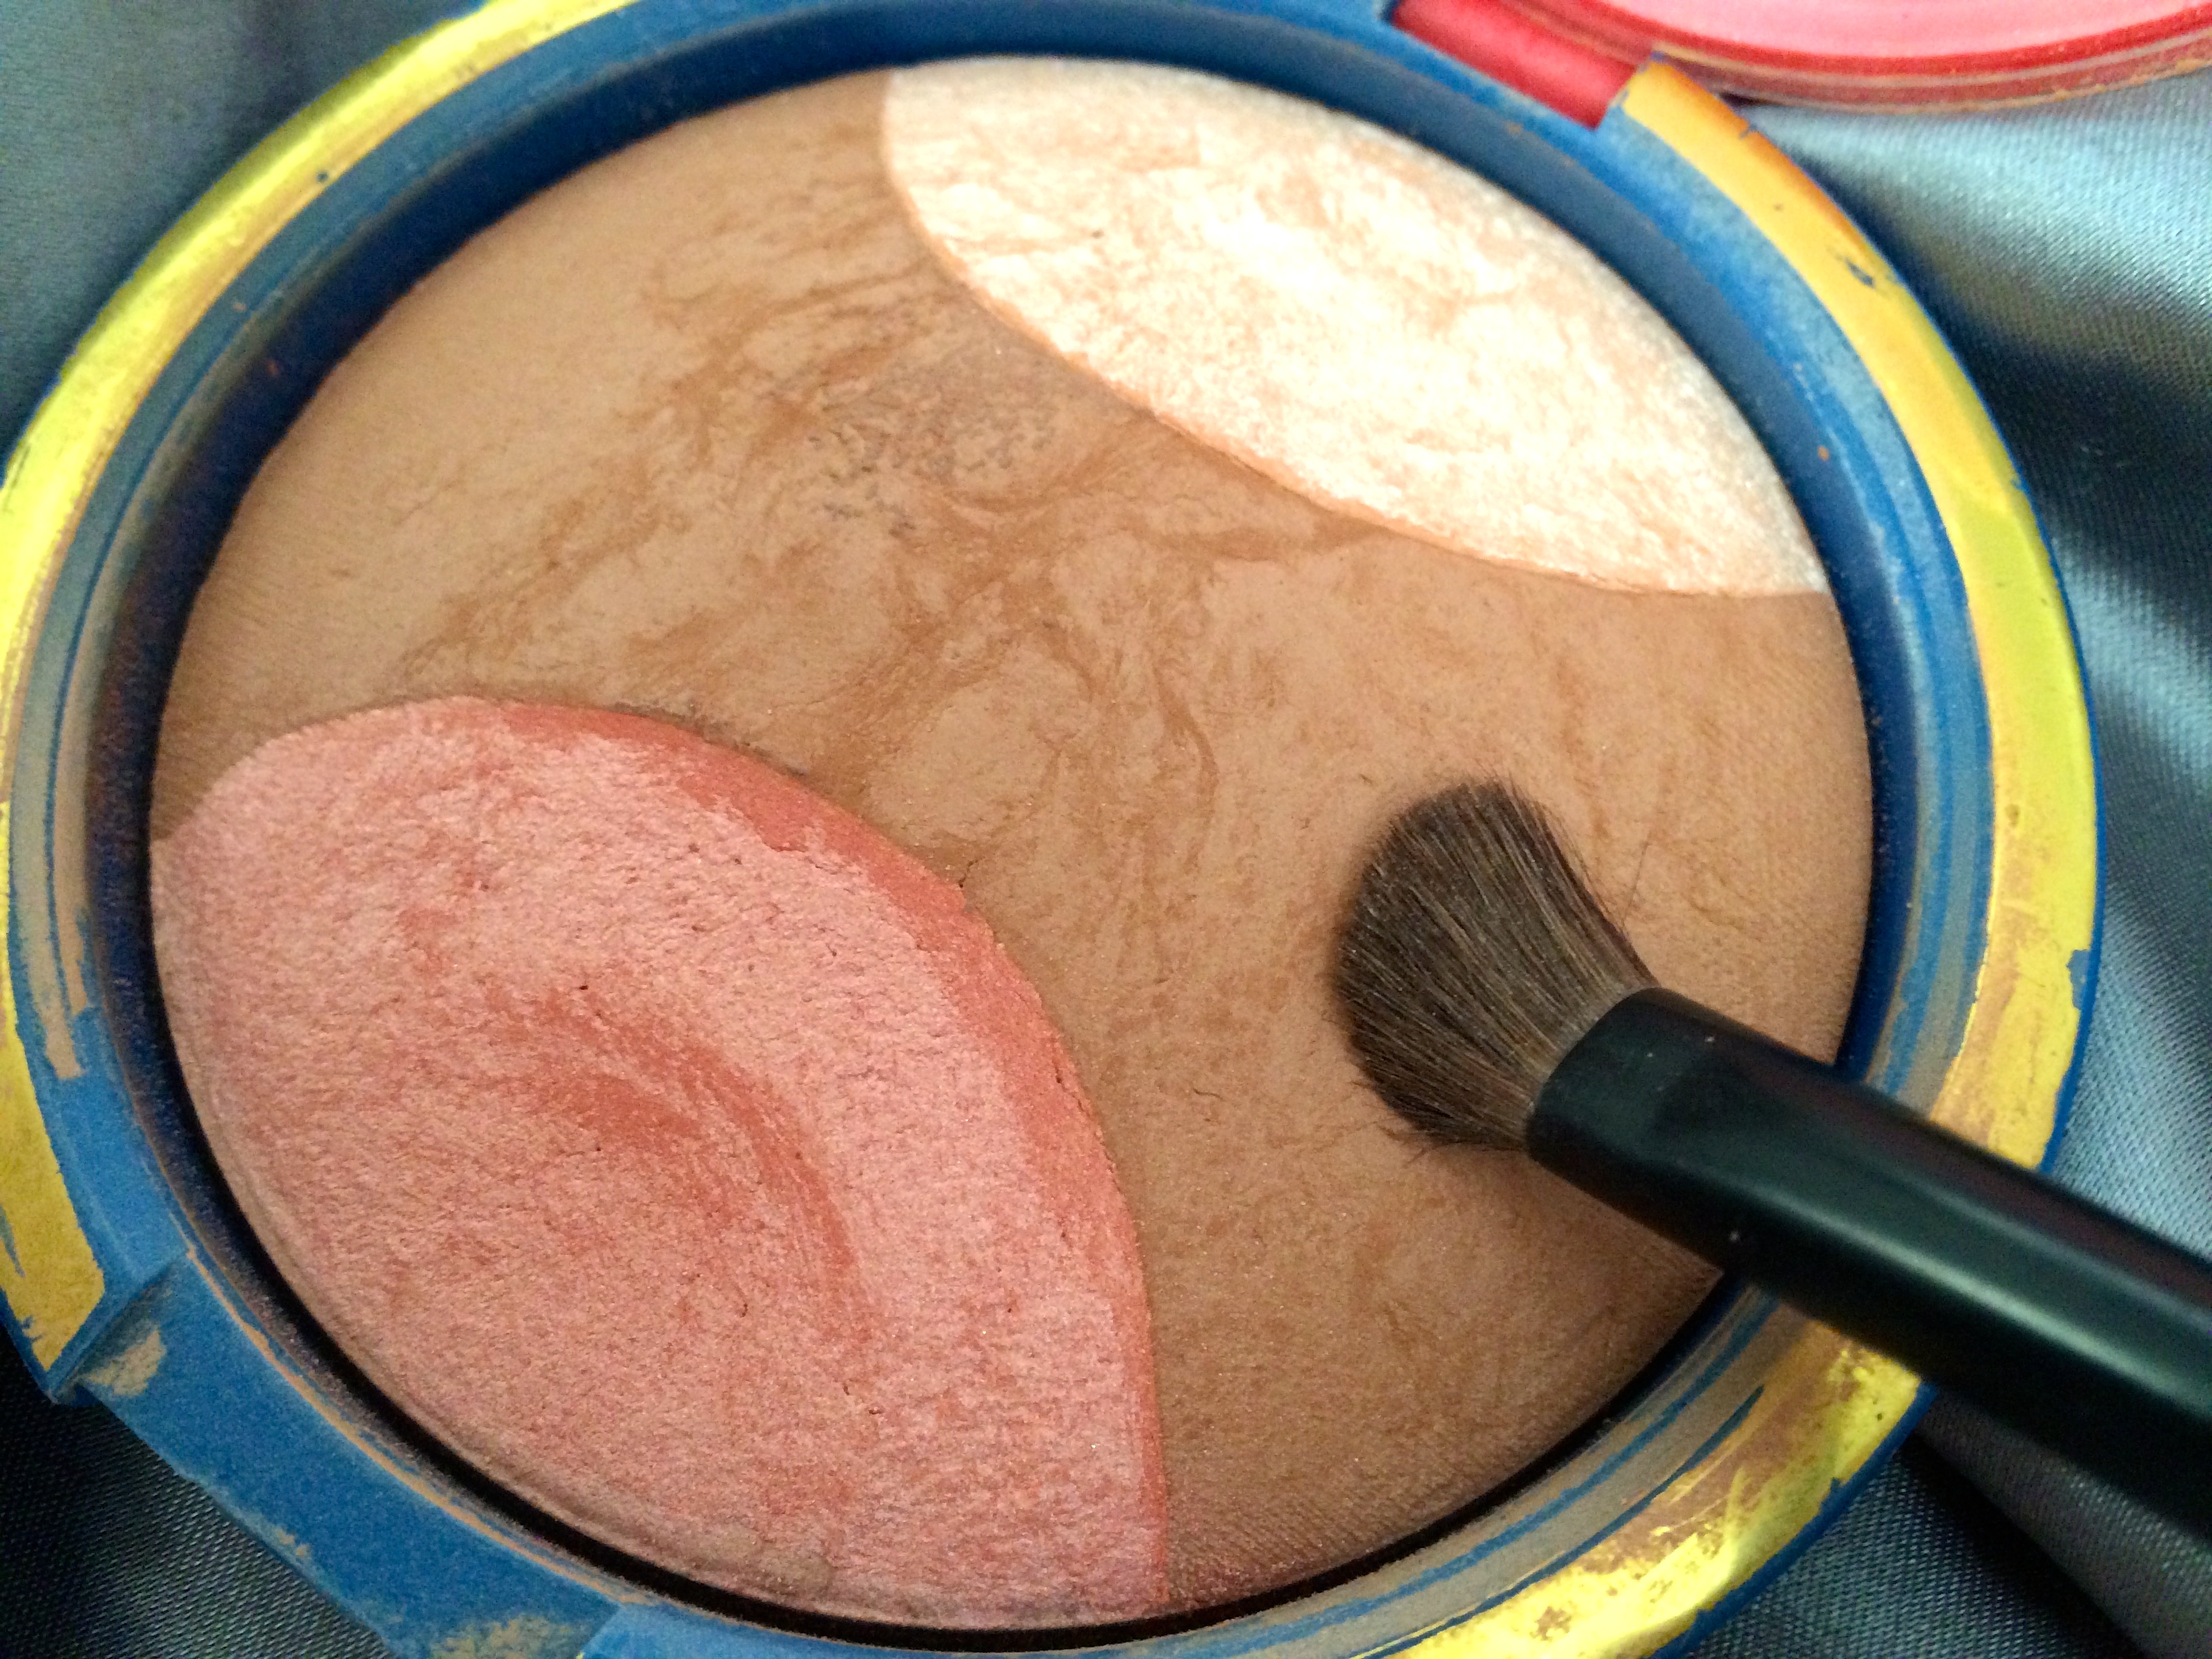
Use an eyeshadow brush to pick up some of the brown blush, apply it on the sides of your nose bridge.


This creates a sharper & slimmer nose.
TIP: Use the highlight blush on your under eye and cheekbone area for a radiant glow!
Now that your perfect base is done. (which is oh-so important!) You can just stop right here and add a touch of blush, brows & mascara & you are good to go! But I am going to carry on to show you my favourite falsies to use to brighten up your eyes and NOT have that “umbrellas shading your eyes” look. If you know what I mean… 😉

These are the 3/4 length falsies which wing-out to longer lashes at the ends. Easily found in any SASA or Watson’s stores. MAC & Shu Uemura have them too but they are a lot more costly.
So, curl your lashes, apply a layer of mascara, then glue on these falsies from about 1/3 distance away from your tear-duct.
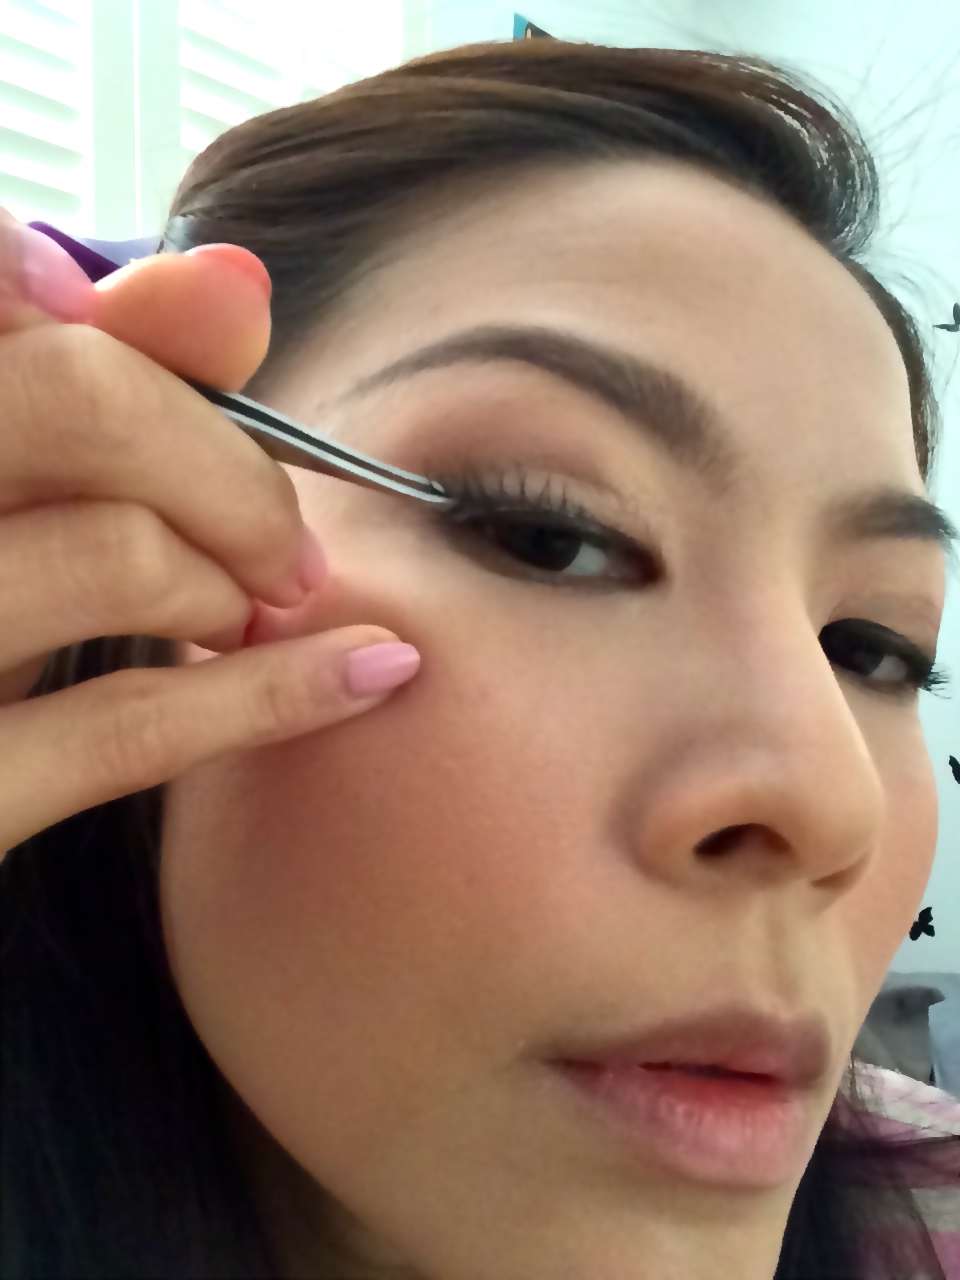
See how they immediately open up my eyes with the winged effect of the lashes. And they are much easier to use too!
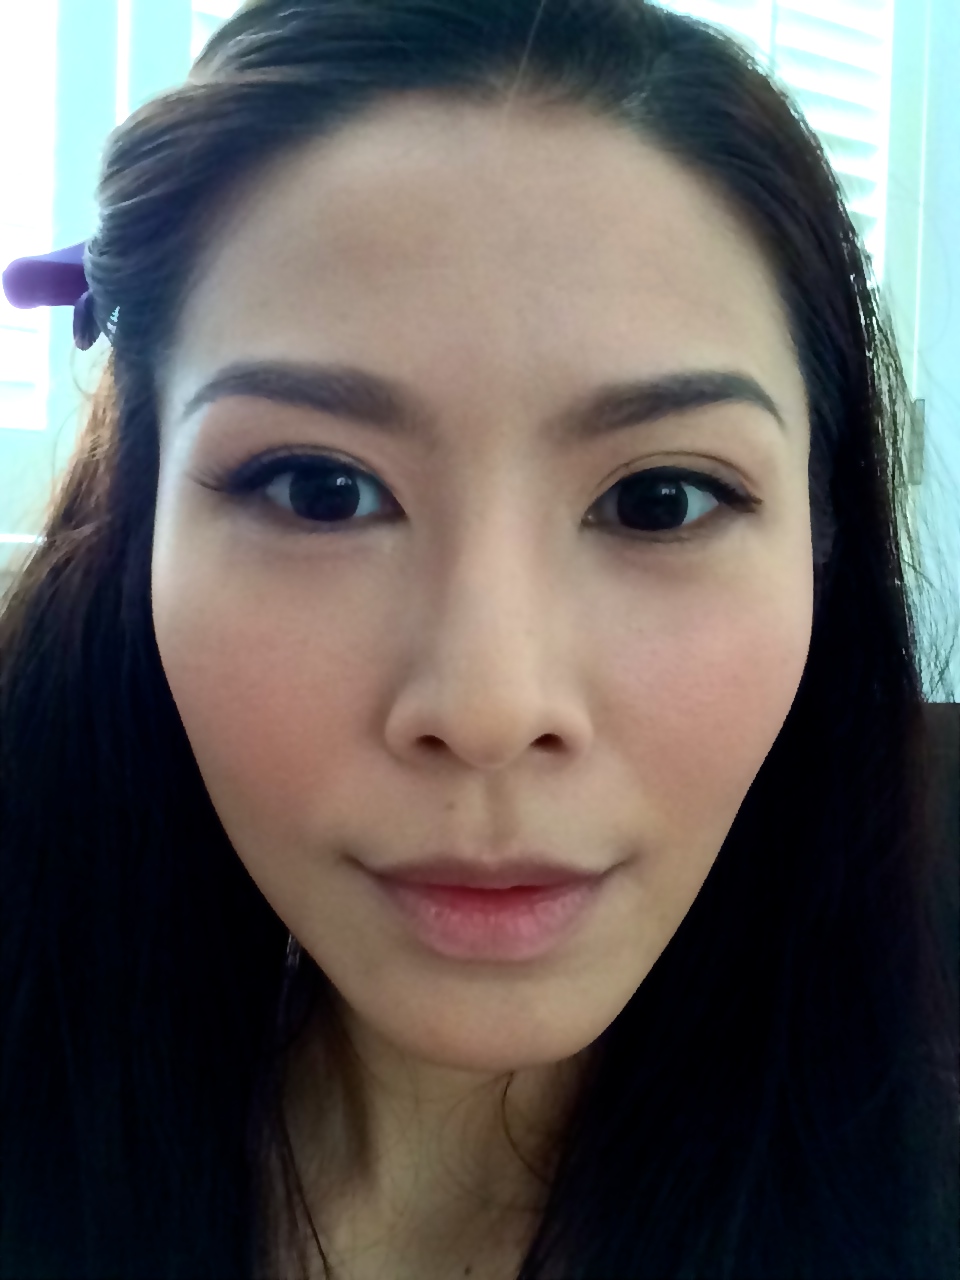
Do the same for the other eye. Apply a tad of lip gloss/balm and we are done!
Ready for a slimmer more sculpted face? Try out these little tricks of mine which I use daily when I head out for castings!
XOXO
Jessica