Feeds:
Posts
Comments

Posts Tagged ‘make up’


IMG_8570

Hello!

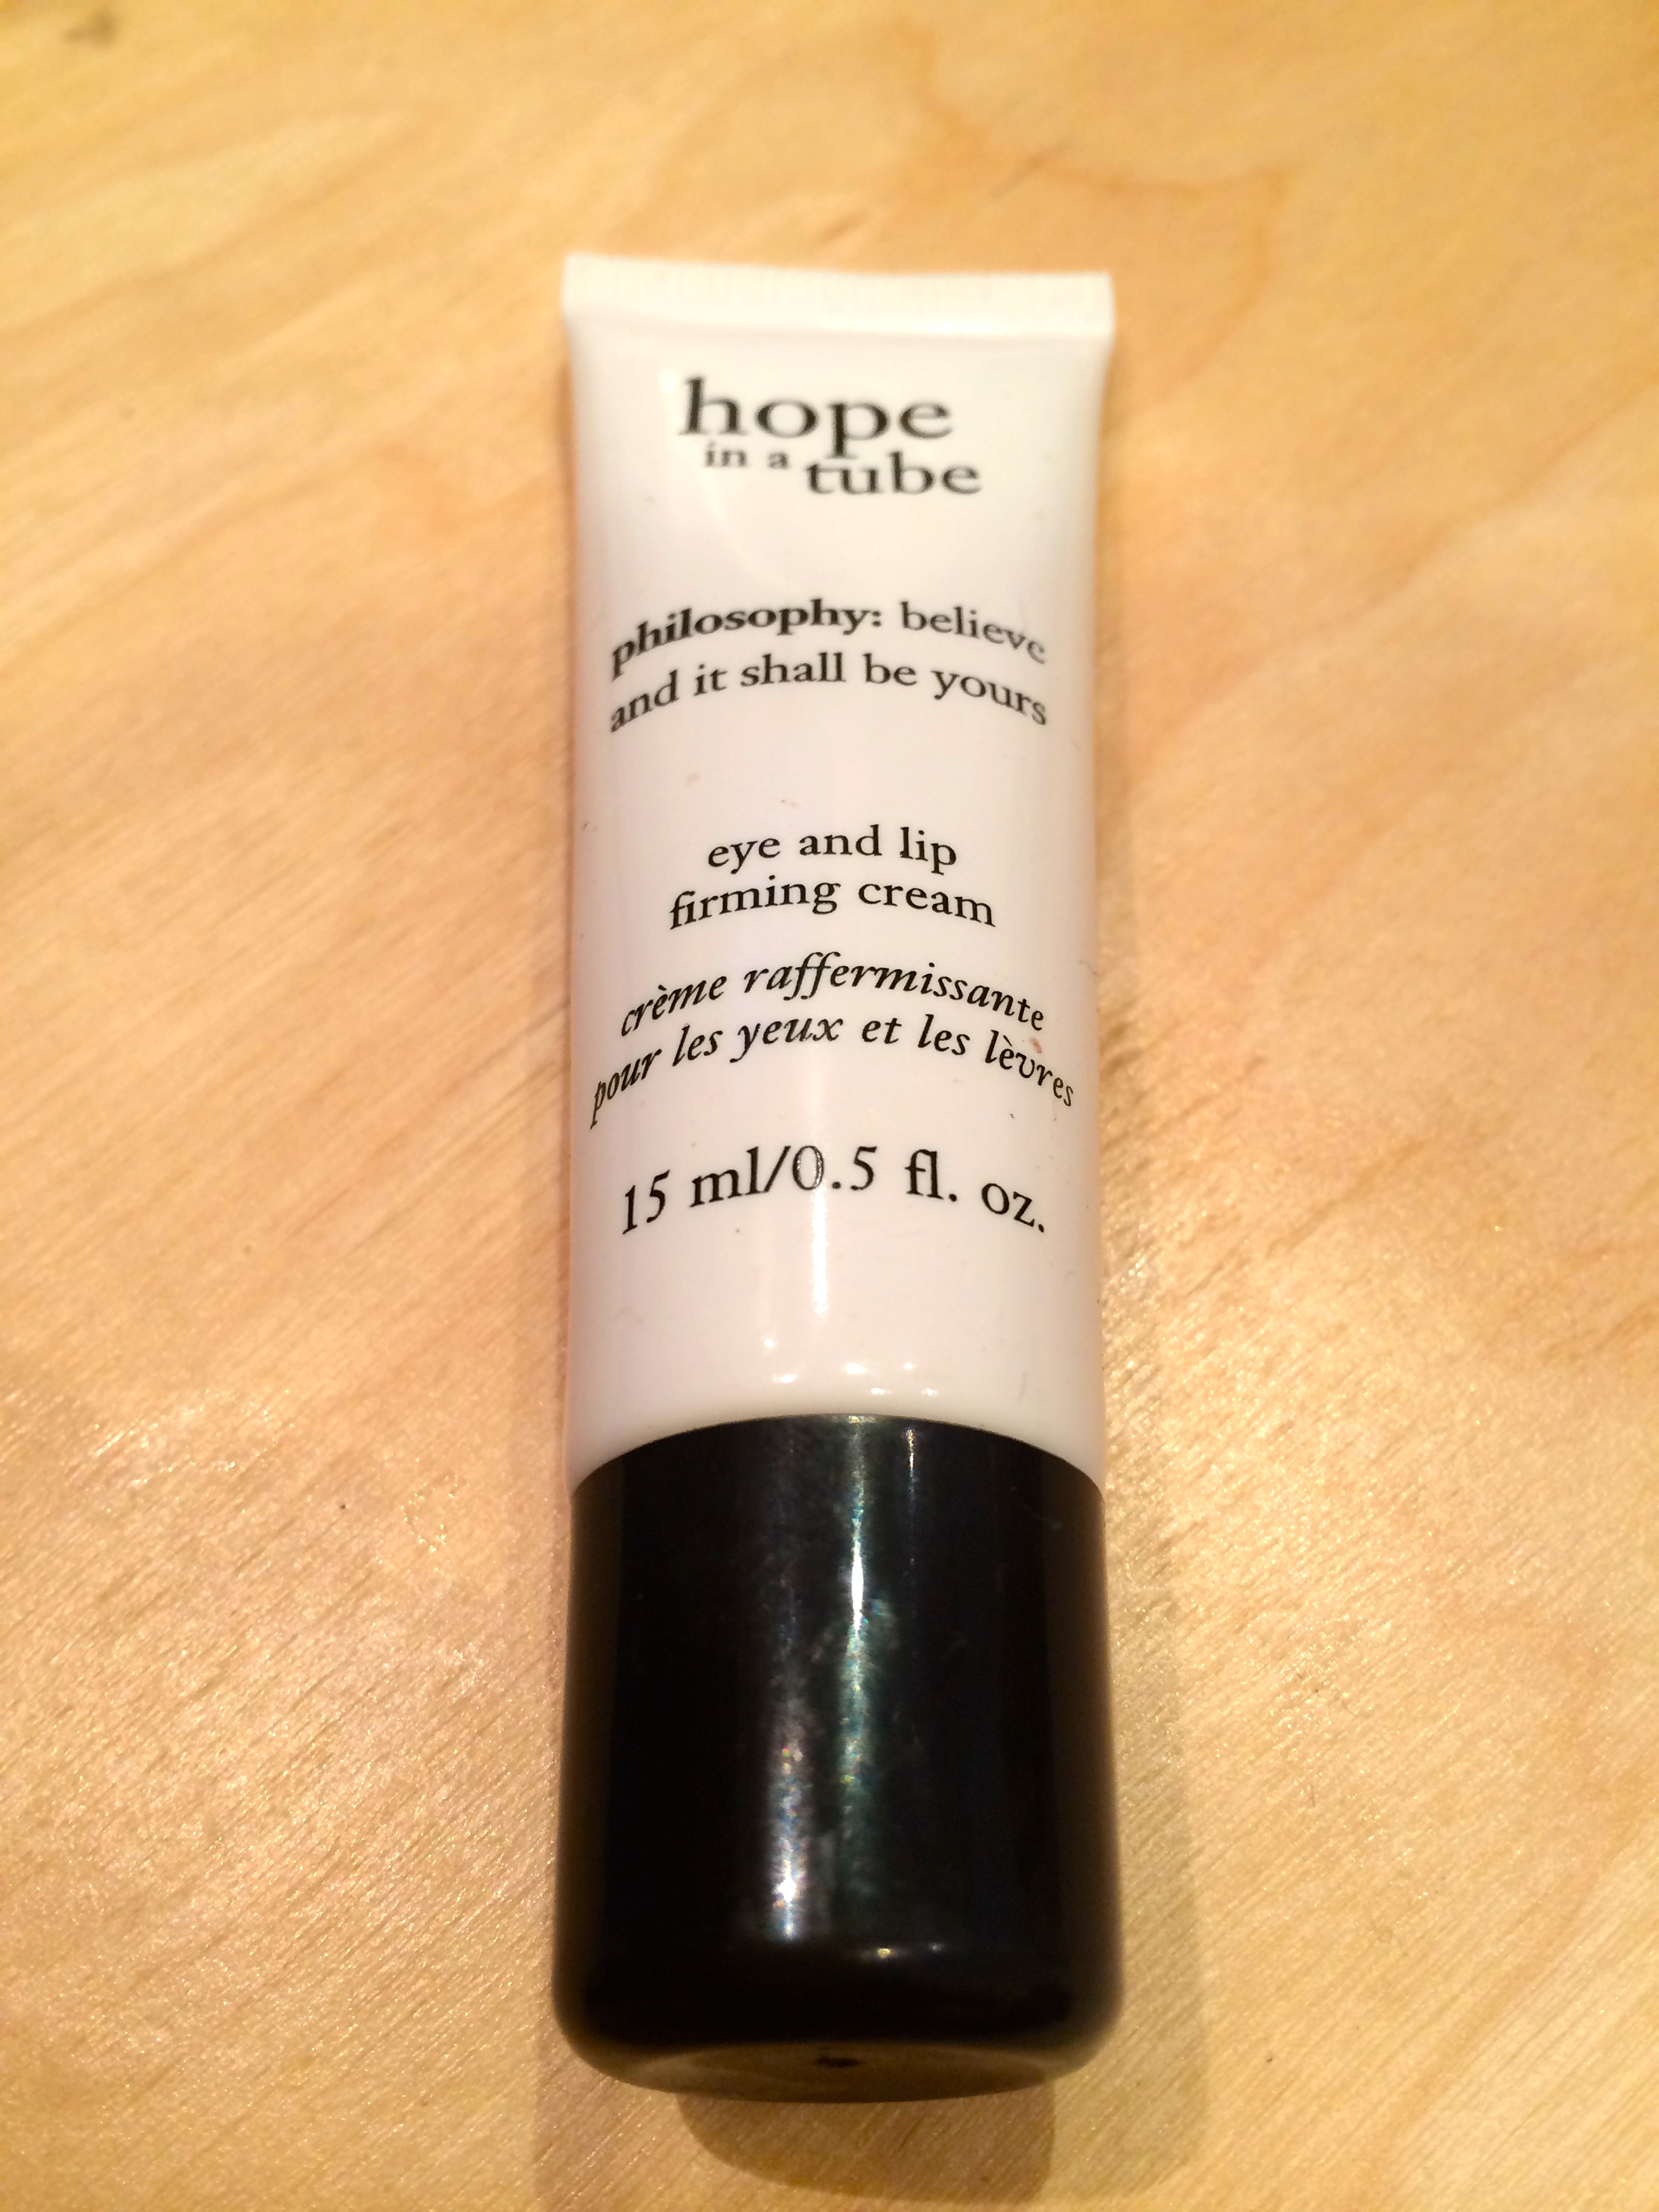
I would like to share with you what’s current in my make up stash! For the make-up base I have been using REGEN’s Ultra Toning CC & Ultra Cover BB as a foundation. If you have haven’t heard about REGEN, read more about their star product – 2-Step Synergy Mask in my previous review.

Why I love using REGEN’s CC & BB creams is because of the high SPF coverage which is super important in anti-aging of the skin. And these 2 creams are medically created for post-op skincare, which is perfect for sensitive skin types that protects your skin from the sun, keeps a breathable layer and won’t clog your pores.

Both the CC & BB creams contains these active ingredients:

  • Salicornia europaea extract – improves skins transparency and firms the skin.
  • Hyaluronic acid – creates a veil that traps moisture within the skin preventing dehydration and formation of wrinkles.
  • Madecassic acid – ancient herbal remedy that speeds up wound healing particularly after surgical  procedures. Improves skin elasticity maintaining a more youthful looking skin.
  • Portulaca extract – rich in omega-3 fatty acids and flavonoids. Anti-aging and anti-irritant properties which calms sensitive, itchy skin. Fights premature aging & protects from environmental skin damage.

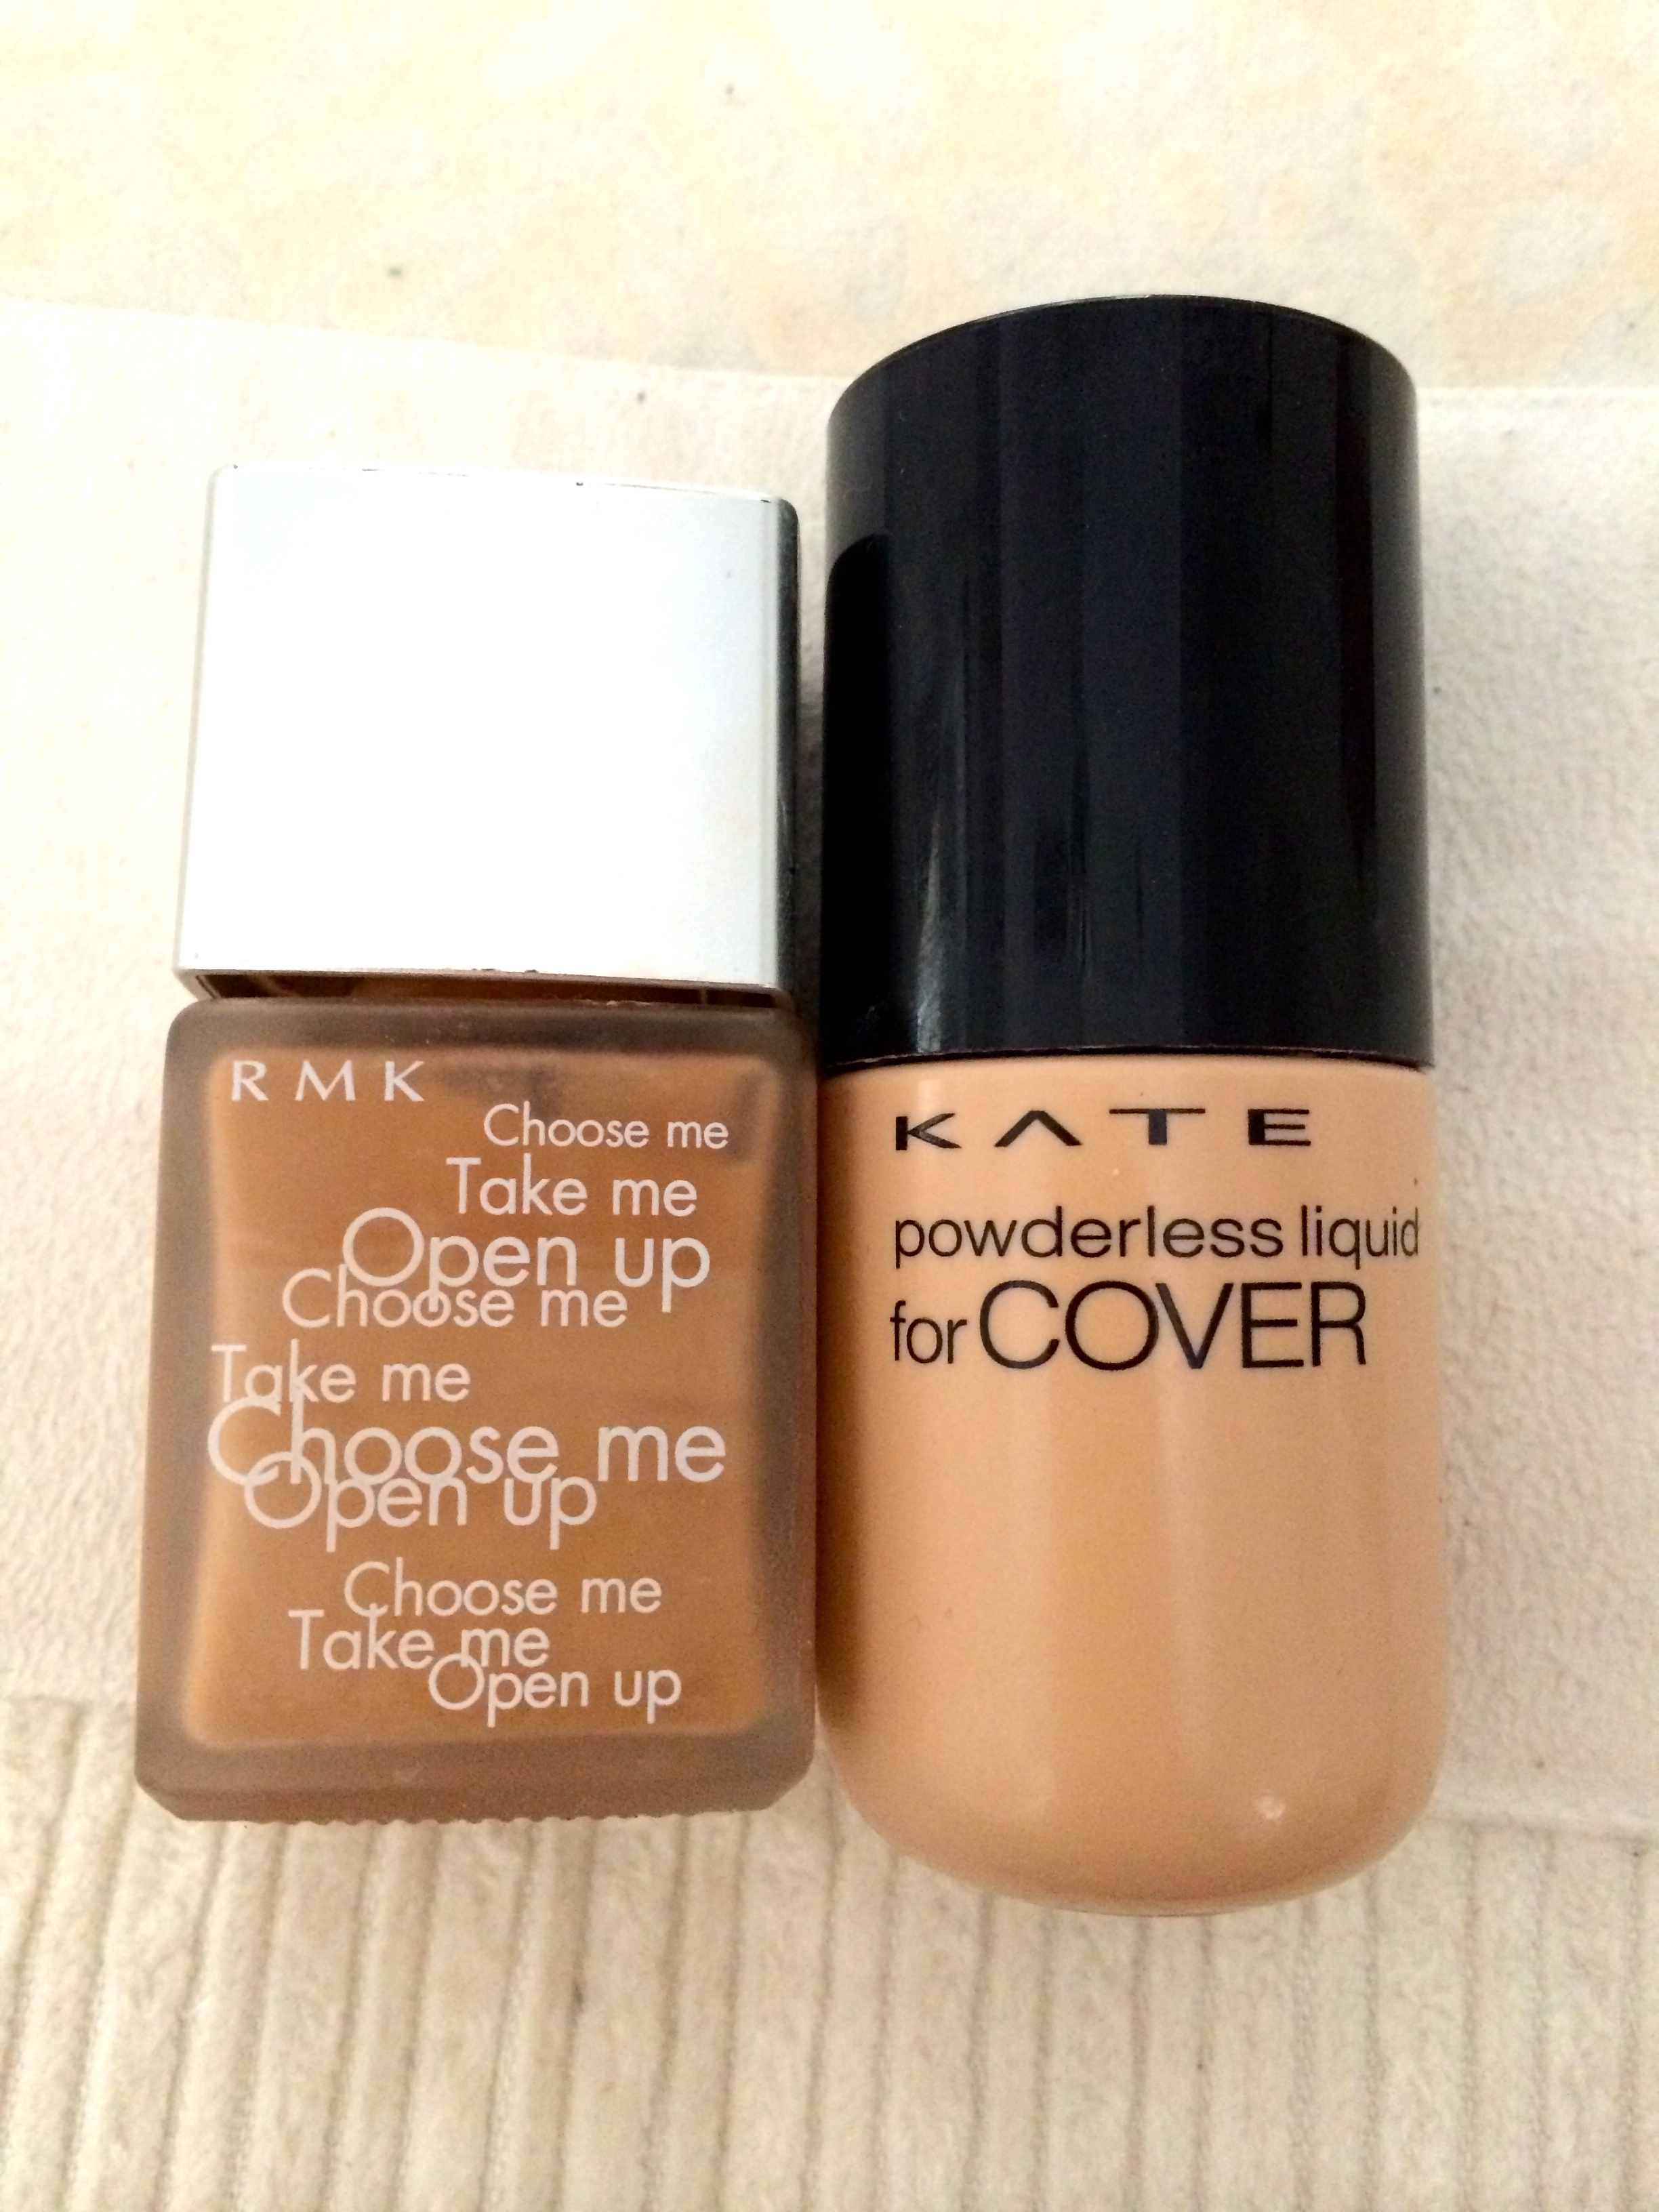
This is how the 2 creams look against my skin:

IMG_8858

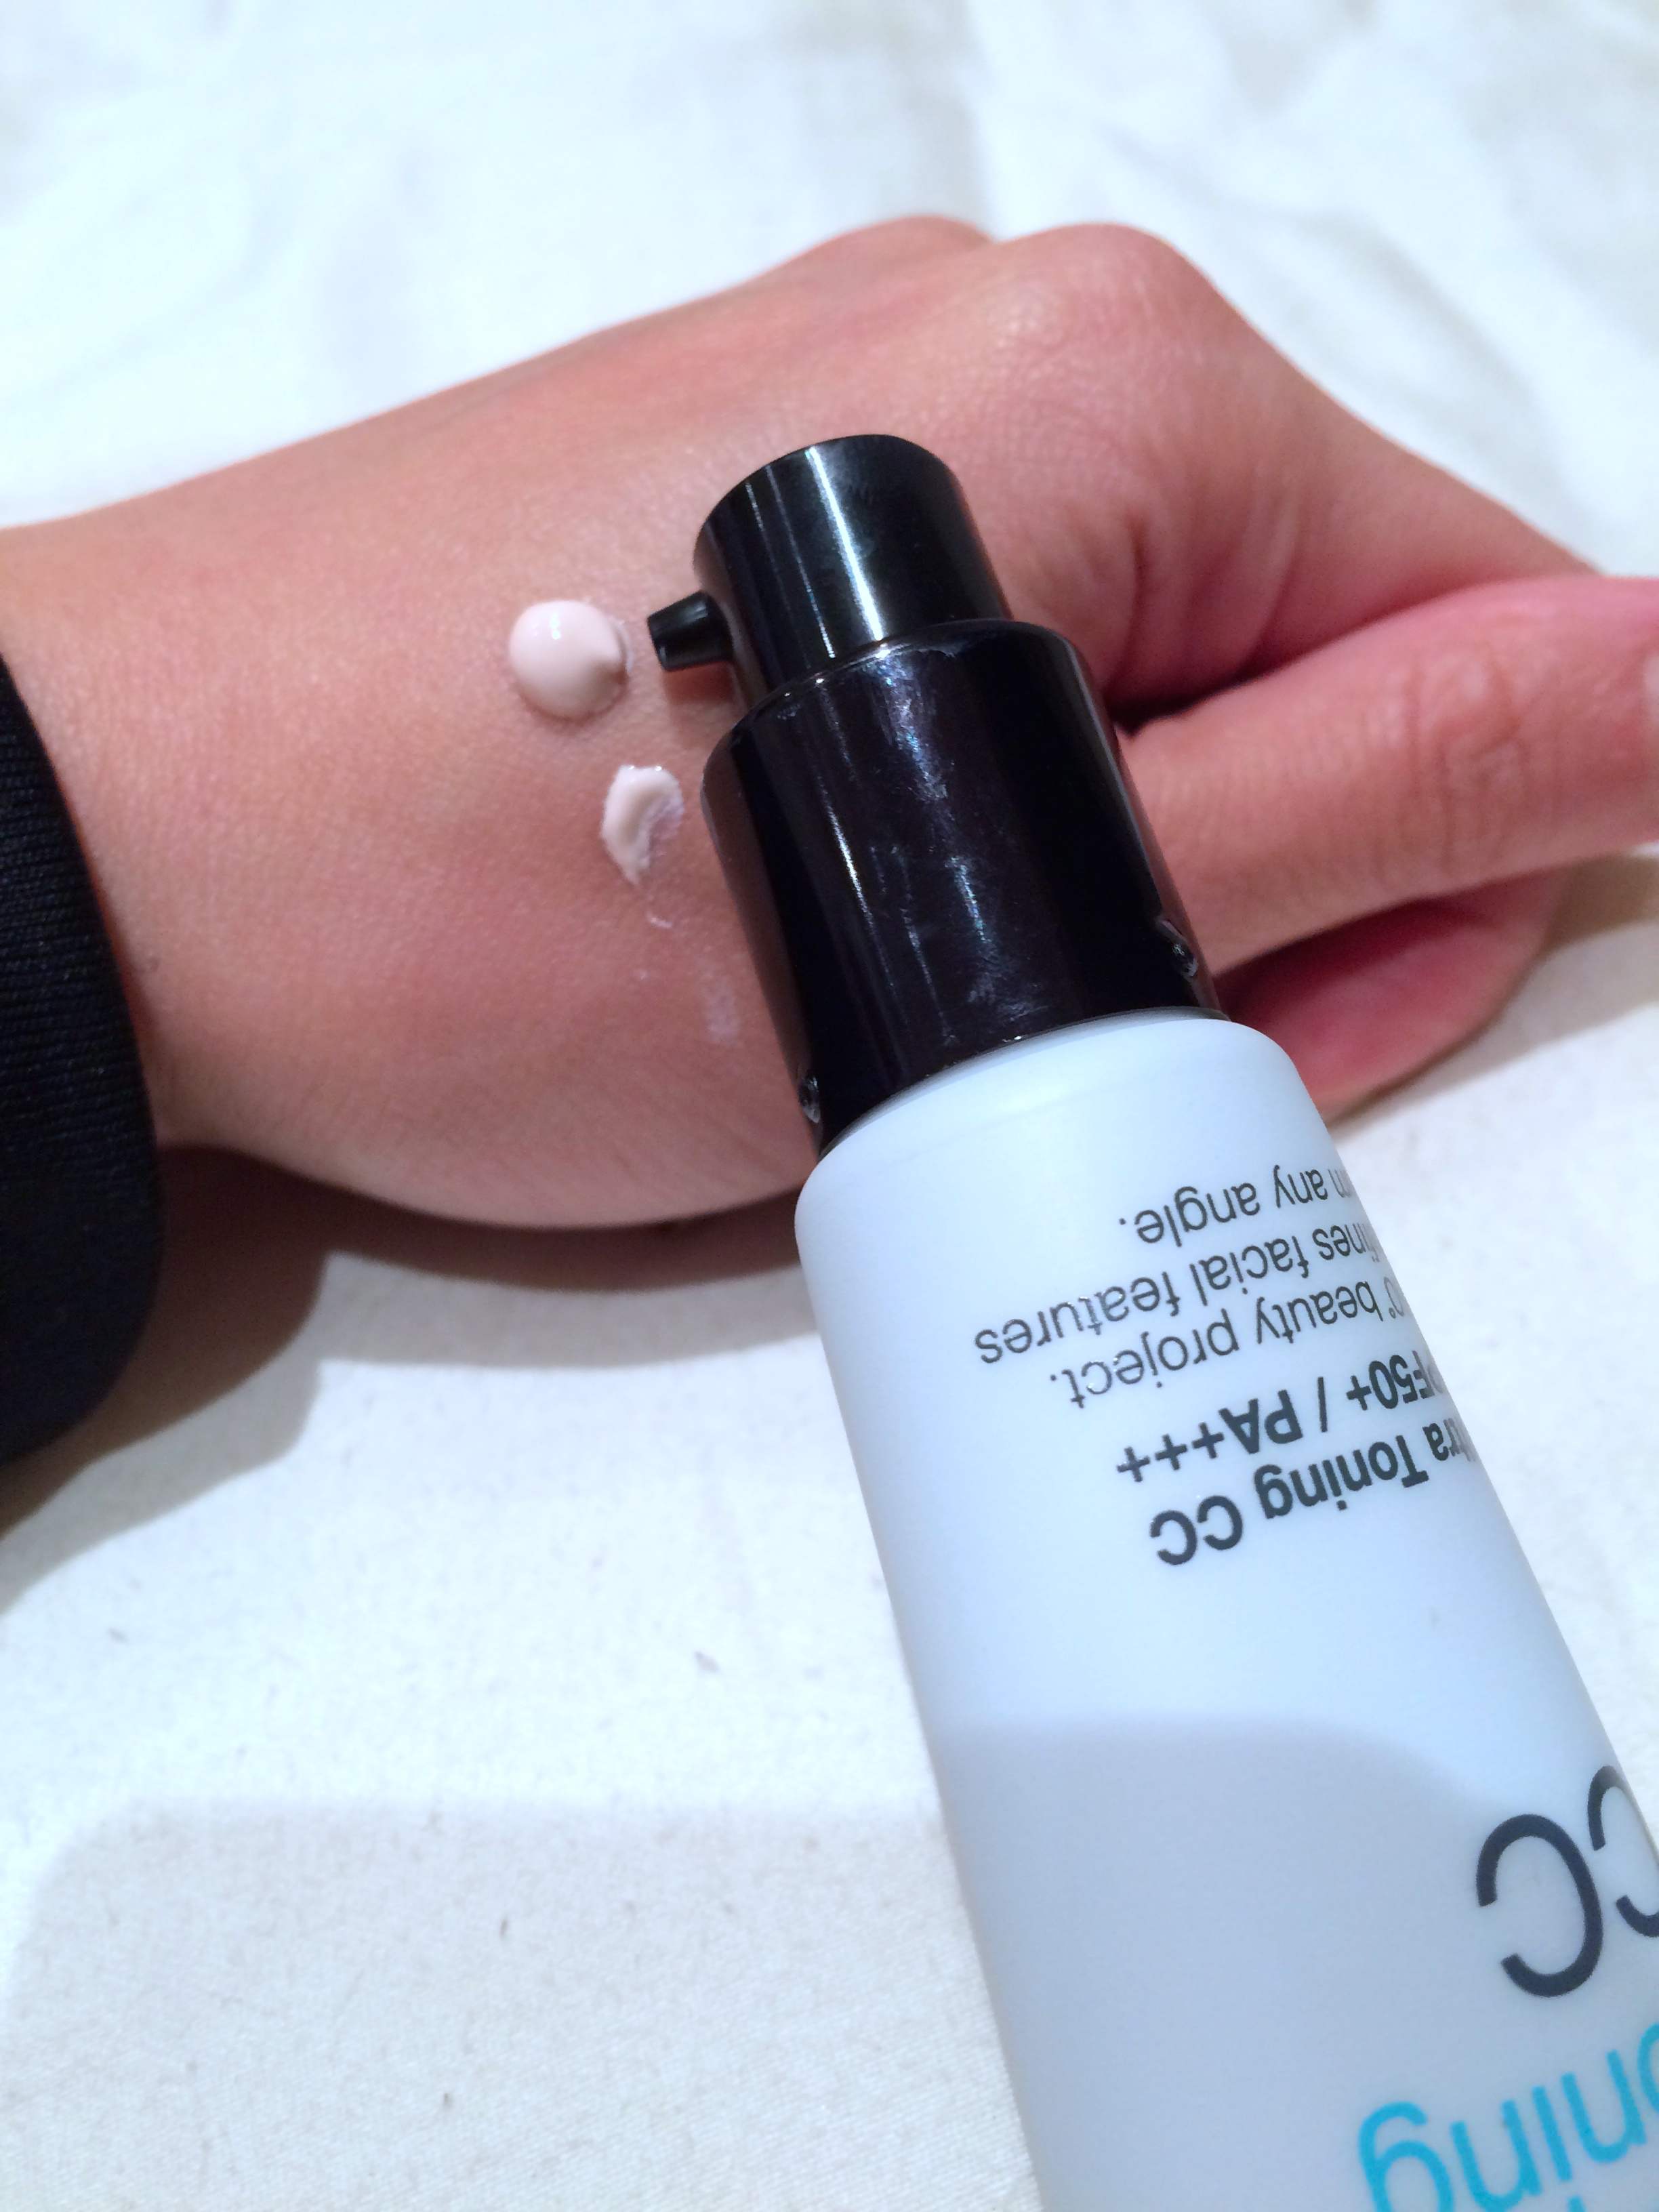
CC Ultra Toning cream is the white based cream on the top; BB Ultra Cover cream is the skin tone one below.

IMG_8575

For me, I use the CC cream everyday either alone or as a make-up base before foundation. The active ingredients in this product makes it a much better sun block to use daily than the off the shelf ones in your nearby pharmacy. Not only does it protect your skin form harmful UV rays, it also maintains your skin like a serum.

IMG_9063

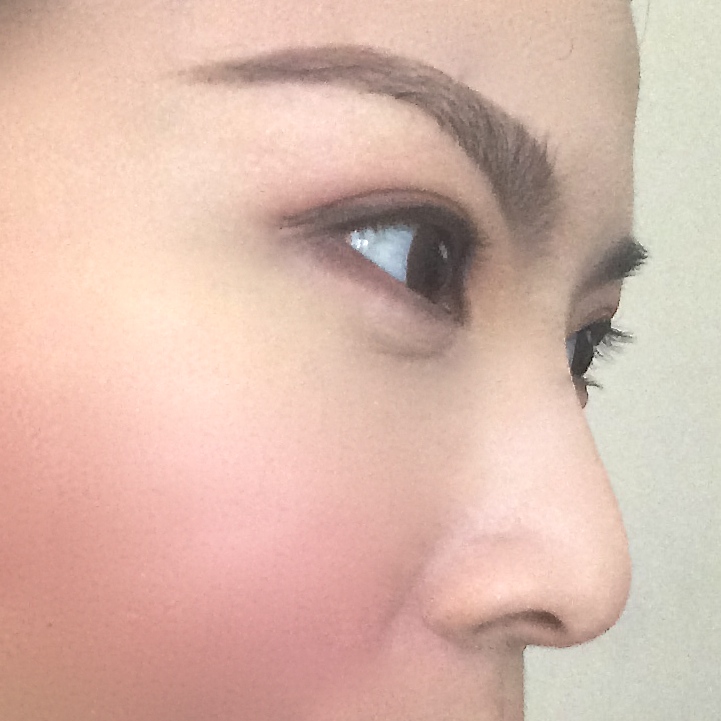
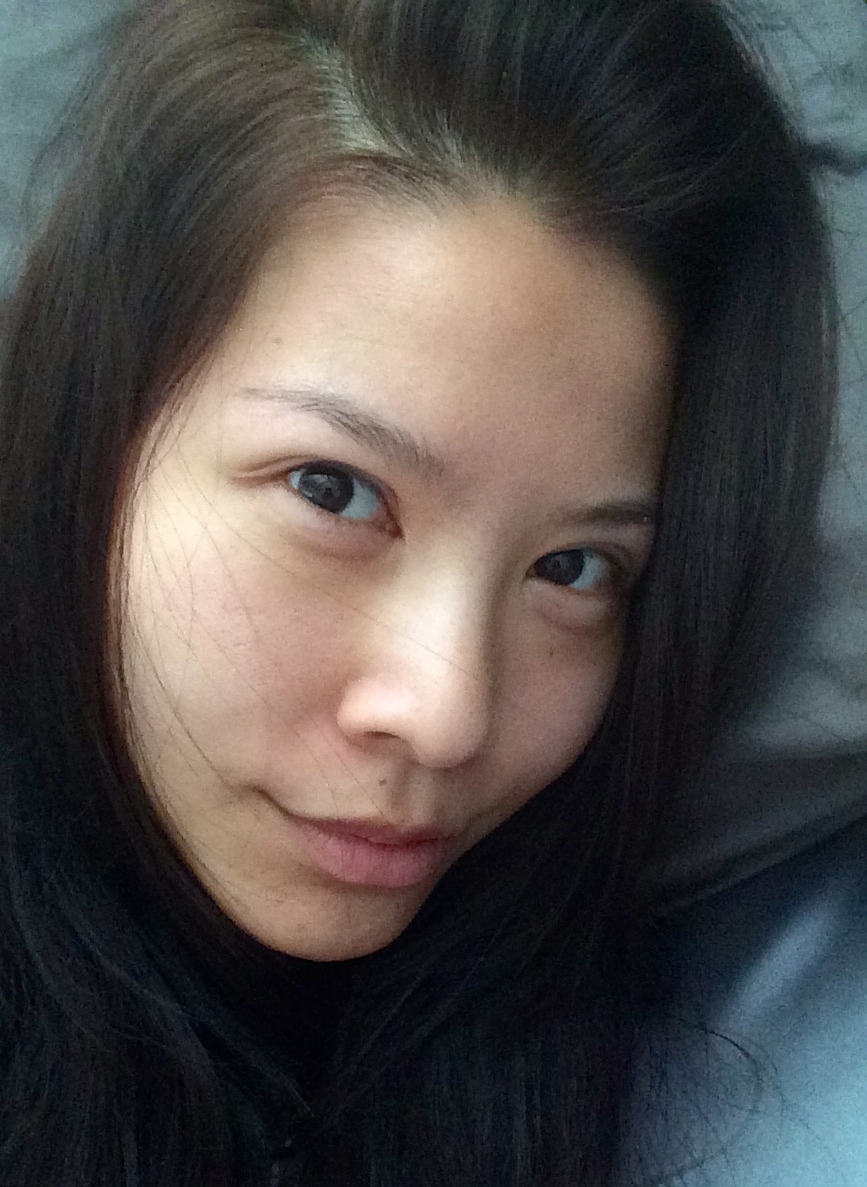
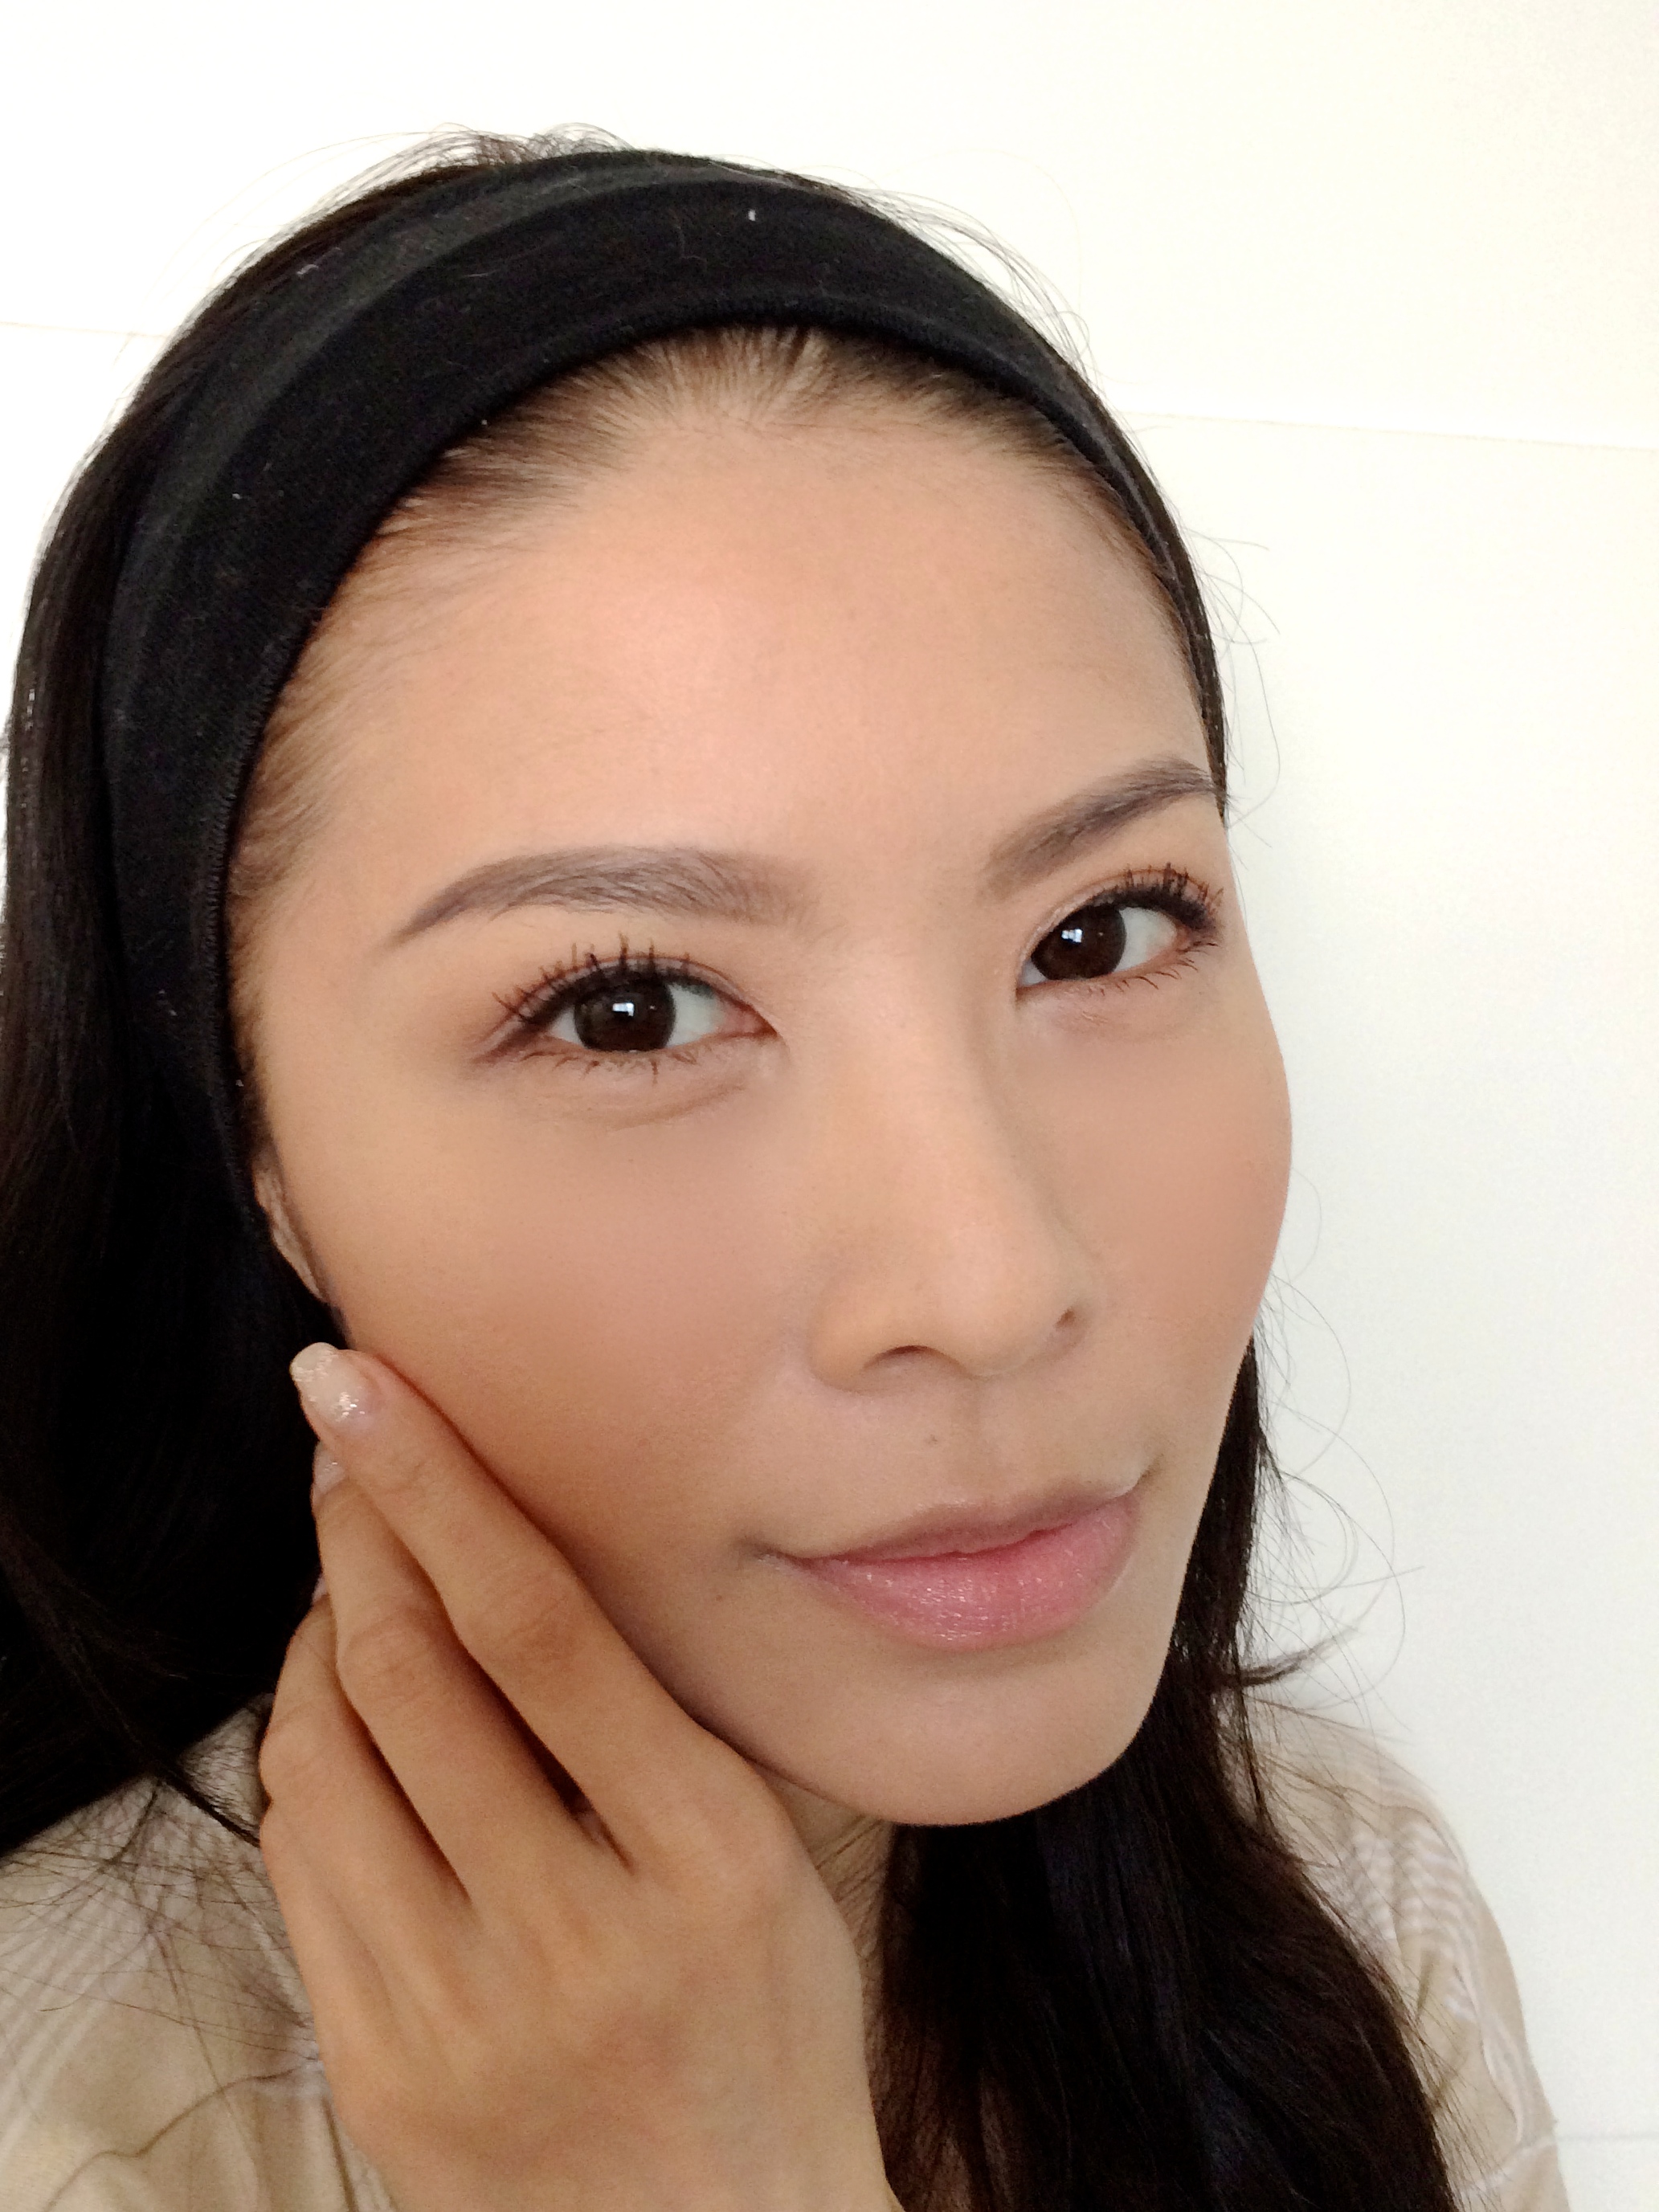
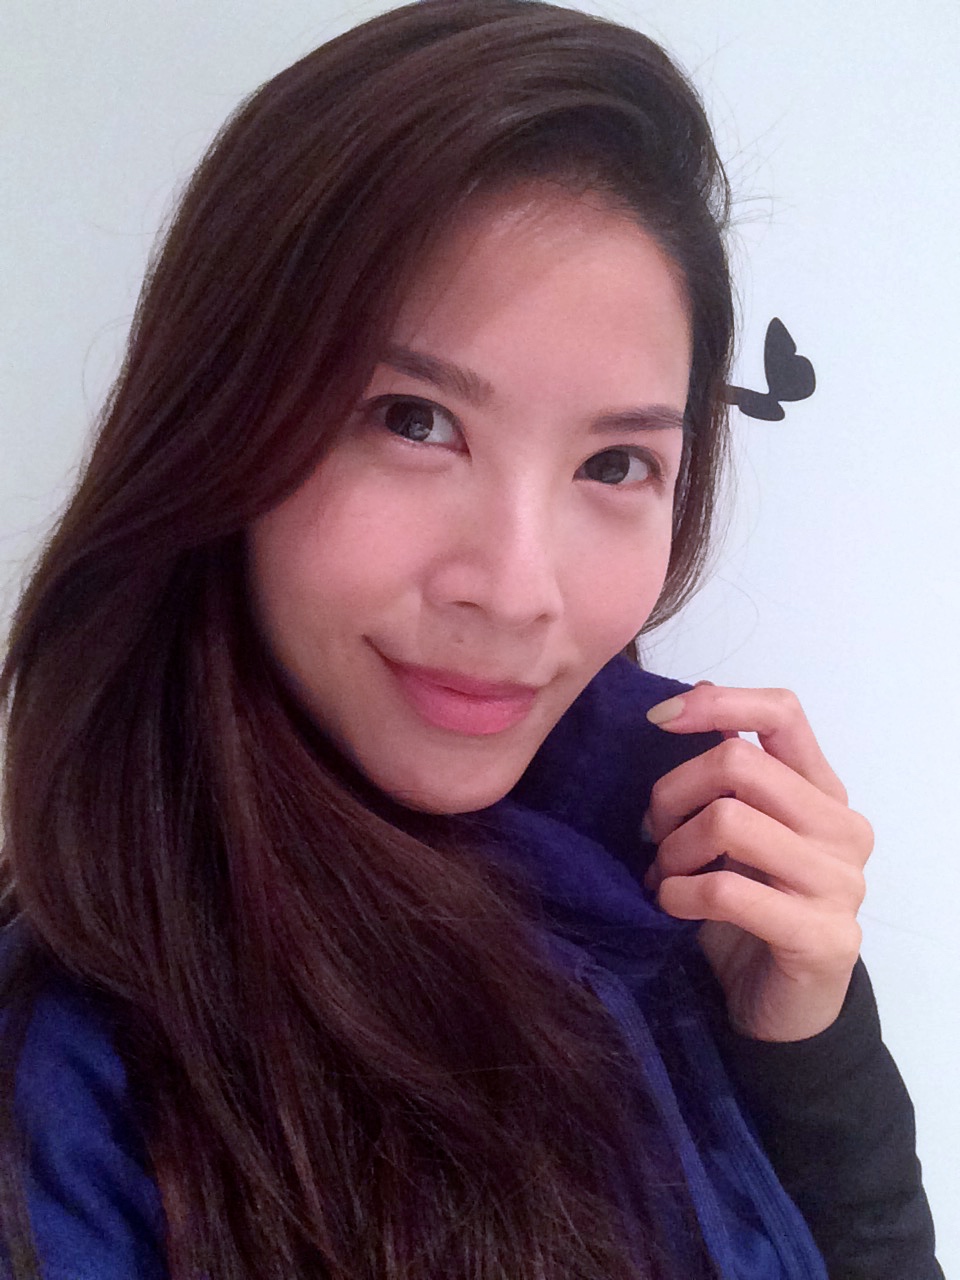
This is me with nude skin, no make up, nadda.

IMG_9073

With just 1 pump of the CC cream, it is enough to cover my entire face and neck. I love the pump head dispenser as it is easier to measure the same amount to use each time and it is way more hygienic! *thumbs up*

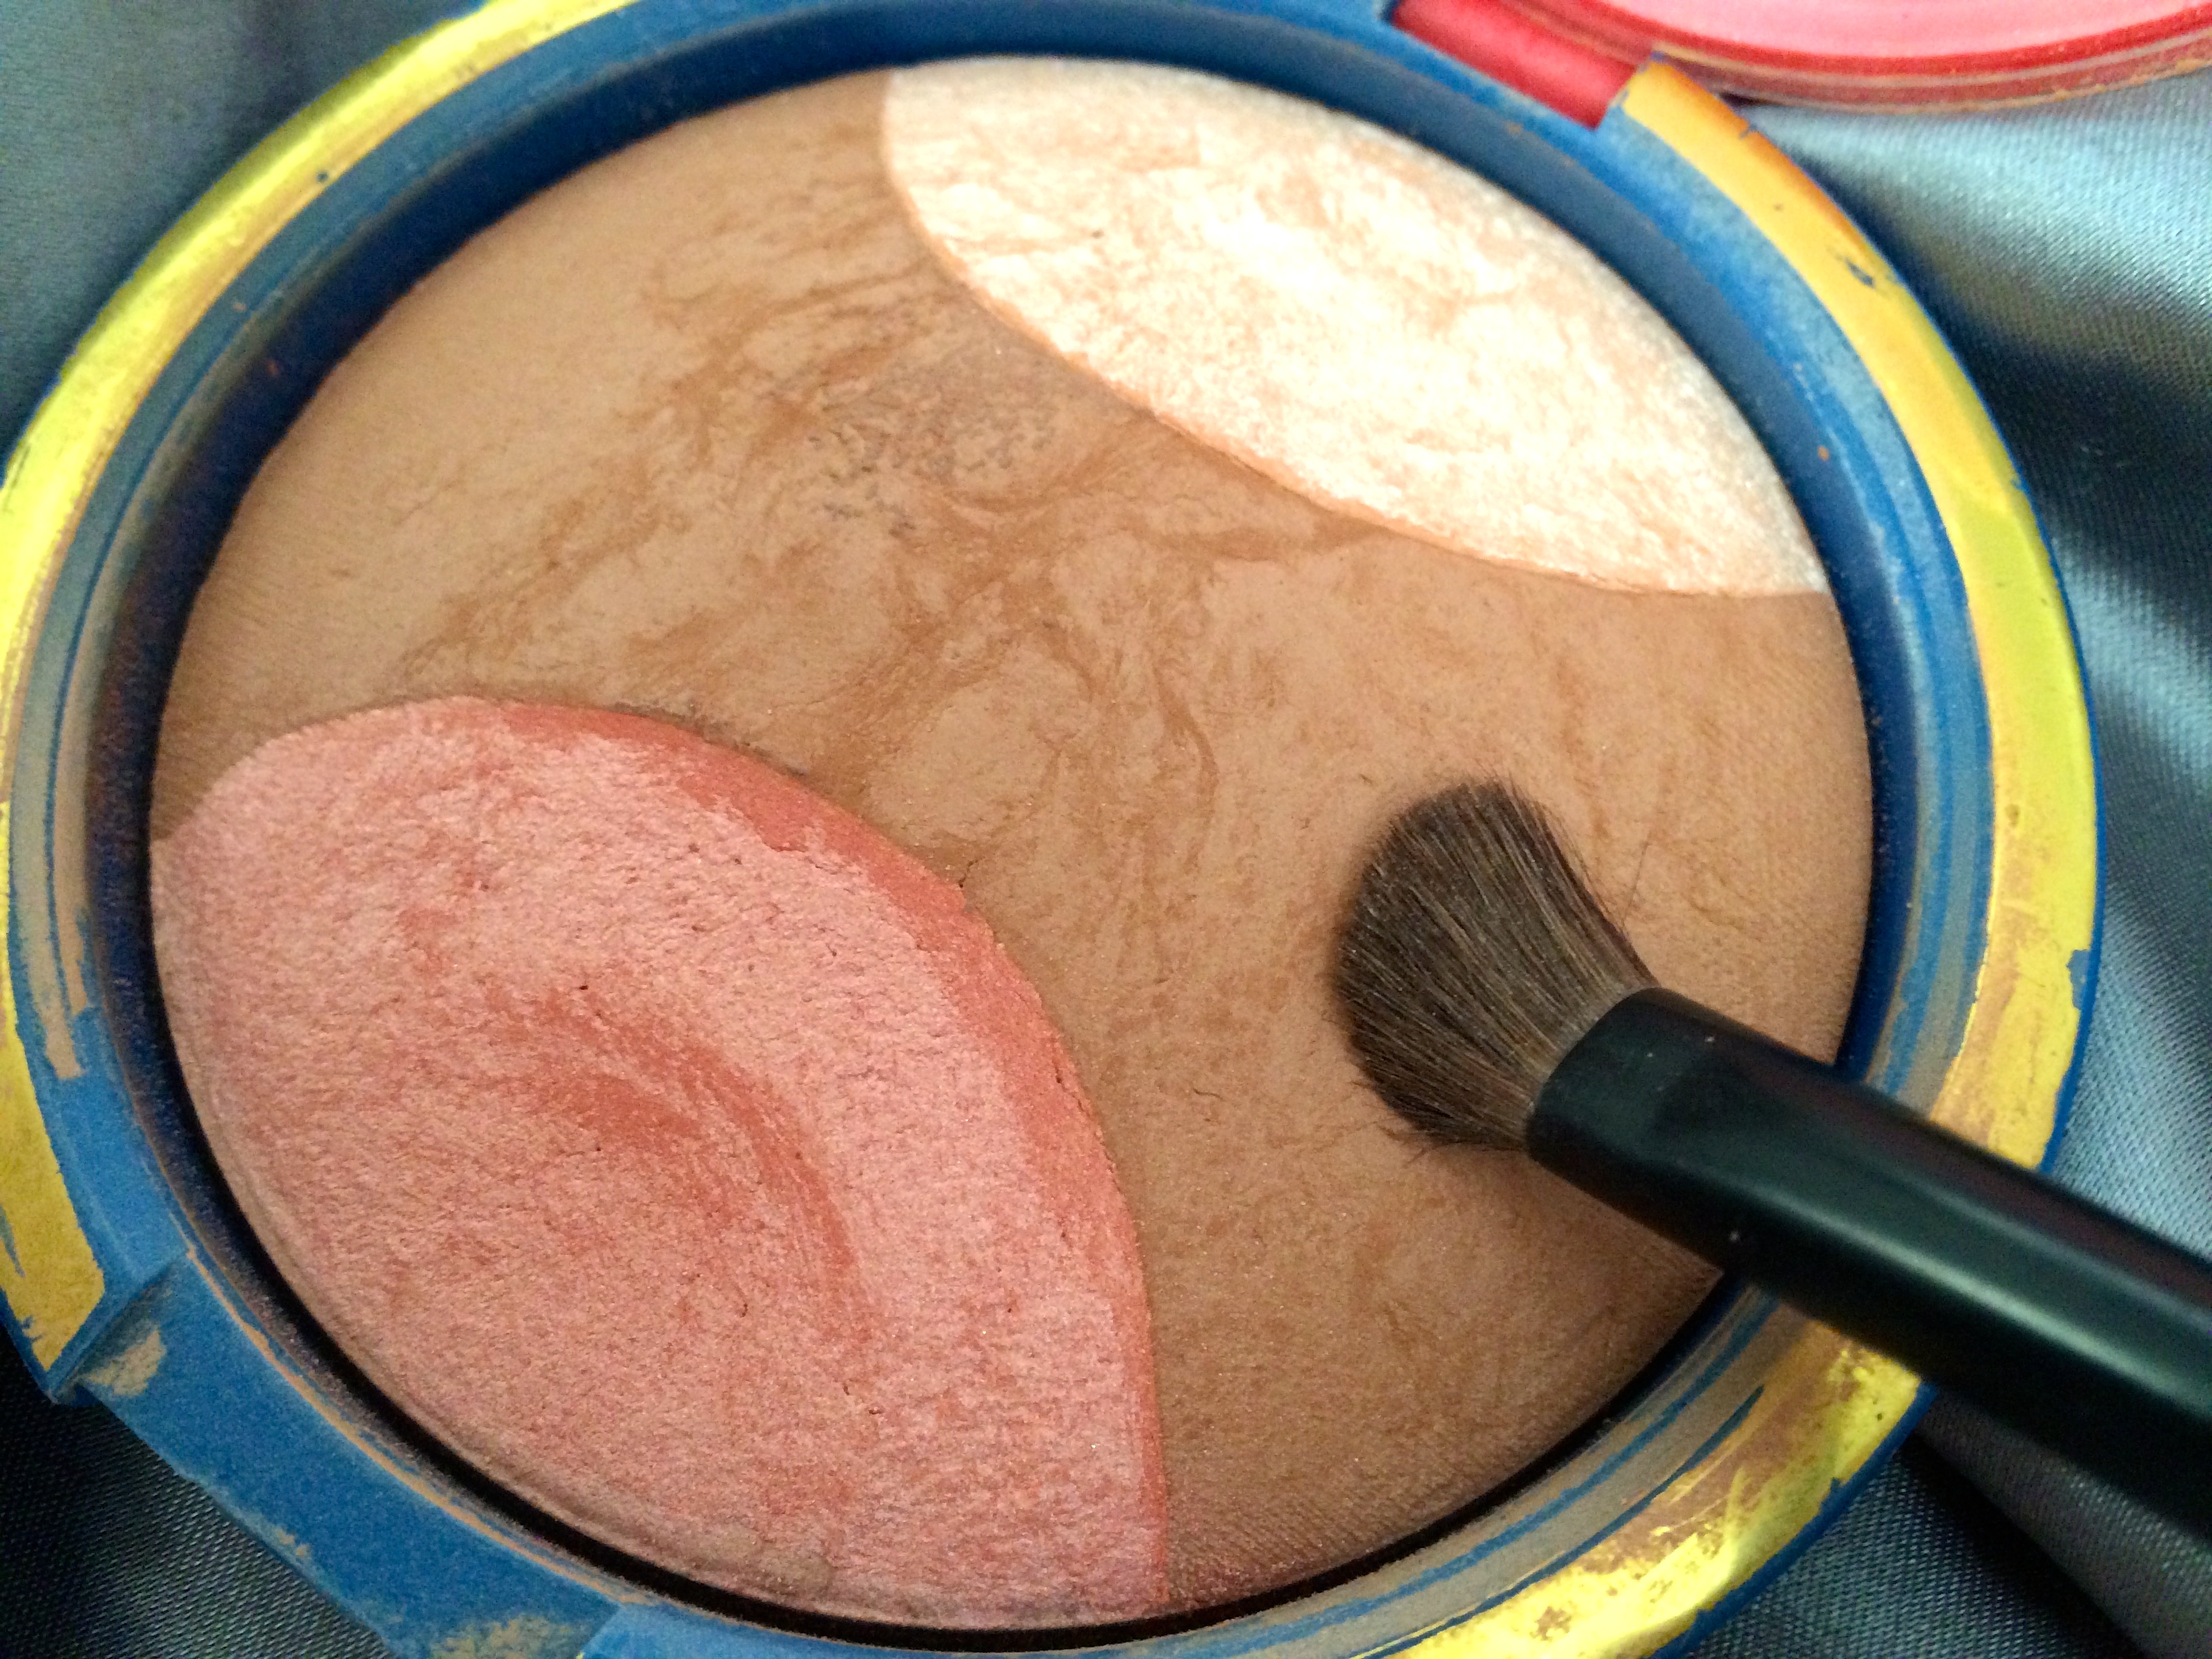
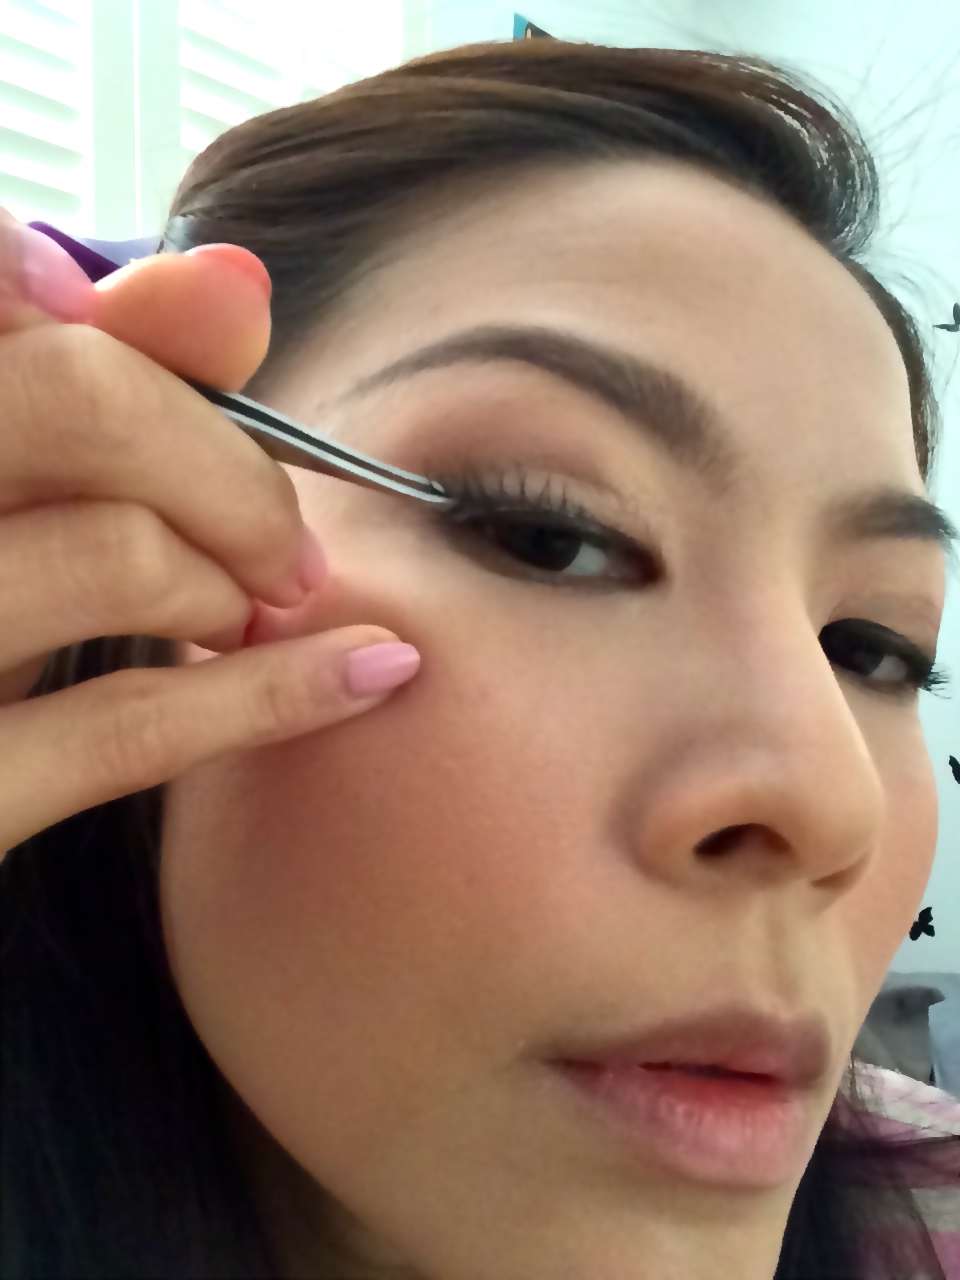
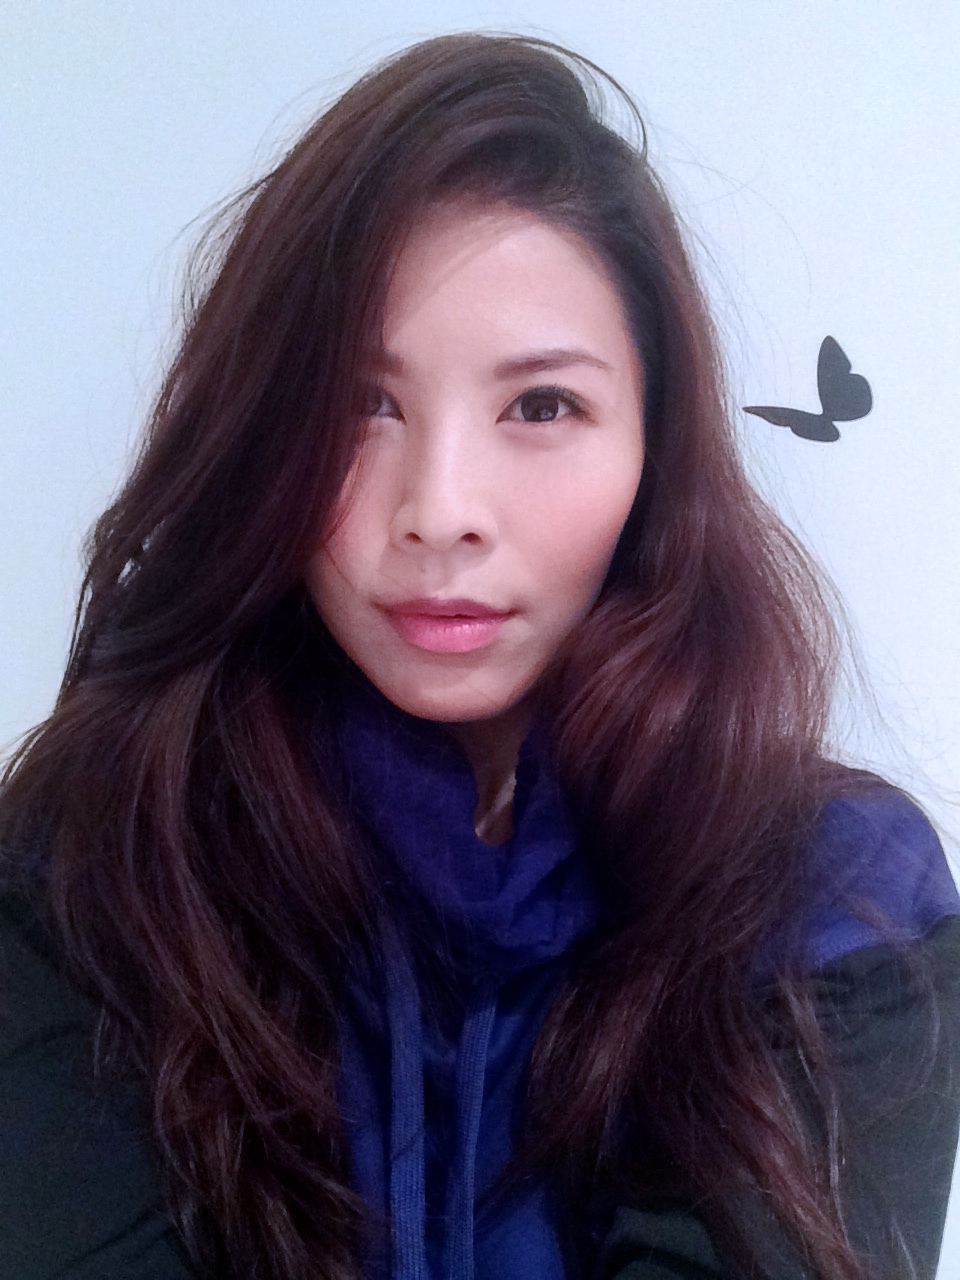
Applying the CC cream alone provides minimal coverage of dark circles & blemishes, perfect for a natural, light make up look. With a touch of concealer for the eye-bags & hint of blush, this nude look is achieved in less than 5 minutes.

IMG_9096

Ultra Toning CC Cream review:

I love the natural radiant & dewy look that the CC cream adds to my skin on top of the sun protection. It’s translucent and suitable for all skin tones. It provides an almost no make up look that still brightens up your skin making it look fresh and healthy. Besides that, I know that the active ingredients in the cream helps prevent aging with that serum effect.

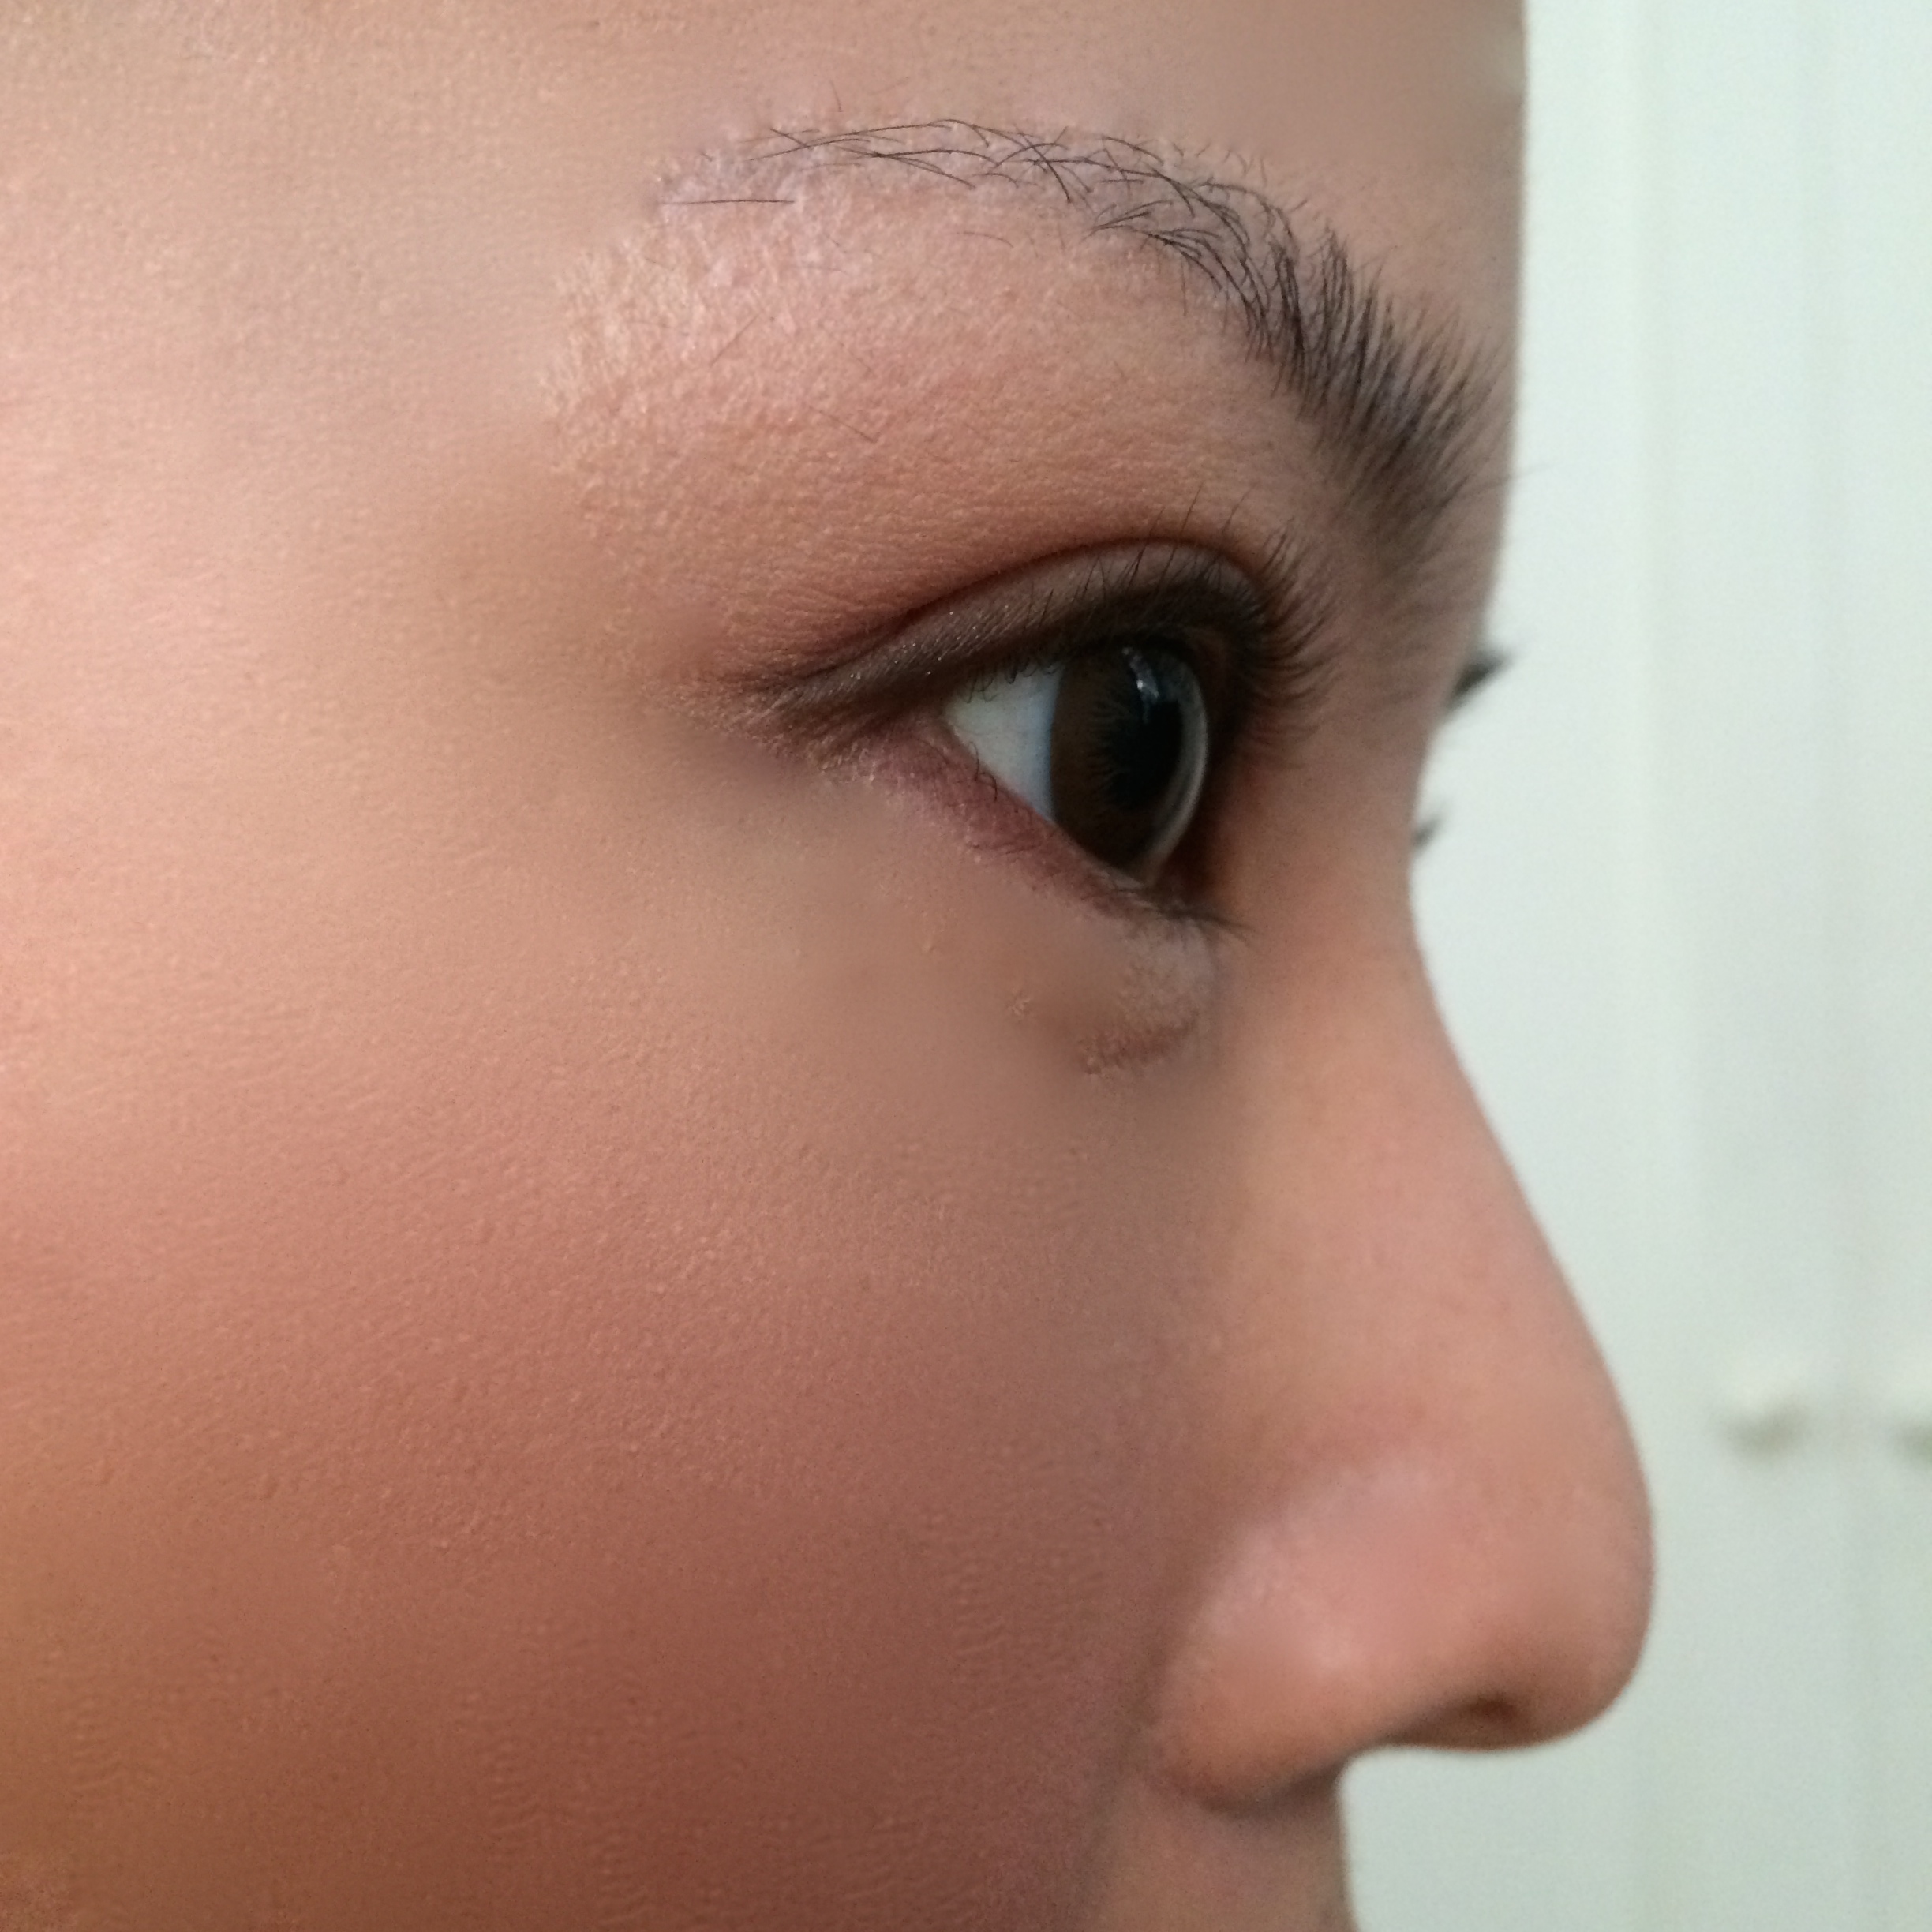
If I want a more made-up look, I would add on the BB Ultra Cover cream after a layer of CC cream as the make up base. Providing myself a double protection from the sun.

IMG_9098

Similar to the CC cream, a single pump of it is enough for my entire face. Focusing more on areas with blemishes (under eye & freckles on cheekbones), I would apply more BB cream on those areas. The BB cream has a slightly thicker texture giving your skin great coverage, without it caking up on the skin or creating that thick layer over your skin look as with certain thick foundations.

IMG_9126

The hyaluronic acid in the creams makes application smoother and after numerous usage, I noticed that my skin remains moist and supple even during this dry autumn season here in HK with humidity levels at 50-60%. Perfect for dry weather seasons or long hours in the air-conditioned environments.

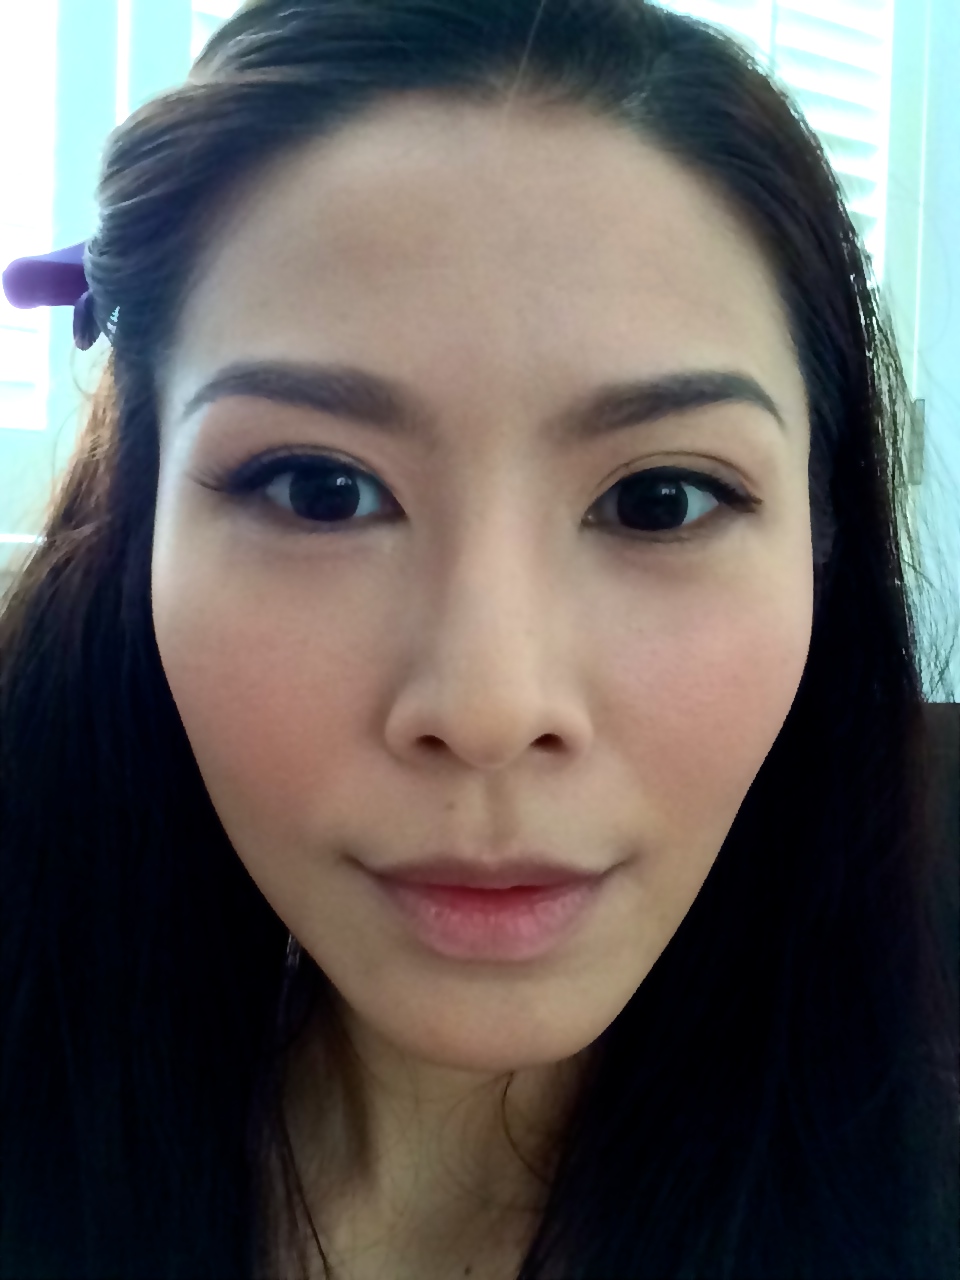
As you can see, with the application of BB cream, there’s more coverage but still maintaining a natural tone without a white cast on the face. I’ve tried a few different brands of BB creams and didn’t like them due to the thick unbreathable feeling and the white cast on my face that’s really obvious in flash photography.

IMG_9152

Ultra Cover BB Cream review:

Provides medium coverage that maintains a breathable layer over the skin. Gives an additional layer of sun protection with anti-aging ingredients built into its formula. Thicker texture but does not give a white cast in photos. This BB cream sadly only comes in 1 colour, so it is only suitable for fair to medium-fair toned Asian skin. I would have loved that this BB cream could’ve different colours to choose from to match different toned skin or at least a colour adaptive formula for a wider range of users. It was suitable for my skin tone and provided me more than enough coverage for my lightly freckled skin.

IMG_9142

Conclusion:

To conclude, I would recommend the CC cream over the BB cream as the CC cream is more universal in usage which provides a translucent UV protection with plenty of ingredients that benefits the most sensitive skin. The BB cream is good, but colour tone is not suitable for everyone. The slightly thicker texture may not be liked by all as well even though it provides a breathable layer.

Price:

Singapore (hermo.sg)

  • Ultra Toning CC Cream – SGD$65.90
  • Ultra Cover BB Cream – SGD$65.90

Korea from REGEN Cosmetics website

  • Ultra Toning CC Cream – KRW38,000
  • Ultra Cover BB Cream – KRW38,000

IMG_9138

XOXO

Jessica

Read Full Post »

Today, I am going to share with all you girls this simple yet really effective way to curl your eyelashes with tools that you definitely have at home – a hairdryer & your eyelash curler.

Firstly, choose a good eyelash curler suitable to the shape of your eye socket. To me, Asian eyes tend to be less deep set and flatter in the curvature, so brands like Shu Uemura & Shiseido are likely to be more suitable to our eyes. My personal favourite is Shu Uemura. Invest in a good eyelash curler and it will last you for many years!

I have typically Asian eyelashes, short & straight, but I found a way to keep my lashes curled all day with heavy layers of mascara. Usually, with many layers of mascara, my lashes tend to droop pretty quickly and loose the curled effect.

This is how I do it:

1. Heat up the eyelash curler with your hairdryer at low speed for 5-10 seconds till the curler is heated up but not too hot on your eyelids.

IMG_3813

2. Curl your lashes as per normal. Gently clamp down on your lashes closest to your eyelids, release, and clamp down again in an upward motion towards the tip of your eyelashes almost perpendicular to your eye. It is about 10 gentle clamps with the curler.

IMG_3808

TIP: Make sure you do not heat your eyelash curler for more than 10 seconds or you may overheat the metal and burn your eyelids.

3. Repeat Step 1 and Step 2. I usually will do this 3 times on each eye.

IMG_3801

My lashes before curling – straight as hell

IMG_3776

My lashes after using a heated eyelash curler

IMG_3779

I love how easy my eyelashes curls, opening up my eyes instantly

4. Once you have achieved the curled effect you want, apply 2-3 coats of mascara.

IMG_3784

A false lash effect achieved!

I find this method much more effective than just using an eyelash curler on its own, or even an expensive heated eyelash curler. Especially for my type of short and straight eyelashes. The compression and heat from using a hairdryer with your eyelash curler will create a temporary permed effect to last you throughout the day. It’s the same concept as using a heated tong for your hair to create curls – this is the miniature version!

Try it to believe it!

XOXO

Jessica

Read Full Post »

IMG_4043Photo taken after using Voile under my make up

I attended the launch of this latest product by NuBo last week with colleagues from the lovely Starz People at the restaurant & bar & Harvey Nichols in Landmark, Central – Hi-Tea party style. We tried their various signature products like the White Diamond Ice Glow Mask, Cell Dynamic Essence Bio-Gold & of course the newly launched Voile in Hong Kong.

IMG_3951

IMG_3970

We had to fill in a questionnaire about our skin concerns and they would recommend you suitable products to try out.

IMG_3972Trying out the White Diamond Ice Glow Mask which is perfect for dehydrated skin. My hands felt so pampered and smooth after only 10 minutes.

IMG_3974

I immediately fell in love with the Voile & so did my colleagues! The Voile forms a really smooth film over your skin making it look flawless & hides imperfections.

IMG_3956

The Voile is a treatment make up base which is suitable for all skin types. It has anti-aging properties to mattify the skin and hides fine lines and wrinkles, making make up application much easier and skin more beautiful. It also has water resistant qualities to help make up stay on all day comfortably. After using Voile, I realised I don’t really need to use filters or apps like 美图秀秀 to smoothen my skin further! It’s really that good and instant. TWO THUMBS UP!

NuBo Voile’s Key Ingredients are:

  • Bio-Peptides – for wrinkle reduction and stimulates skin’s natural collagen, elastin & Hyaluronic Acid  production
  • New Matrixyl synthe’6 – clinical studies states a 31% reduction in crows feet in 6 weeks twice a day application
  • Inyline – reduces depth of wrinkles by 15% in 4 weeks twice a day application
  • Syn-ake – Botox-like effect to relax expression lines in 90s after application. With twice a day application, clinical studies states a 52% reduction in fine lines and wrinkles.
  • Blurring formula – a breathable micro-film instantly lifts, firms and mattifies skin. Giving you a fresher younger appearance.

IMG_3985

A bottle of NuBo Voile retails at HK$650 per bottle of 30ml and is exclusively available at Harvey Nichols LANDMARK Beyond Beauty, Harvey Nichols Pacific Place Beyond Beauty and Beauty Bazaar Beyond Beauty.

XOXO

Jessica

Read Full Post »

IMG_3371

(Curls using Miracurl, jewellery from Mint Bauble)

Applying foundation on your face is one of the most basic forms of make-up, but it isn’t the easiest to do it well. Firstly, you have to find the perfect match of colour to your skin tone, then a foundation brand that doesn’t just sit on your skin but blends in like it’s part of your skin. To me, the perfect Summer time foundations that work great are RMK’s liquid foundation & Kate’s Powderless Liquid for Cover.


IMG_3342

Both these foundations keep your skin pretty much shine-free throughout the hot and humid days and they don’t cake up from the heat! If you are wondering why my foundations are in different shades – the RMK one darker(one or two shades darker than my skin tone) & Kate a lighter shade(matches my actual skin tone). I use 2 different shades to “sculpt” my face and give it a slimming effect. Great for days when you feel that your face is retaining water from a late night of partying, or its that time of the month…

Start with the darker shade first. In my case, I am using RMK liquid foundation. Apply it under your cheekbone area till your jawline.

IMG_3340

Blend it downwards towards your neck using your fingers or a foundation sponge. (I simply use my fingers)

After that, apply the lighter shade on the peaks of your cheekbone.

IMG_3345

Blend in the lighter shade downwards towards the darker shade. Make sure both the foundations blend in well, without being able to see a distinctive change in colours.

After your base foundation is done, use a highlighter pen (I am using YSL’s Touché Éclat) on your nose bridge, under eye area & smile lines. Focus on your nose bridge – this will make your nose seem sharper & higher. (I often get asked if my nose is fake, or who is the surgeon that did my nose! I take that as a compliment but it’s just good make-up tricks peeps!)

IMG_2347

(picture from previous post on Touché Éclat)

Blend in the highlights & apply a layer of translucent loose powder on your face. Get a brown-shade blush ready to create a more shapely face. Here I am using MAC’s Wonderwoman blush which carries 3 tones – pink blush, brown shading blush & a highlight blush.

IMG_3351

Use an eyeshadow brush to pick up some of the brown blush, apply it on the sides of your nose bridge.

IMG_3352

IMG_3353

This creates a sharper & slimmer nose.

TIP: Use the highlight blush on your under eye and cheekbone area for a radiant glow!

Now that your perfect base is done. (which is oh-so important!) You can just stop right here and add a touch of blush, brows & mascara & you are good to go! But I am going to carry on to show you my favourite falsies to use to brighten up your eyes and NOT have that “umbrellas shading your eyes” look. If you know what I mean… 😉

IMG_3358

These are the 3/4 length falsies which wing-out to longer lashes at the ends. Easily found in any SASA or Watson’s stores. MAC & Shu Uemura have them too but they are a lot more costly.

So, curl your lashes, apply a layer of mascara, then glue on these falsies from about 1/3 distance away from your tear-duct.

IMG_3359

See how they immediately open up my eyes with the winged effect of the lashes. And they are much easier to use too!

IMG_3360

Do the same for the other eye. Apply a tad of lip gloss/balm and we are done!

Ready for a slimmer more sculpted face? Try out these little tricks of mine which I use daily when I head out for castings!

XOXO

Jessica


Read Full Post »

IMG_2776

I am Human… This is how I look like when I first wake up in the morning without a hint of make up on my face. Eyebrows not drawn, dark eye circles not concealed, clean skin… au naturale…

And if I only have 15-20 minutes to get ready and head out, my must go-to beauty item is Yves Saint Laurent ‘s Touche Éclat highlighter pen to give my skin a quick perk-me-up! I’ve been a fan of this for many many years because of its smooth, creamy formula that doesn’t cake up and its portability to bring it around for a quick re-touch even over make up!

IMG_2345

Touche Éclat is great to provide some coverage and masks shadowy areas on your face like dark eye-circles, smile-lines, highlighting your nose bridge and deep-set areas between the chin and lower lip. So this is how I would use it:

IMG_2347

When I am in a rush, I would just use Touche Éclat after my skincare regimen without any foundation for a simple, clean and natural look. Which is what I am going to show you today.

Let me share with you this beauty product of mine: add a dab of Philosophy’s Hope in a Tube and mix it up with Touche Éclat.

IMG_3335

Hope in a Tube contains vitamins E & C with polyphenols which will temporarily erase fine lines immediately.

IMG_3336

IMG_3337

This mixture plumps up the under-eye fine lines & conceals at the same time! Creating a brighter and healthier looking skin.

IMG_2351

As you can see, after applying Touche Éclat on shadowy areas and the bridge of my nose, my face immediately “wakes up”. And if one application isn’t enough for you, you can layer on another coat for a thicker coverage.

After only Touche Éclat application:

IMG_2357

Then, with a dash of mascara, eyebrow pencil, pencil eyeliner & blush. I’m ready to head out! All done in 15 minutes.

IMG_2360

My simple beauty must-have… YSL’s Touche Éclat

XOXO

Jessica

Read Full Post »

IMG_2041


It’s been about a week or so since I’ve received my Urban Decay Naked 2 palette (paid £37 for it) in the mail and I’ve been happily experimenting on the wonderful taupe colours! Since I am now living in Hong Kong, it is so hard to find this palette!!! Moreover, the online websites that carry the Naked palette had no stock since the Christmas season until recently. 😦 For those living in 852, you can check out BeautyBay.com or lookfantastic.com for beauty products you can’t find locally. It helps that these websites offer free international delivery!

IMG_2037

So… how do you create a simple day look in under 15 minutes with Naked 2? (HINT: don’t try to use every colour you think it’s pretty! Less is more) I know it’s VERY VERY tempting to want to use all these pretty colours inside the palette all at once! (I was guilty of it on the first few days upon receiving it *hiaks* but it also gave me a good idea which colour combination works) All you need is 3 colours in the palette. (Yes, you heard me… THREE) Namely Foxy, Booty Call & YDK.

First, use Foxy under your eyebrows for a slight highlight. (P.S. Foxy is also a great colour to use to highlight your nose bridge & lighten under eye dark circles) Then apply Booty Call all over your eye socket area. Don’t have to be too detailed with this as all you need to do is to make sure your eye socket area is totally covered with this base colour. 

IMG_1966

Once that is done, now comes YDK to add a 3D effect to your eyes and make them shine.

IMG_2033

As you can see, I only added YDK towards the end of my eye socket area from lash line to the start of my brow bone. (approx. 1/3 of my eye) If you are new to applying make-up, just imagine your eye socket is divided into 3 parts. Tear duct to before the mid line of your eye or the highest point of your eyeball is the first section. Second section is the mid point of your eye or centreline or highest point of your eyeball. And last section is towards the edge of your eye where I am applying YDK. Add a little YDK to that section and slowly blend inwards. Ensure that you don’t overdo this so as to not have 2 stark contrasting colours on your eye. It should look like the colours naturally merge from light to dark.

IMG_1995

With only 3 simple colours, you have a nice, natural & seemingly professional DIY day-look. Now, flip the Urban Decay’s brush over to the flat brush and dip it into the dark colours. I used Busted which is a dark brown, but you can also use Blackout for a sharper look. Line your lash line with this dark eyeshadow colour. I like to wing my eyeliner upwards to create a more cat-eye look. Finally, curl your lashes & coat them with layers of mascara & you are done! Remember to use a coral toned blush for a natural flush look.

IMG_1997

This is my simple 15-minute day look created using the Naked 2 palette’s colours. Hope this is helpful to those who own this palette & those who are new to applying eyeshadows! Have fun!

Now… I’m totally tempted to splurge on the Naked 3 palette to play with a new set of colours! Maybe I will treat myself to it on my birthday in April! *hee*

XOXO

Jessica


Read Full Post »

Needed some really pretty nails to match my Great Gatsby outfit & accessories to attend a theme party over the weekend. And thanks to MyVisitDay.com they arranged a soft-gel nail treat for me at Nail & Waxing@LKF to get them “dressed-up” for the party!

IMG_1883

IMG_1885

Met Fran who is the boss-lady who also did my nails for the occasion. Fran is originally from HK but she was raised in Canada (hence fluent in Cantonese & English), learning the trade of nails & waxing when she was there. She has been in the business for a long time with her first nail/waxing salon in Canada. She had to give up her business back in Canada to come back to HK because of family (which is the most important thing in the world IMO) and thus she opened up Nail & Waxing@LKF 4 years back. I told Fran about my theme party & what I was gonna wear, so she let her creative juices flow & thought up of a nice set of nails to go with my outfit for the night… I was in for a NICE surprise!

IMG_1881

After about 2.5 hours of meticulous manicure with a revitalisation hand scrub, I was presented with the most beautiful set of soft-gel nails!!! Sparkly but yet edgy & not too girly because I’m not a girly-girl. Perfect for me!

IMG_1736

They look even nicer with the accessories I donned on for the event! The nails completed the whole look perfectly! Thank you Fran!

IMG_1781

Here’s some pix I took to create the whole Great Gatsby look… It’s all about accessories & bling! (with a modern touch of sparkly nails to add!)

IMG_1918

IMG_1871

IMG_1850

If you want a good professionally done manicure & pedicure with someone who speaks perfect English & Cantonese, do look up Fran from Nail & Waxing@LKF. She will do magic to your nails!

IMG_1886

There’s a promotion going on from now till 30 April 2014 (who doesn’t like discounts?!). For the soak off gel manicure + revitalising hand scrub treatment that I did (additional charges apply for nail art), it’s now 30% off!

Untitled42_20140310063159806

Drop by Nail & Waxing@LKF for a visit soon as Summer is approaching and we do need pretty mani’s & pedi’s to show off in the Summer! 😉

Address:
Nail & Waxing @ LKF
11/F, 1 Lan Kwai Fong,
Central, Hong Kong

Telephone:
+852 2530 2022

Website: http://nailatlkf.hk/central/

Remember to also LIKE their Facebook Page!

IMG_1884

Read Full Post »