Feeds:
Posts
Comments

Posts Tagged ‘Hong Kong’

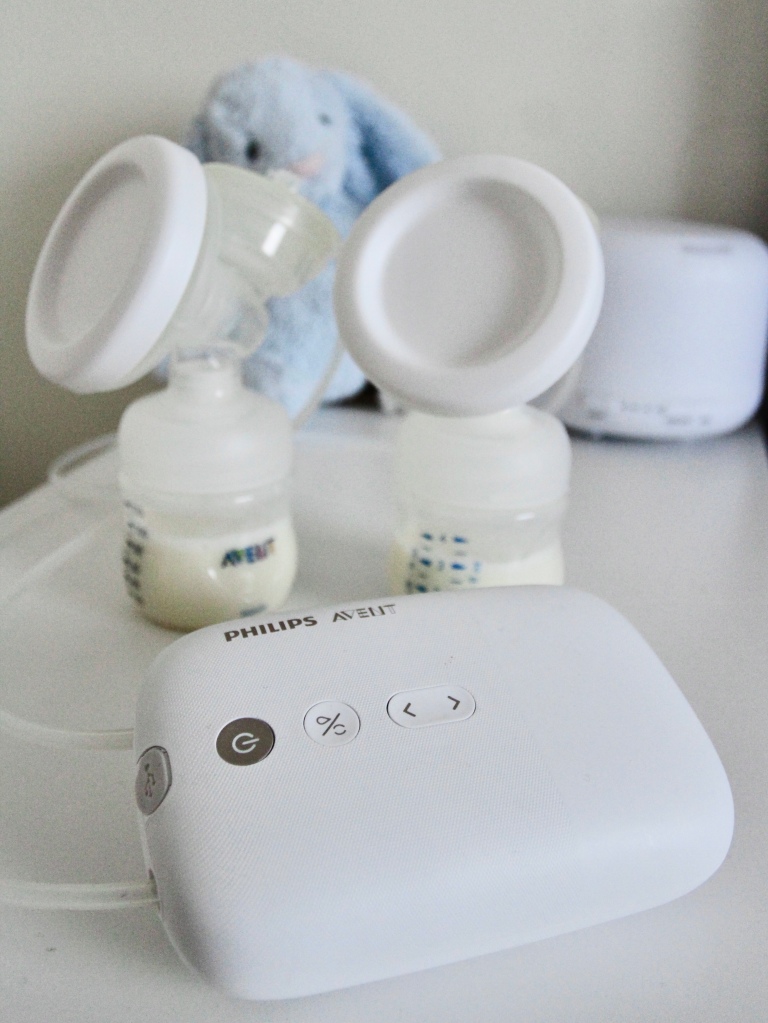
As a second-time mommy, it’s hard to strike a balance in time spent with both children🤯

So I made a decision that even though I enjoyed the breastfeeding bond with my baby so much, I had to strike a balance between engaging with Keia & feeding Kara👩‍👧‍👧 Routinely, I express milk in the day so that I will have more time in my hands to play with my 2 girls, and breastfeed Kara only when Keia is asleep.

To introduce my best pumping partner with you, it comes with an amazing Natural Motion technology which imitate a unique wave-like tongue motion that occurs when baby is suckling. Just like breastfeeding but the pump will never fall asleep or refuse to drink milk 😂 This technology initiates a quicker milk flow (Thanks to its adequate suction and nipple stimulation 👍🏻), hence I’m able to effortlessly finish breast pumping in just 15 minutes! It also helps that Kara is an efficient drinker & usually finishes her milk in 10-15 minutes whenever she’s bottle fed. What a time-saver!

Read Full Post »

Hello peeps!

Since I’ve made my baby announcement, I can finally start blogging about my first trimester experiences while the memories are still fresh.

11 August 2017, Friday – The Discovery

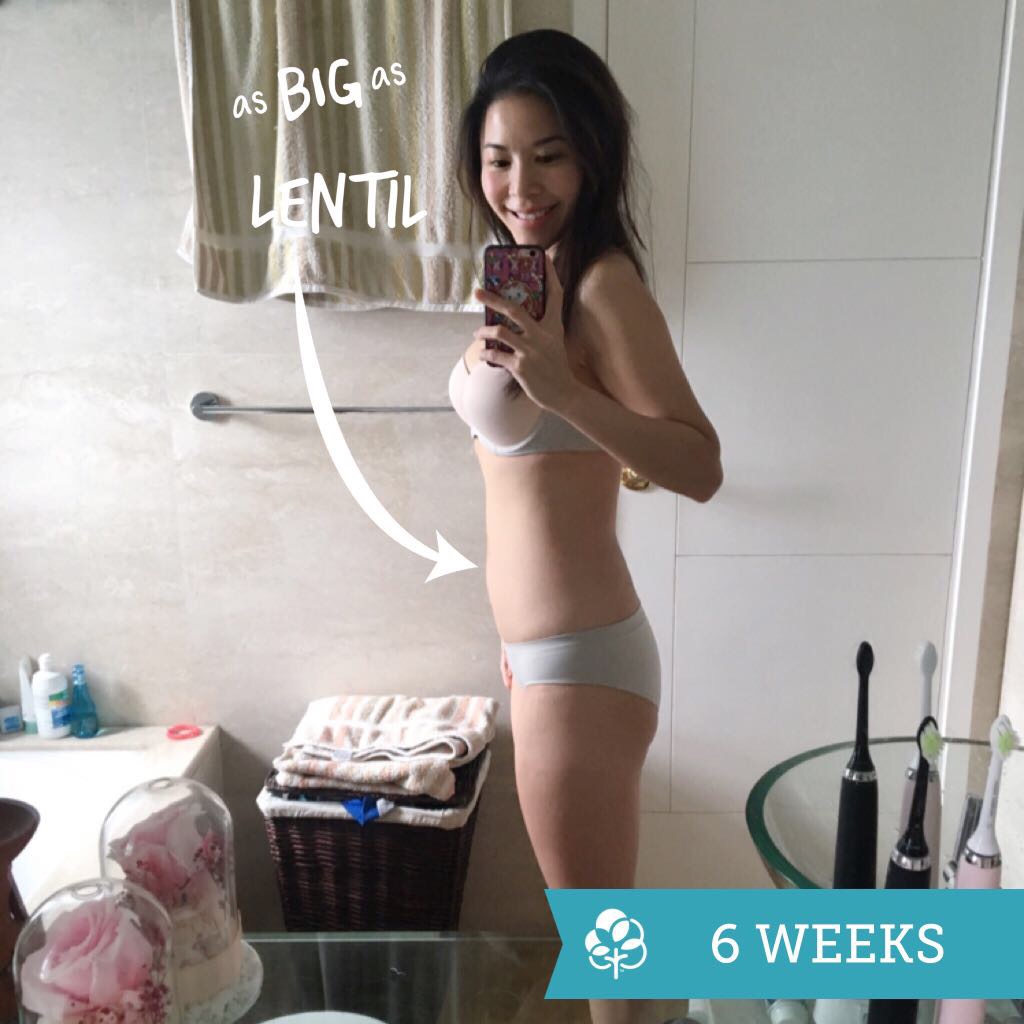
We first discovered about this little development in my womb on 11 August 2017, Friday. I remember testing myself at home because my period was a little late and we were going to meet friends for dinner and drinks that weekend. So, I got myself tested to just in case I’m pregnant and I should immediately stop my alcohol intake. To my surprise, the test came out positive! I didn’t really think it would turn positive as I didn’t experience any obvious symptoms other than my usual PMS ones like swollen boobs, water retention and a thicker belly from the thickening of the uterus wall before every period. I was 5 weeks pregnant. This is me at 5 weeks: 

5 weeks pregnant

I immediately sent a text to my hubby who was extremely busy at work (he was in printers for an IPO submission that very day), and I got an immediate response from him! Usually when he is in printers, he doesn’t reply my texts till much later when he takes a breather. Guess he was so happy and excited about the unexpected news that he had to reply. That very day marks a big change in our lives – we are going to be parents! And yes, from that day onwards I am going to be a real party pooper and can’t drink with friends… hahaha!

Our first meeting with Baby…

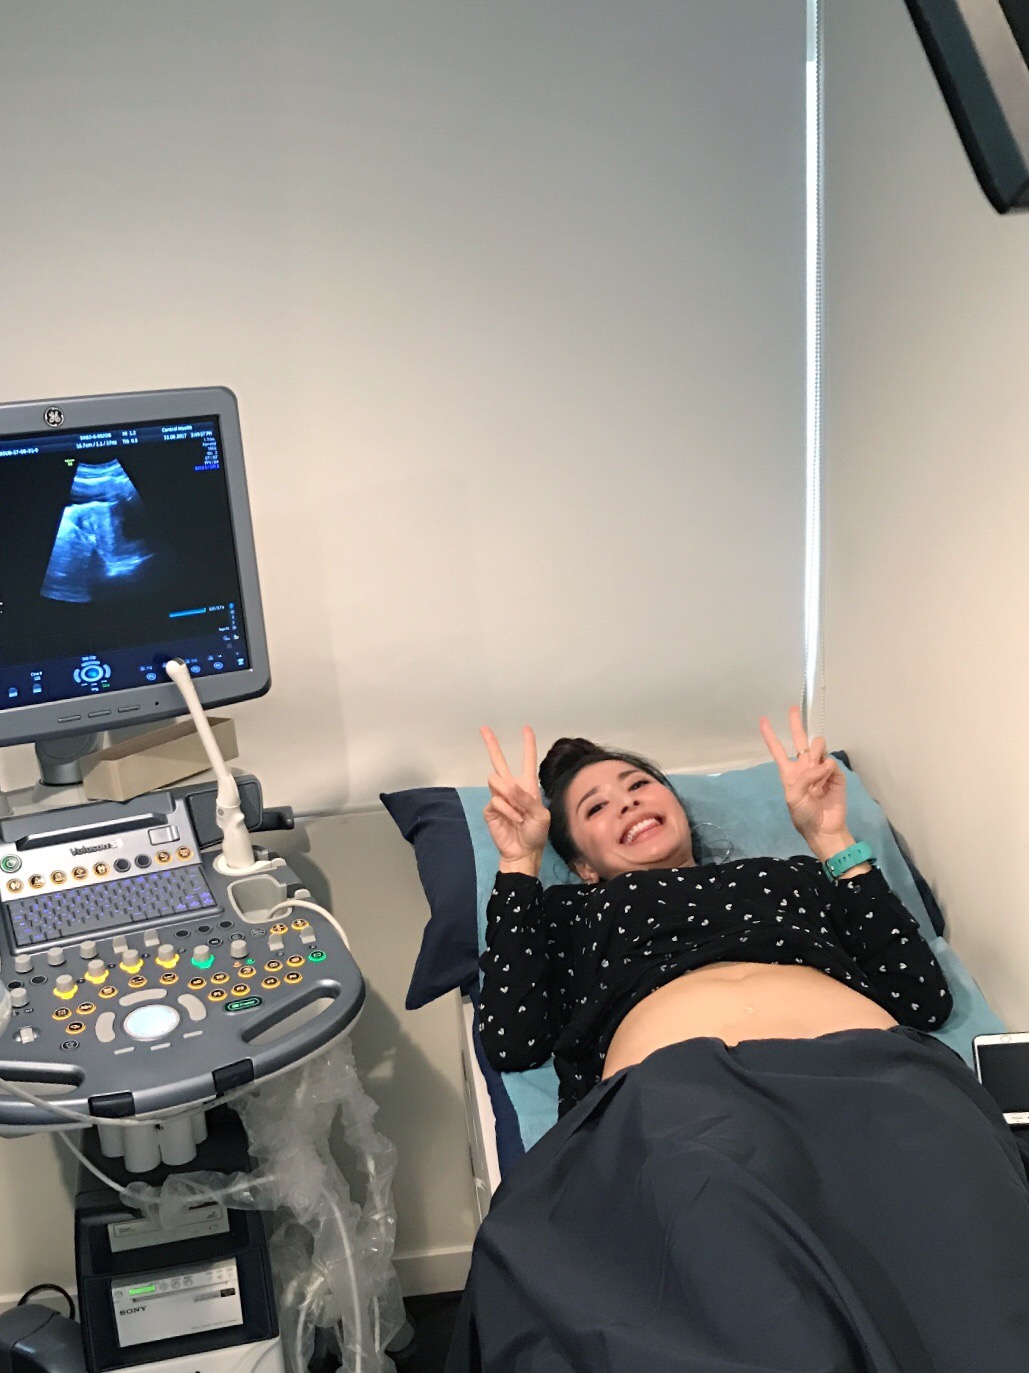
After I found out about our pregnancy, I immediately went to read up about pregnancy Do’s & Don’ts (read more about this my next post). We also quickly made our appointment with a gynaecologist to confirm the pregnancy. Though pee sticks are 99% accurate, we had to be 100% certain and also to ensure the baby and I are both healthy. Our first appointment was on 23 August, but our baby was so shy that it coincided with Typhoon Hato and we had to reschedule our meeting. We finally get to see our baby on the ultrasound screen for the very first time on 31 August!

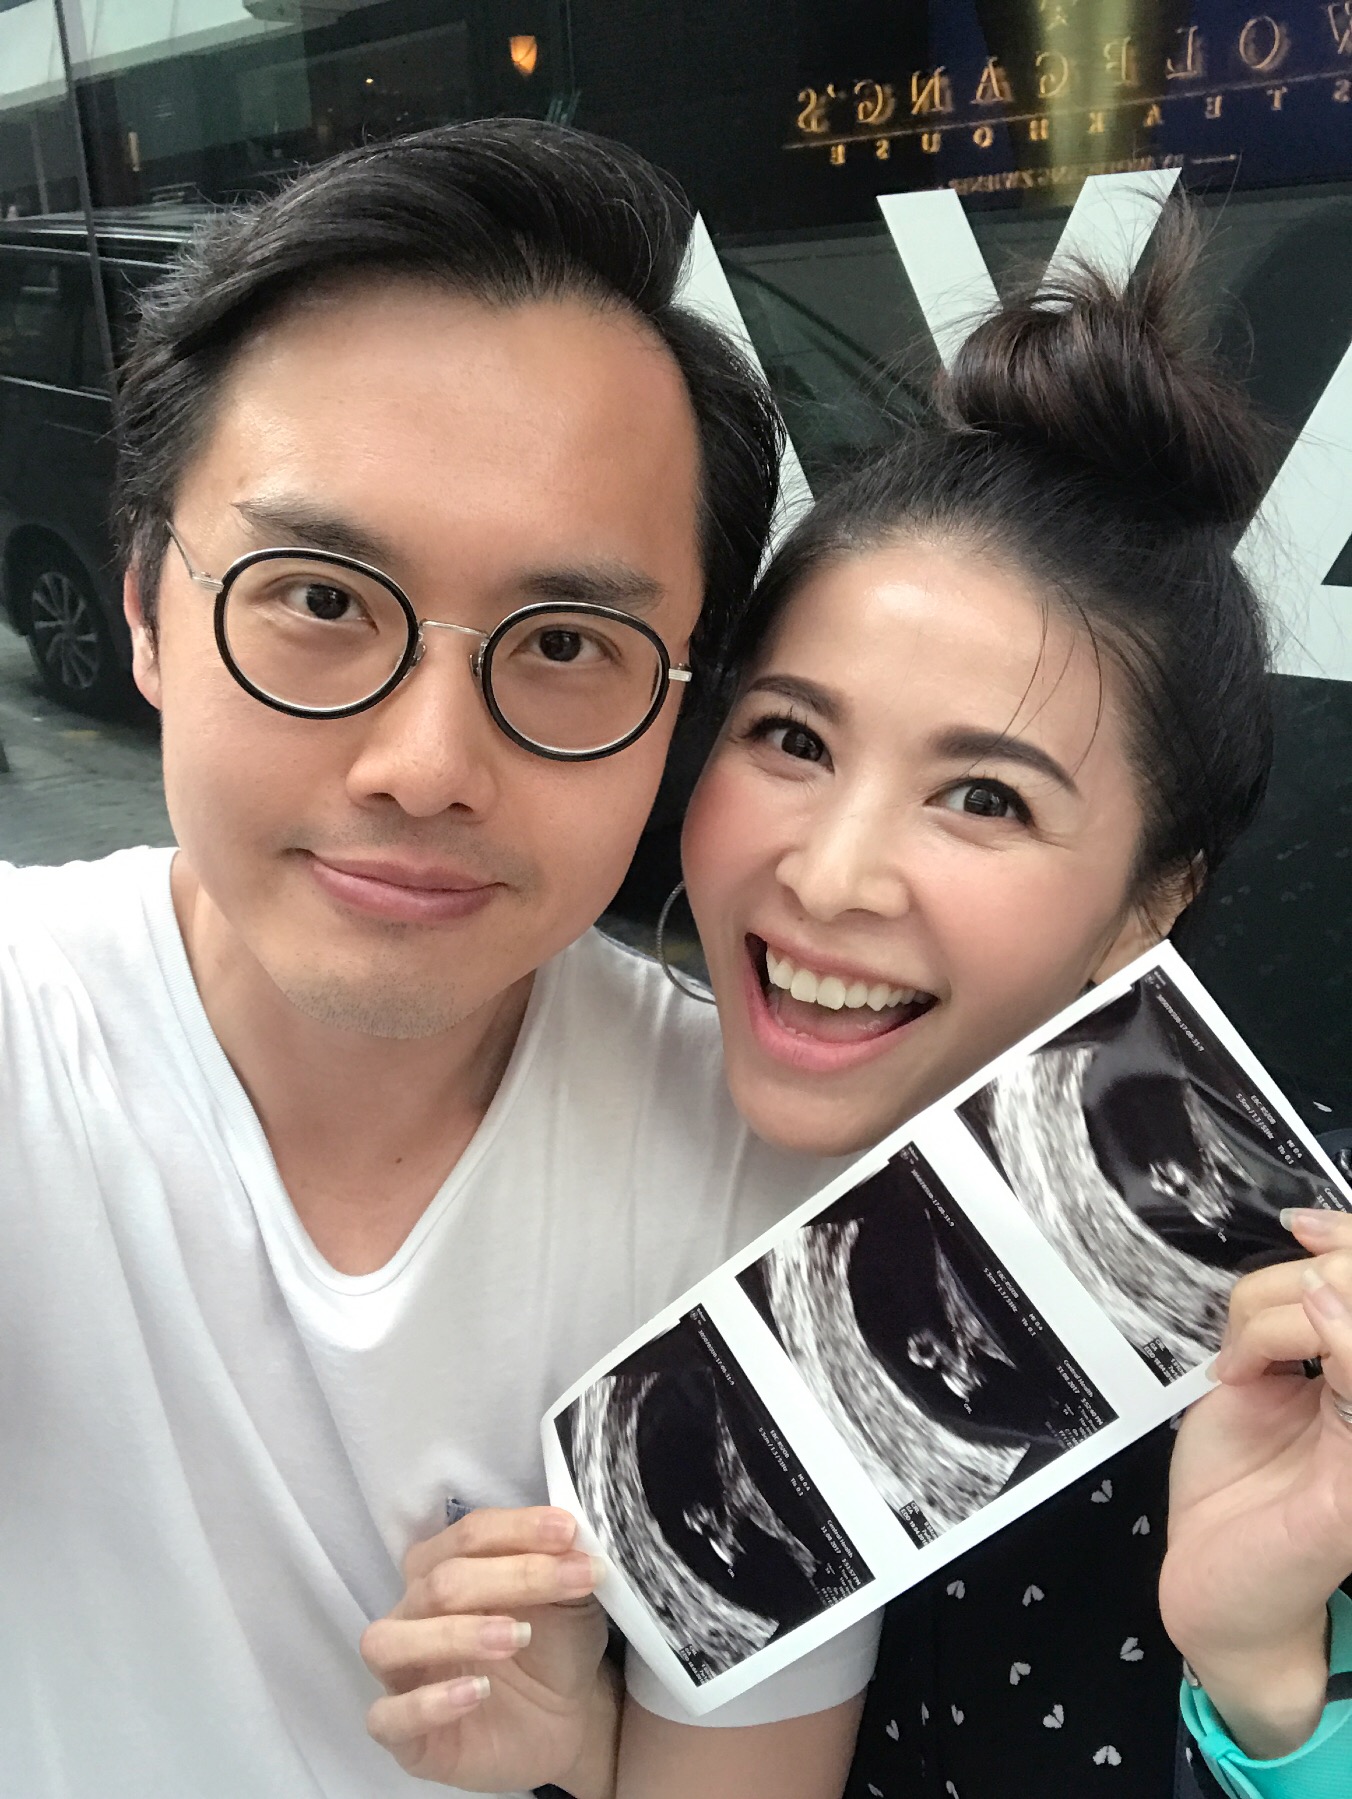
8 week ultrasound photo

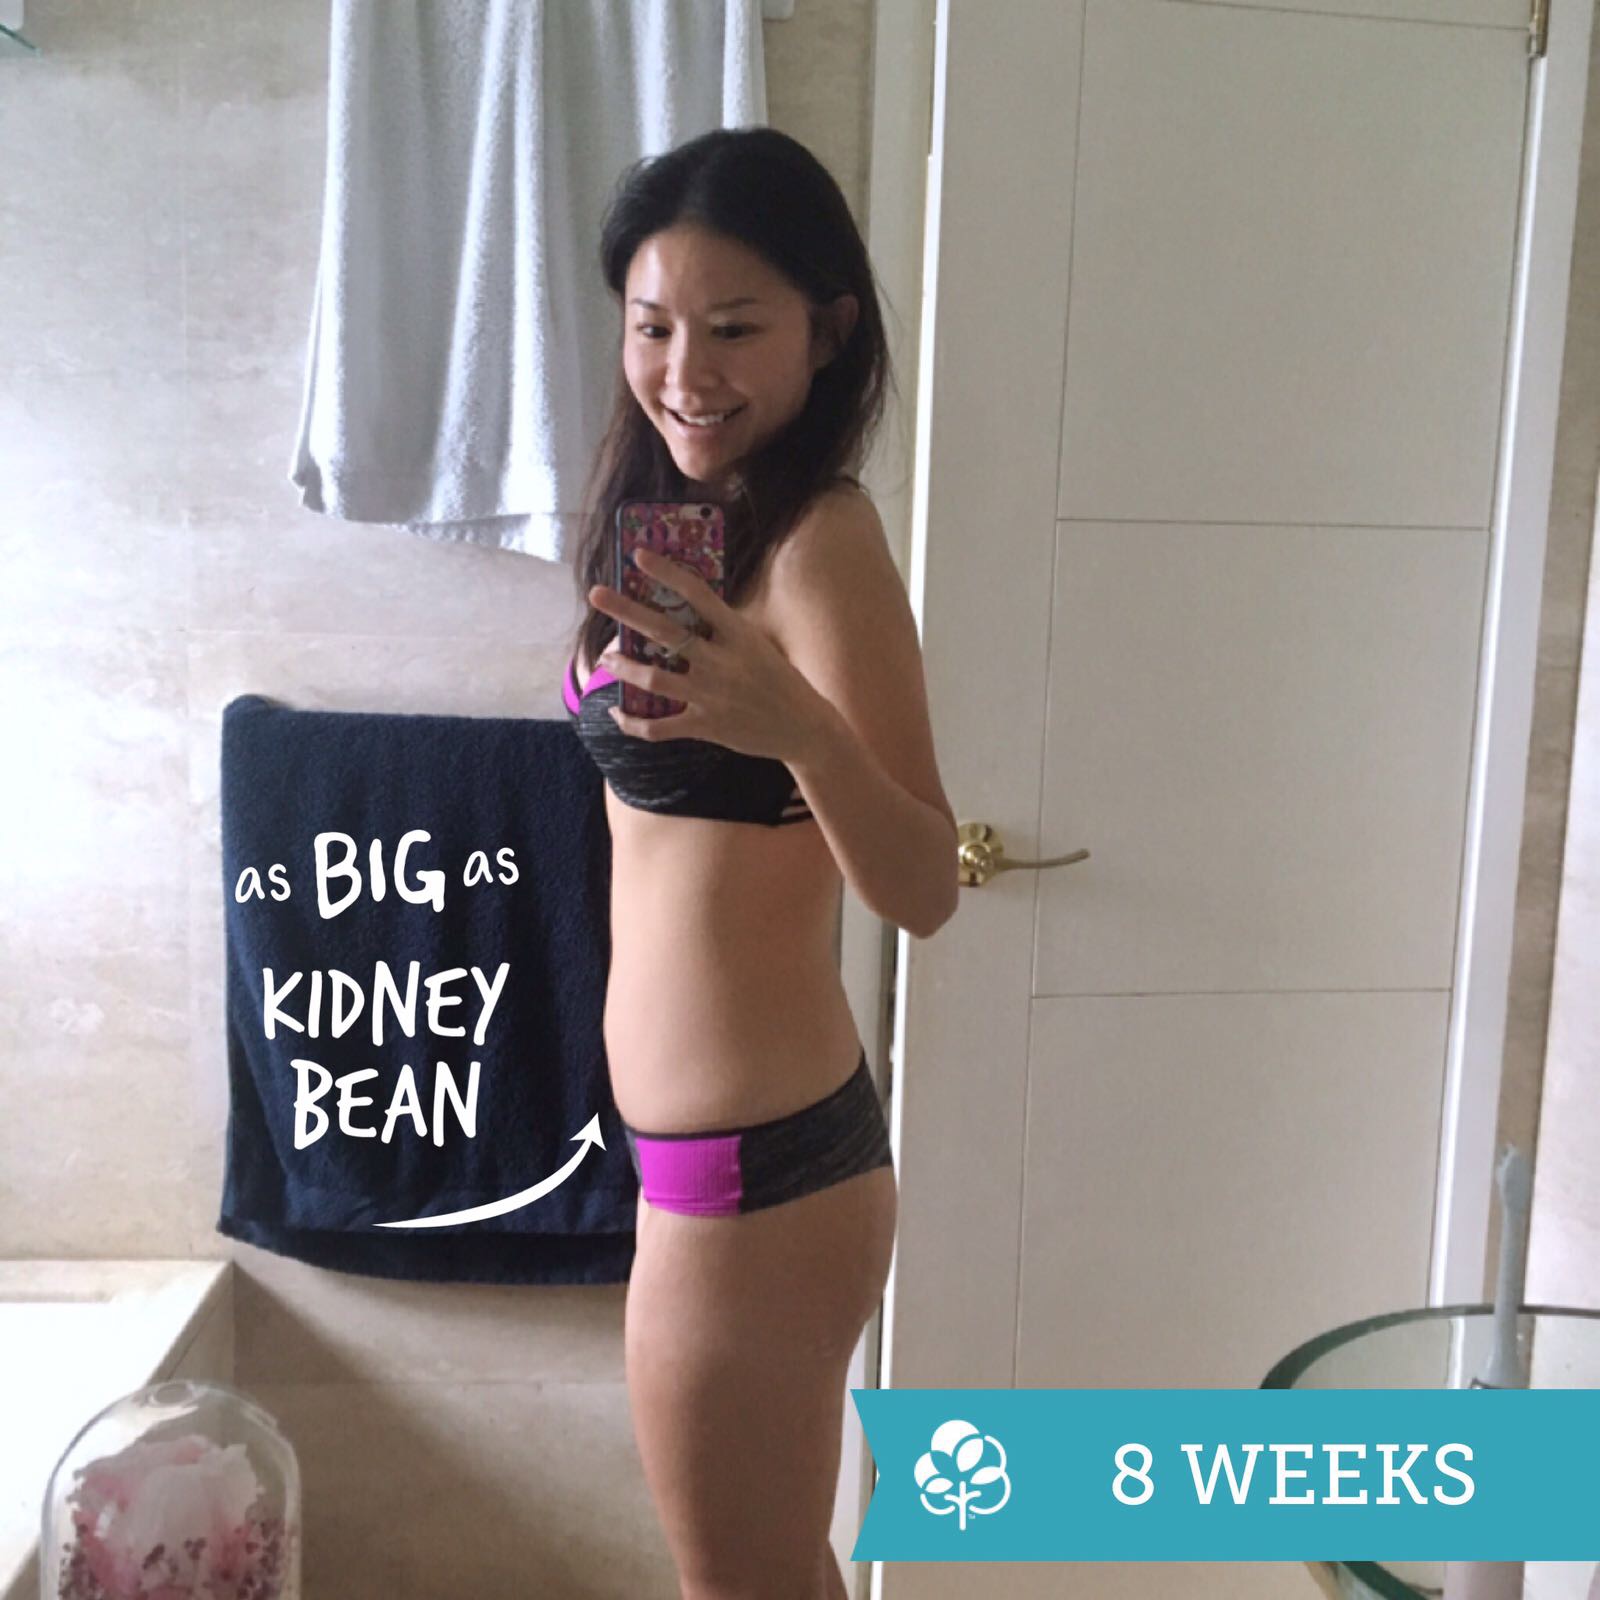
Seeing our little one for the very first time felt surreal… at 8 weeks he/she is the size of a kidney bean as you can see in the ultrasound image. Confirming the pregnancy! Up until the scan it still felt like the pregnancy wasn’t real as I didn’t have morning sickness which was a main telltale sign of pregnancy. I guess I’m one of those lucky few! Yay!

Bumpies

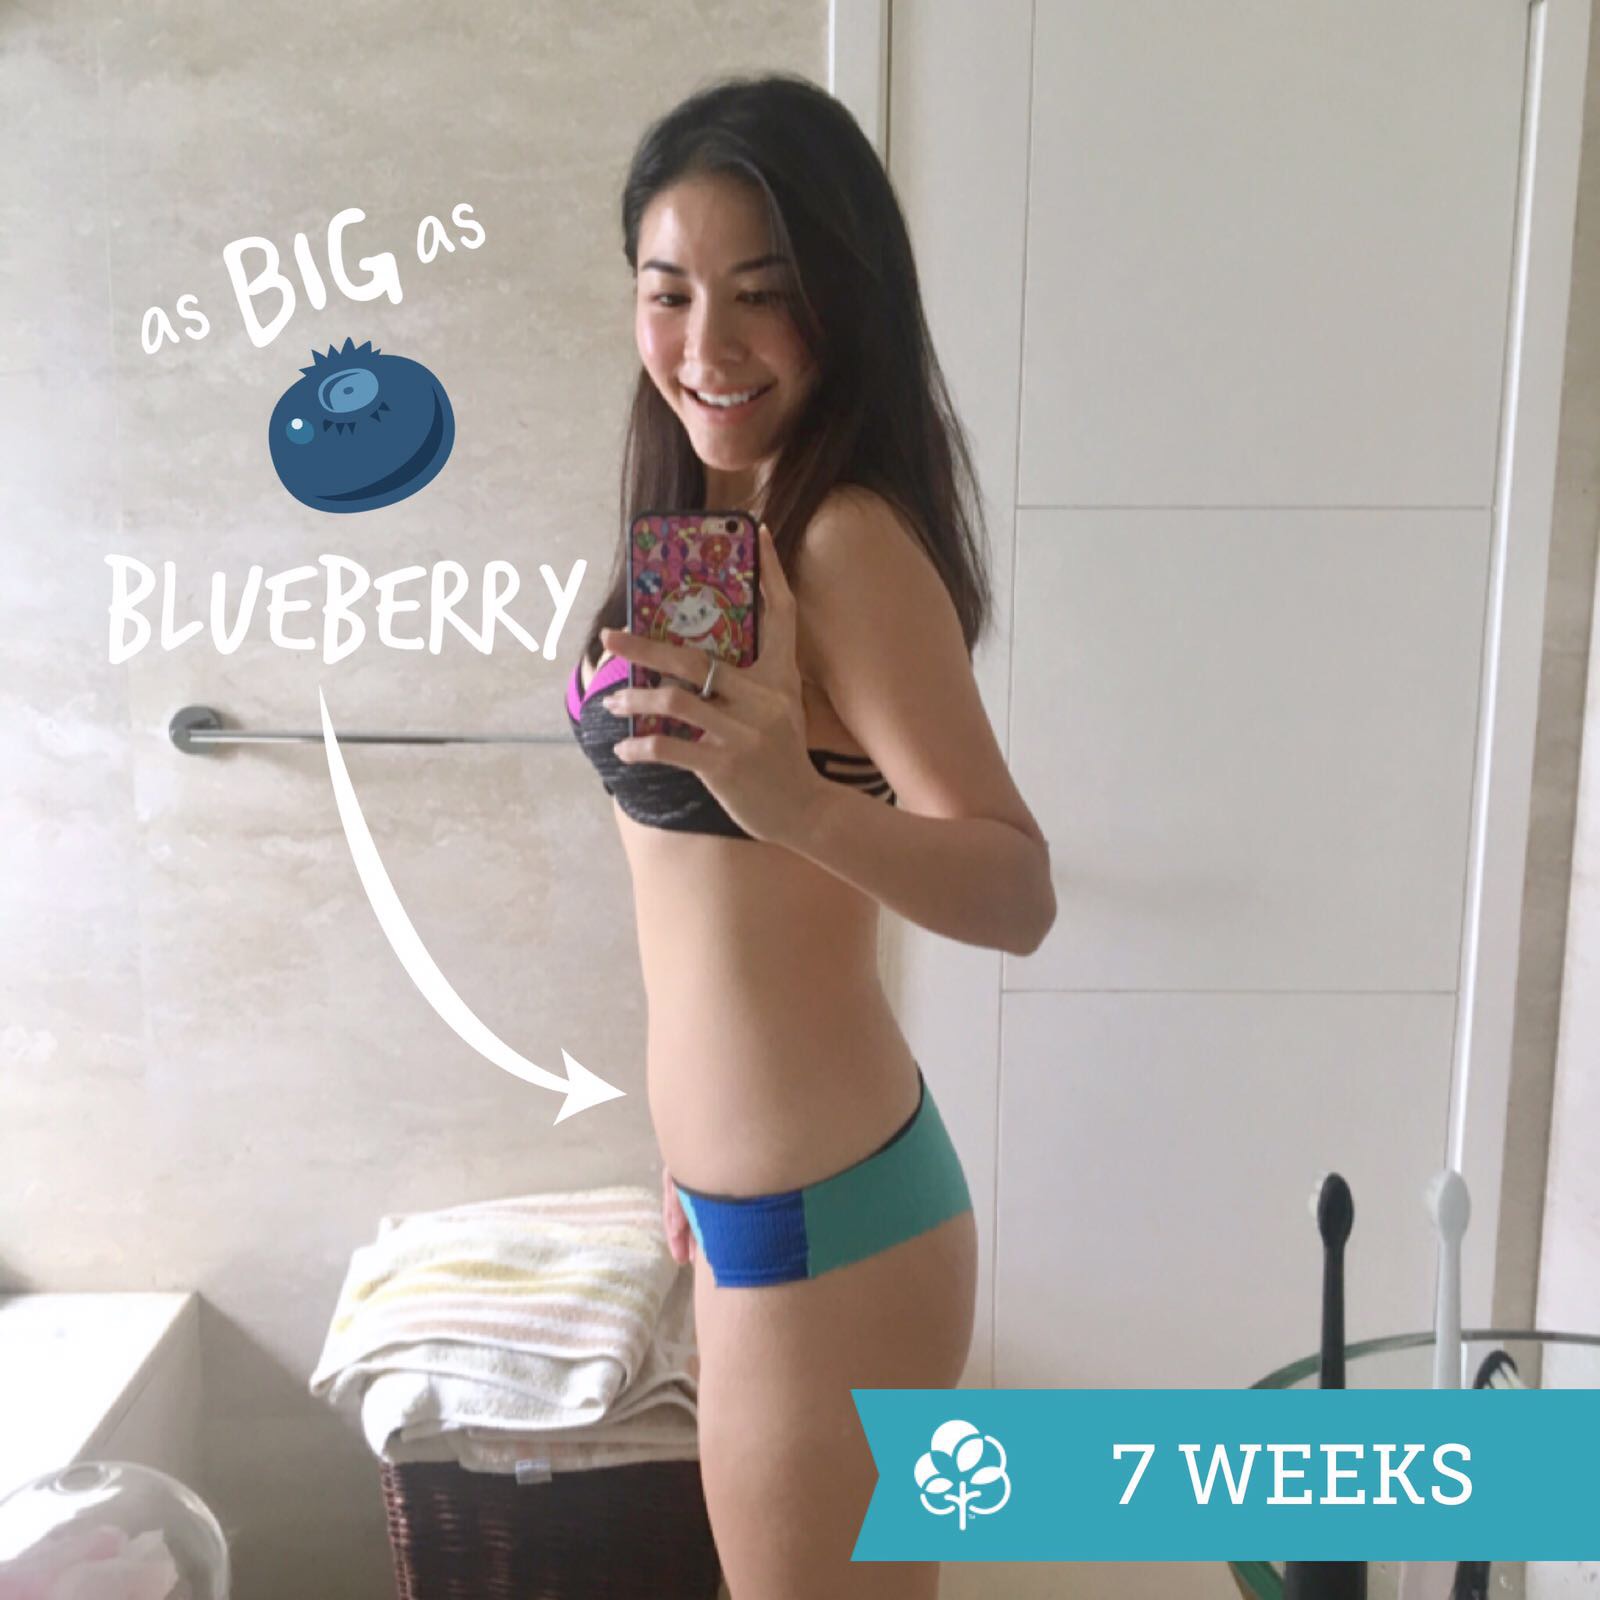
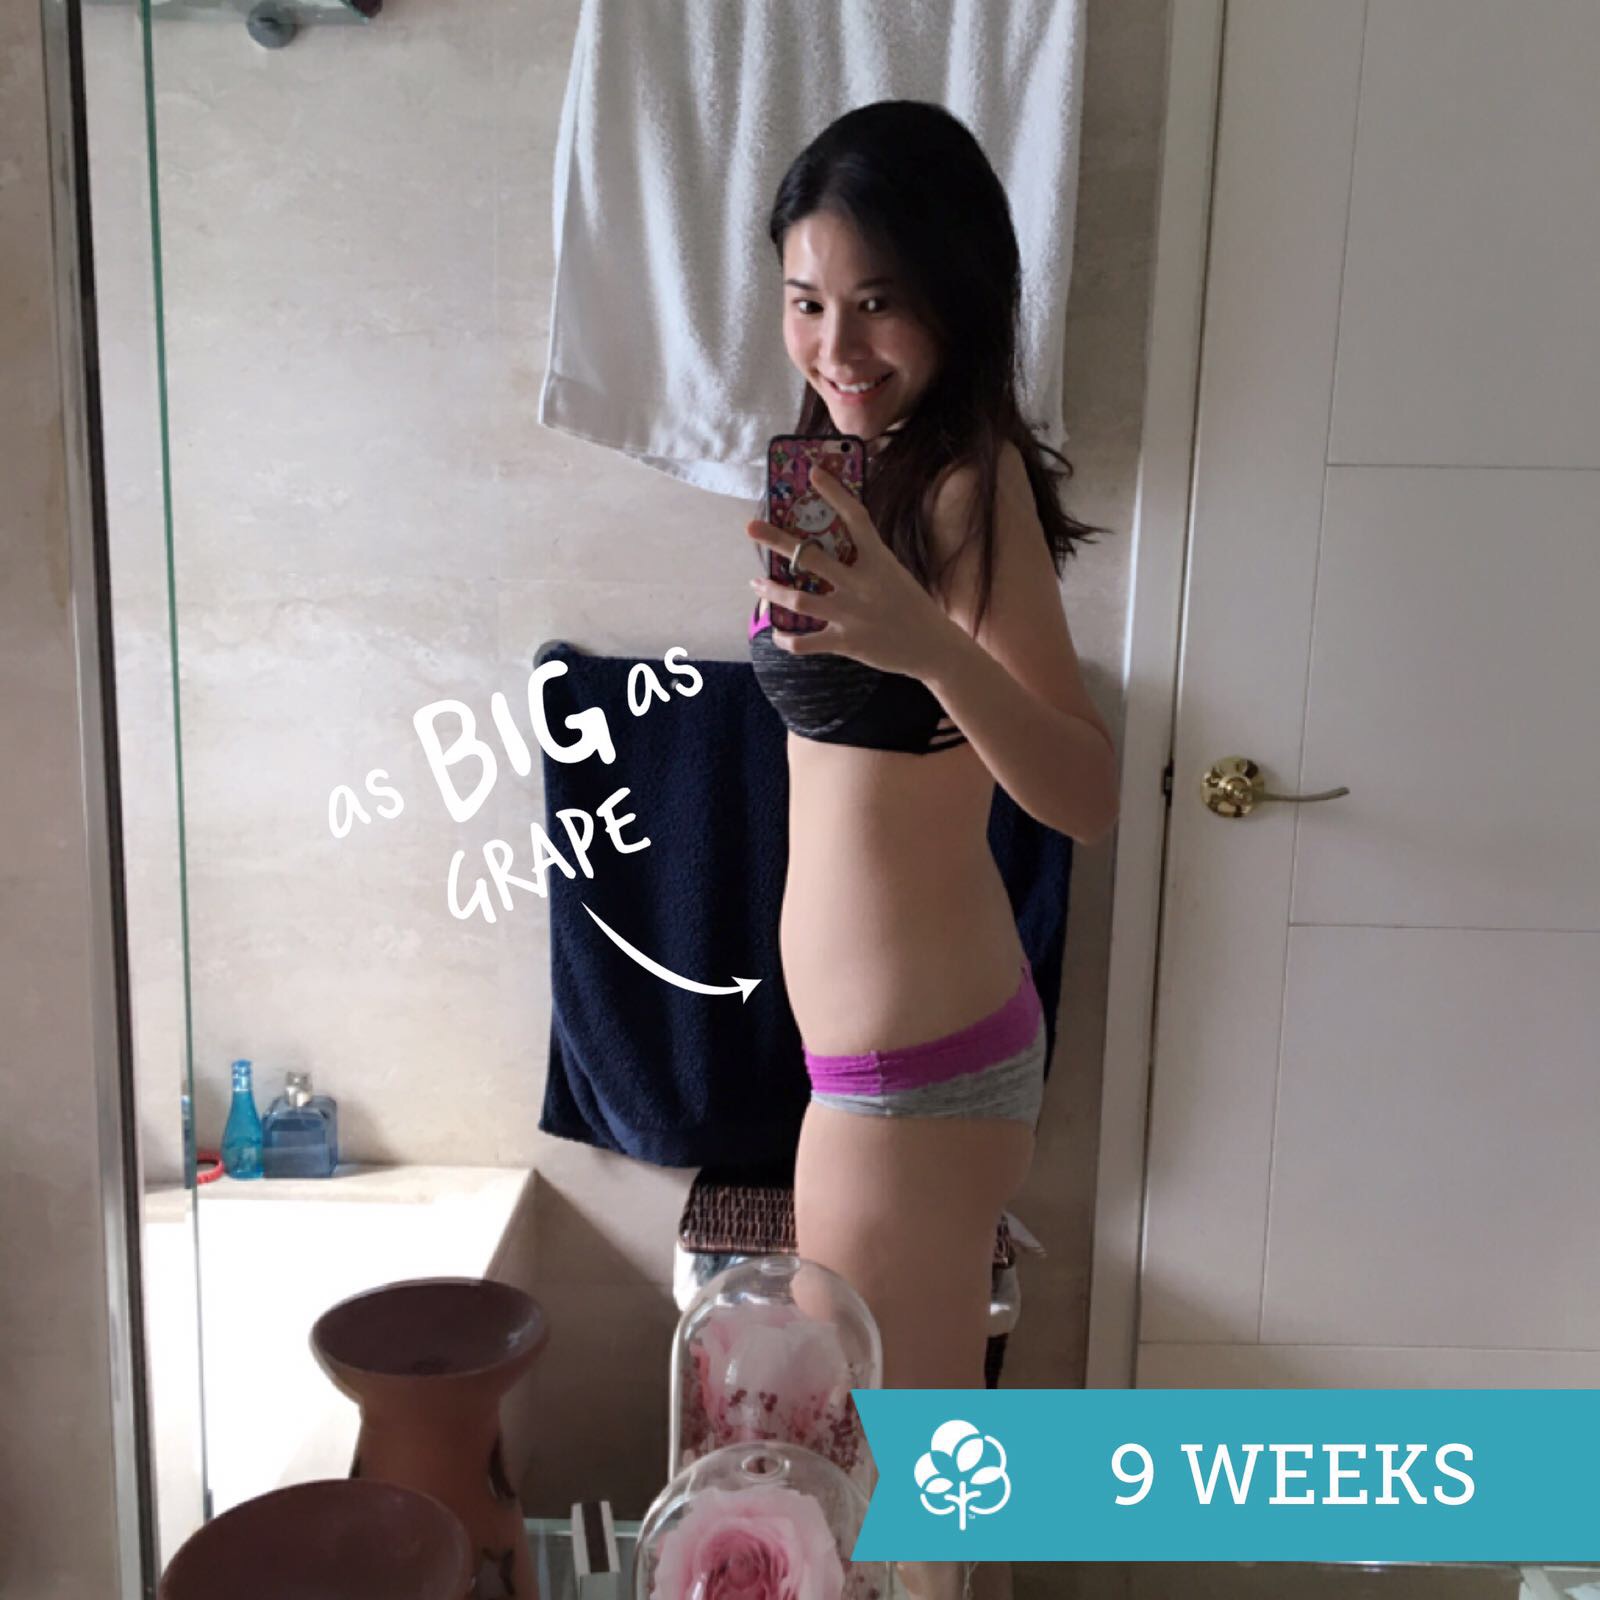
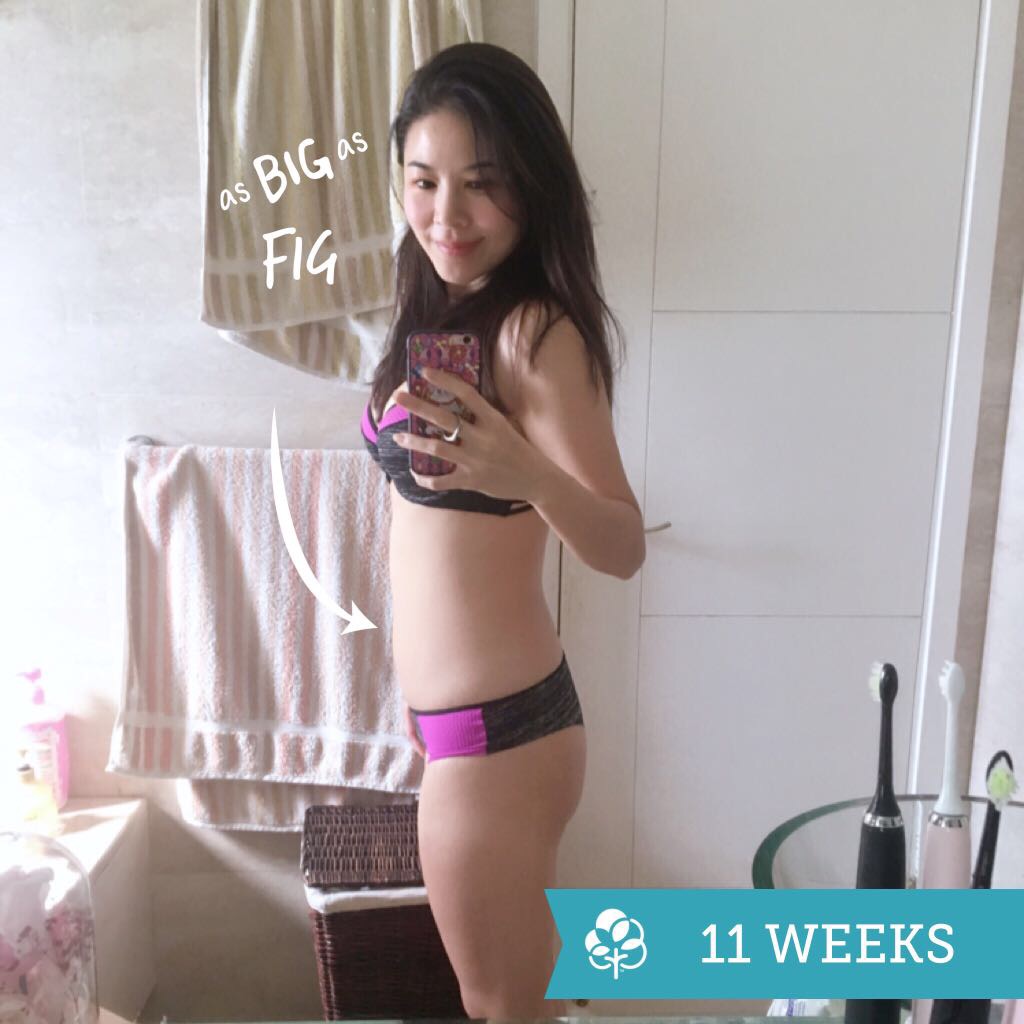
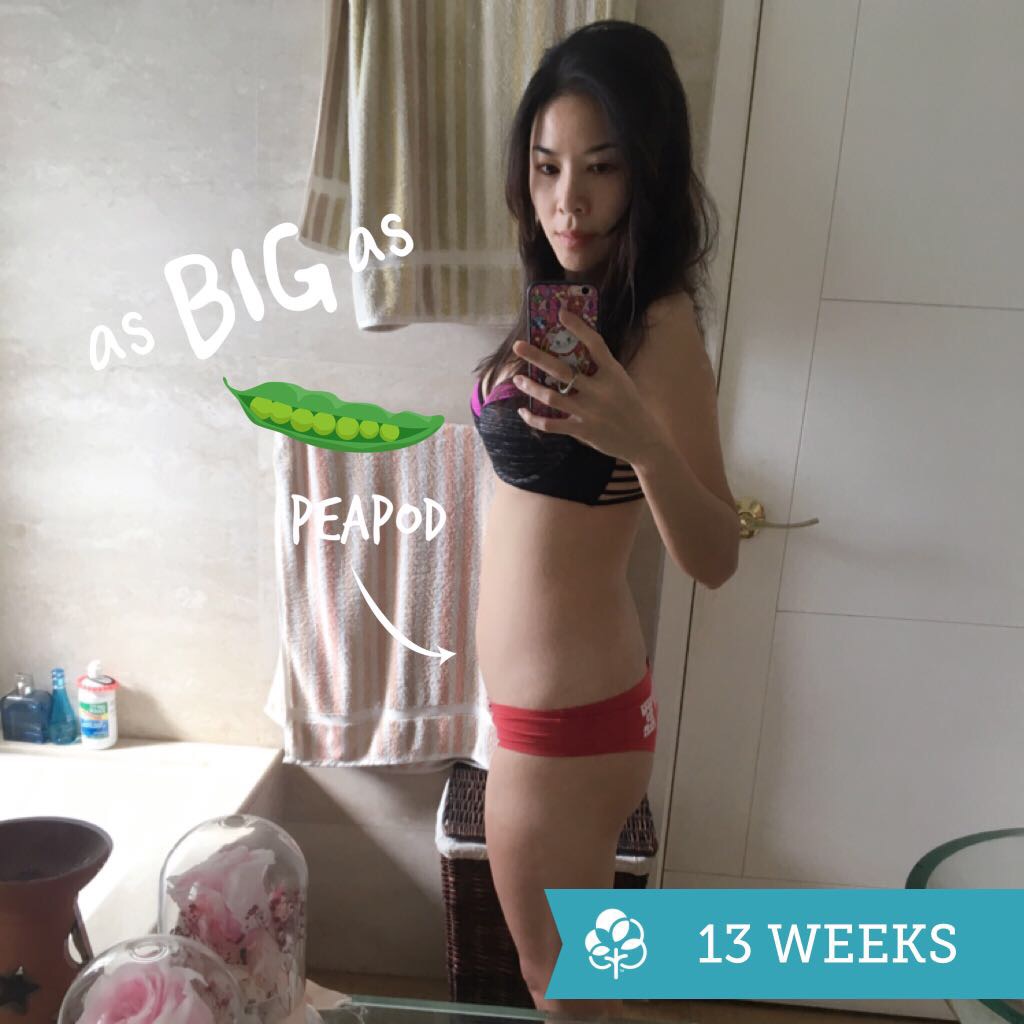
Like every first time mums, experiencing pregnancy for the first time is really exciting and I really wanted to document every moment of it. Hence, I took weekly bumpie pics to see the slow changes in my body as the weeks go by:

My Personal Symptoms

The main big difference to me was my boobs are perpetually sore and my sense of smell became extra sensitive (I already had a keen sense of smell, but now, the faintest smell from far away affects me). It was so sensitive that I couldn’t cook at home anymore, as the smell from oils, garlic, spices, seafood etc just made me sick.

As the weeks passed, I noticed changes in my appetite too. It was insatiable but yet I felt full from bloatedness all the time. So it was very confusing. There was a constant struggle of wanting to eat but not being able to swallow anything in. I’ve also lost my usual cravings for snacks and sweets which was a first for me, my favourite foods like salted egg yolk crispy fish skin, chocolates, tom yam seaweed, all suddenly didn’t appeal to me anymore. It’s not like the sight of these foods made me nauseous, it just that I stopped wanting to eat them. I can eat maybe a piece or two and I’m done. Previously, I could easily chow down a whole packet on my own.

Fatigue did set in too. However, my solution to it was to go for a nice slow run. As after every run, I felt great and energised and back to my normal self again. Guess all the serotonin and endorphins that kicks in helps a lot. Of course, I did get my doctor’s approval to continue my regular runs as long as I felt great after each run and not like its torture. I know in most Asian cultures that running and exercising during your pregnancy especially the first trimester is a BIG NO-NO! I did receive a lot of comments from others that I should stop running, but I know my body the best. If I felt any pains, bleeding, discomfort during my runs I would have obviously stopped and discontinue the exercise. On the contrary, exercise did make my first trimester a lot more enjoyable.

My body also didn’t agree with the pregnancy supplements brand Materna– this made me real gassy and stomach constantly felt acidic like I was having gastric all the time. I informed my doctor about this and she changed my prescription to another supplement brand Elevit. After switching brands, I felt a whole lot better. The suitability of supplements depends from person to person as the hormones are going crazy inside making changes to your body to grow this baby.

Looking back, I had a rather smooth sailing first trimester as compared to what others experience. I really have to thank my lucky stars for that and my mother’s good genes as she didn’t experience morning sickness for all 3 kids!

Signing off for now. My next write-up will be on Pregnancy Do’s & Don’ts. Watch out for it!

XOXO

Jessica

Read Full Post »

Hello Everyone!

A very Happy 2016 to all!

To be honest, I’m not a fan of painful facials where the technician man(more like woman) handles my face and forcefully squeezes out all my black/whiteheads, scrubs my skin and then masks it – that I can DIY myself at home and be more gentle to my delicate facial skin.

However, I was recommended to try the Dr. Face facial out as it uses an infrared device and all you need to do is to lie inside this “helmet-like” machine for about 30 minutes with a facial mask on and it will work miracles on your face. This latest technology is from Korea & is a USFDA approved technology using far infrared light to deeply penetrate into our skin to rejuvenate the cells.

IMG_7216IMG_7215

I’ve attached the detailed explanation of how this device works above. But what better way to gain knowledge about Dr. Face is to experience it myself.

So here I am at beauty salon, giving it s a shot!

FullSizeRender 4

A pre-facial selfie to capture my skin condition before the facial.

I’ve been pretty busy with planning my own wedding since November 2015 and have not been very religious in my home facial routines. As you can tell my skin is starting to look a little dull, and dark eye rings are showing from the long hours of staring into my laptop searching for wedding ideas, dresses, decorations, hotels, venues etc. It’s a fun process but it will also take its toll on my skin conditions and increase stress levels.

First step of the facial process, like all facials, is to get your skin cleansed of all skincare products like sunblock & make-up and dirt on the face.

FullSizeRender 5

Fran, who’s working on my face, gave me a nice facial massage while cleansing which I totally enjoyed. After which, she started the black/whiteheads extraction process which honestly was not pain-free. (I would skip this step if you don’t enjoy extractions)

After which she applied a Korean medical clinic brand facial cream which helps soothe the skin, prevent redness and moisturise. On top of that she added on an anti-aging facial mask which will brighten and smoothen the skin.

FullSizeRender 2

Every inch of my face was covered with this facial mask serum including the delicate eye area. (facial is full face, I know of some places charging “extra” for the eye area serum)

FullSizeRender 8

Now my face is prepped to enter into the Dr. Face infrared chamber. I will lie inside for 30 minutes with the facial mask on, remove the mask, and another 15 minutes to allow the remaining serum to absorb deeply into the dermis.

After a nice 45 minute afternoon nap, the facial is done. The entire process took about 1.5 hours from start to finish. This far infrared rays are meant to work on tightening the pores, firm sagging skin, whiten, smooth out wrinkles and detox the face.

IMG_7214

The most immediate effect that I noticed on myself was brighter skin tone, and a lifting effect.

IMG_7211

I guess it’s a lot more obvious on older skin. So here’s another example of Fran’s older client who tried Dr. Face. In the photo, you can see the drastic lifting and firming effect on her face. Her eye bags were obviously firmed up and skin tone more even. Even her deep wrinkles smoothened out.

IMG_7212

Conclusion:

Dr. Face is an effective anti-aging facial. And I believe if I constantly do this treatment religiously, my skin will look younger and more radiant after. The true effects of this facial actually showed after 2 days as the collagen levels were boosted up and new cells regenerated. Infrared technology for facial is not new in the market. But this far infrared deep penetrating rays is new for me and much more effective.

Who Offers this Facial?

This facial is currently available at a promotional trial price of HKD$880 (RRP HKD$1500/session) in Hong Kong at:

Nail & Waxing at LKF

Address: No.1 Lan Kwai Fong, Central, Hong Kong

Tel: +852 2530 2022

www.nailatlkf.hk

XOXO

Jessica

Read Full Post »

IMG_0287

Hello!

Hope you had a fun Christmas feasting & partying! But with all those late nights of wining & dining, you will notice fine lines and dark circles around your precious eye area. That’s why I’ve been applying REGEN Cosmetic’s Premium Gold Eye & Spot Patch to prevent those late nights from showing.

IMG_9359_3

The usage of Gold in skincare products are popular nowadays for its anti-aging properties. But Gold has already been long used by the Japanese, Romans & Egyptians for various skin treatments for its miracle effect on the skin. Cleopatra was known to use  a gold mask every night to maintain her youthful good looks! Gold has been known to stimulate the basal cells of the skin, hence reducing fine lines, wrinkles and blemishes, making one’s appearance more youthful. The ions present in gold help stimulate cells, nerves & veins in the body which improves blood circulation which in turn increases the metabolism of skin cells & expulsion of waste. It also prevents premature aging by preventing dryness in the skin. Gold is also known to reduce the production of melanin hence preventing blemishes from Sun exposure. Collagen production is also increased with the presence of Gold. To sum up, Gold is beneficial to our skin in various ways. It slows down collagen depletion, increases skin elasticity, lightens complexion and stimulates skin cells making skin firmer and younger looking.

IMG_9360

With REGEN Cosmetics’ Premium Gold & Spot Patch, gold is incorporated into its hydrogel patches (Hydrogel reacts to body temperature that closely adheres to the skin and helps the absorption of active ingredients) for its wonderful benefits.  It is formulated in gel like patches that is rich in moisture for easy application and maximum cohesion to deliver its essence straight into your skin.

IMG_0315

The tub consists of 30 pairs of eye patches and 30 pieces of spot patches. Spot patches can be used anywhere on the skin which requires treatment like between the eyebrows for frown lines, on your forehead for expression lines or as shown in my photo for laugh lines etc.

IMG_0312

After a 20-30 minute application of the patches, you will notice a visible reduction in volume of the patch as most of the essence has been absorbed into your skin and the fine lines are plumped up appearing less visible. Do not throw away this residual thin film. You can further melt it down with hot distilled water and use the remaining essence on the rest of your face!

IMG_0316

Regen-Cosmetic---Premium-Gold-Eye-&-Spot-Patch5-2


REVIEW:

After the first application I did notice an obvious decrease in fine lines under by eye. Also, the area looked brighter and dark eye rings are less obvious. I have been using this nightly for about a week, and my under eye area has visibly improved in elasticity and looks smoother and less tired. The remaining melted essence is also added onto my nightly regime under my moisturiser acting as a serum. I love it!

Where to buy:

hermo.sg is selling it at SGD$33.20 per tub (so reasonably priced!)

or you can purchase it directly from REGEN’s online website

regencos.com for KRW28,000

This is my last post for 2014, so here’s me signing off & wishing everyone a dazzling New Year!!!

XOXO

Jessica

Read Full Post »
Hello Peeps!

MERRY CHRISTMAS!!! I’m finally back online after the cable guy finally fixed up the internet system on Christmas Eve in my new home! (So horrible to not be able to surf the internet freely with my limited data usage on my mobile) If you’ve been following my Instagram (@jessicatan22), you would know that I recently visited Perth, Western Australia. During the long 8 hour flight from HK and 8 days of extremely dry Australian climate, the latest REGEN’s  series of facial masks was tested out for their effectiveness.

IMG_0097


I took along with me the Ultra Skin Moisturizing masks for the extremely dehydrating airplane ride & the Double Effect Collagen Care for a boost of suppleness & radiance to my skin in Australia.

I tried on the Ultra Skin Moisturising mask during the overnight flight from HK to Perth and it worked wonders. Just before I prepared to sleep, I washed my face and removed all traces of make-up and applied on the microfibre sheet mask. The microfibre sheet helps retain much more essence on a same sized sheet compared to other types of sheet masks and it fits every face shape (tried and tested on my boy’s face – fits him perfectly too). It also helps the essence penetrate deeper into our skin.

RESULTS: I slept with the mask on for about 4 hours and when I woke up, removed the crispy dried mask (from the dry air in the plane), my face was fresh, skin was filled with moisture and I didn’t look like I lack sleep. I simply applied a light moisturiser and REGEN’s CC cream as a sunblock and my skin didn’t feel dry the whole entire day when I was out exploring Fremantle & Rottnest Island. I highly recommend this mask to be in your travel essential kit. Especially for those long flights that usually makes our skin out of sorts.

IMG_9513

Photo taken in the afternoon when I reached Rottnest Island immediately after the overnight flight from HK using the Ultra Moisturising Mask

As most of you would know, Australia is known for its dry, arid climate with beautiful sunny blue skies. Beautiful country yes, but one of the most harsh climates for our skin, causing it to age faster than it should. Hence, I also packed in the Double Effect Collagen Care Mask for it’s anti-aging effects and a boost of collagen and moisture to my skin. Holidays are meant to rejuvenate our bodies and not age us!

IMG_0003


IMG_0011

IMG_0005

RESULTS: Every night I would apply on the Collagen Care microfibre mask just before bedtime to take away the long hours of driving and exploring sunny & dry Western Australia off my skin. And I am glad to say the masks really helped. The usual tightness in my skin in Australia never surface, skin always felt plump and radiant every morning when I woke up, and application of make up was made easier and texture was smoother and firmer. My face looked fresh even though I slept late and woke up early daily.

IMG_9492

Looking fresh after using the Double Effect Collagen Care Mask

This series of facial masks is developed to recreate that perfect baby skin that we were all born with, looking just as smooth and flawless like a Barbie doll. Hence the very apt name “Plastic Skin Solution”.

Here’s the rest of the series and their active ingredients for our different skin needs:

af07b3cfa6adedcc-0af07b3cfa6adedcc-1

These masks are available from REGEN’s website retailing at KRW30,000 for 10sheets per box. Very worth it for its effectiveness and amount of essence in each mask IMO.

So that’s all for now, a very happy holidays to all of you & may you have a fun-filled joyous 2015!

IMG_0165

XOXO

Jessica


Read Full Post »
IMG_9310

Helloooooo….

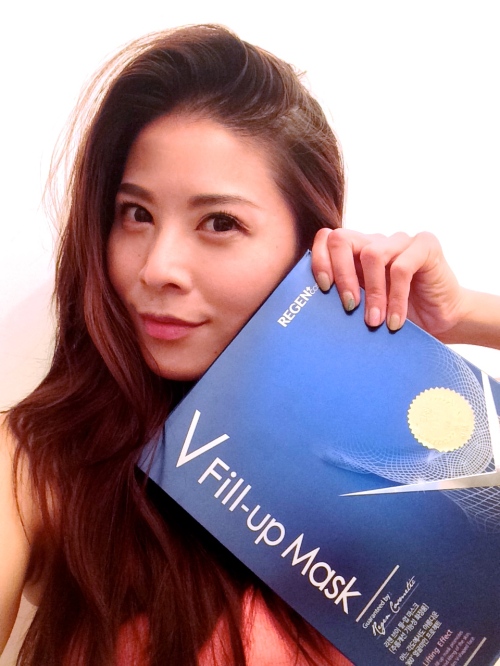
As promised from my review about the 2-Step Synergy Effect mask, I will review the V Fill-Up Mask once I’ve tried it.

This is another facial mask developed by REGEN Cosmetics which has a face slimming, lifting and anti-wrinkle effect. Similar to the 2-Step Synergy Effect Mask, this masks treats and improves your skin and also helps create a slim V-Line (def: A slim and oval face narrowing towards the chin) face.

IMG_9275

The main difference of the V Fill-Up Mask from the 2-Step mask is that the V Fill-Up mask focuses more on a 3D volume lifting effect by filling up wrinkles and improving the elasticity of the skin. The key ingredients in this mask are:

  1. DPHP which helps with the contractile actions of collagen fibres and protects the ellastine
  2. Adenosine components in the essence help improve facial lines and wrinkles 
  3. Hyaluronic Acid absorbed in the skin provides skin with abundant moisture, giving skin a bouncy firm looking facial appearance.

Application of this mask is slightly different as it comes in 1 full piece instead of 2 separate pieces like the 2-step one.

Here’s how to put it on:

Step 1

Apply mask on clean dry face after toner, leaving the chin part to the last

IMG_9277

Step 2

Separate the facial mask at the chin area and hook the openings on each ear, wrapping your chin and jawline tightly.

IMG_9279

IMG_9280

IMG_9302

Step 3

Leave mask on for 20 minutes. Remove and massage remaining essence into your skin.

IMG_9287


Review:

I noticed the anti-wrinkle and lifting effect instantly, and the very next morning I woke up to plump, smoother, radiant skin which made me very happy! As for the V-shaping effect I find that the 2-Step Synergy Effect mask more effective as that mask wraps around the jawline tighter and applies a firm pressure to that area reducing water retention. Of all the anti-wrinkle masks that I’ve tried so far, this one actually does give a visible result that lasts till the next day. Love it!

Where to Buy:

hermo.sg has it on SALE now at SGD$52.70 (RRP SGD$76.10) per box of 5 sheets.

sasa.com has it on SALE at RMB158 (RRP RMB348)

regencos.com sells at at KRW35,000

XOXO

Jessica

Read Full Post »

IMG_9314

Hello peeps!

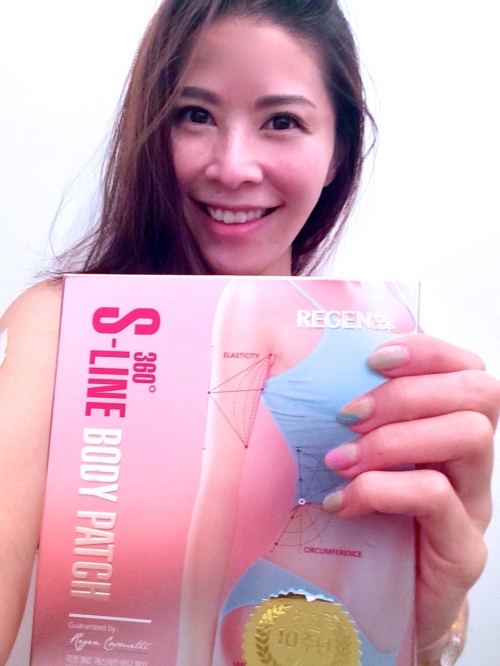
I’ve another product to introduce to you from REGEN Cosmetics – 360º S-Line Body Patch. If you are new to the brand REGEN Cosmetics, do read more about this Korean brand in my review of their star product 2-Step Synergy Effect Mask.

So what exactly is “S-Line”? Well… S-Line is frequently mentioned by Kpop stars and on Korean television –  the Korean way of describing a perfect female form or hour-glass figure. Here’s a list of Korean english terms commonly used to describe physical features: (information from http://www.asianplasticsurgeryguide.com)

S-Line – Ample breasts and buttocks when viewed from the side

S-Line (second use) – Side view: forehead to bridge of nose to tip of nose

V-Line – A slim and oval face narrowing towards the chin (see wide face simulation slidshow above)

V-Line (second use) – The line in-between the breasts

W-Line – Breasts viewed from the front

X-Line – Long legs and arms connected by a narrow waist

U-Line – Exposed lower back in low cut clothing

M-Line – A “six pack” of abdominal muscles on men

D-Line – A pregnant (or pregnant-appearing) abdomen

B-Line – Big breasts, big abdomen

O-Line – Generalized obesity

A small waistline, ample bust-line & a firm derrière is often coveted by most women, which is why REGEN developed this body patch to assist in achieving this goal faster on top of a proper diet & exercise.

IMG_9250

The S-Line Body Patch is a Hydro-gel patch suitable for use even during summer months. It contains Halophyte which is a kind of salicornia extract, to reduce cellulite in your body and firms body tone, Adiposlim an ingredient that is 4 times stronger than caffeine for fat reduction and Cafesilane C to provide moisture while reducing fat in the body. This patch is an intensive treatment designed for use in the tummy, arms and thigh areas (areas we are all concerned about and find it so hard to trim down).

IMG_9266

Application of Patch

  1. Clean and wipe skin dry
  2. Remove transparent film from patch
  3. Paste patch on areas of concern – tummy, thighs and/or arms
  4. Leave the patch on for 3-4 hours to allow the active ingredients to absorb into your skin

I applied the patch on all recommended areas. Even though the box suggests to apply 1 patch on each arm/thigh. I found the patch big enough (measures 14cm x 10cm) to cut it into half instead and use 1 patch for both arms/thighs.

Arms:

IMG_9272

Tummy:

IMG_9261

Thighs:

IMG_9257

Review:

The patch stays on respected areas nicely and does not feel uncomfortable at all. When I applied it, I felt a cold tingly feeling on those areas where the patch is on, signalling that the active ingredients are slowly being absorbed into my body. For effectiveness, I know results won’t be seen overnight, but immediately, I could feel myself getting hungry faster which also means my metabolism rose, increasing the fat burning effect if you exercise after application. I would recommend the use of this patch at night when you go to bed to leave it on without worrying about the patch falling off or wearing clothes to cover it up when heading out as it requires hours of application. And… who doesn’t mind assistance in slimming down stubborn areas while sleeping anyway?

Where to buy:

hermo.sg is having a promotional offer now selling a box of 5 pcs at SGD$52.70 (RRP SGD$76.10)

regencos.com sells it at KRW35,000

These 2 places are the official distributors of REGEN Cosmetics original products. So, I do recommend purchasing from these places to ensure effectiveness and quality.

XOXO

Jesscia


Read Full Post »

Recently, I’ve been testing out products that can refine the pores on my face and also cleanse it well enough to get rid of the pollution grime I get from the air in Hong Kong. And when I saw this face cleanser offered on Groupon HK, I decided to give it a try! Bought 2 boxes for HKD338. Each box contains 32 little capsules that contains the right amount of powder for a single use.

IMG_7740

This Beauty Clear Powder is formulated for women is their 20s-30s for deep cleansing that is gentle enough not to dry out your skin. It removes excess grime & dirt in your pores so that blackheads won’t build up and controls sebum on your skin so that your facial pores are tight. Since I bought it, this cleanser has been added to my morning routine to test it out.

Each capsule is really tiny! About the size of the thumbnail. But it packs a punch!

IMG_7745

To use it, gets some getting used to as I’ve always been using foaming cleansers from a bottle or tube not in powder form. First pour out the powder onto the palm of your hand.

IMG_7753

IMG_7757

The amount of powder is a mere 1.5cm in diameter. So adding the right amount of water is crucial to make it foam nicely. Too much it becomes a white runny liquid and too little it’s just gummy. I found the right amount after a few tries which is half the capsule. After pouring out the powder onto your palm, use the same container to collect half a capsule of water from your tap (barely a few drops of water) and pour it onto the powder and mix it up till it totally dissolves.

IMG_8961

It is now a nice foamy mixture to massage into your damp face. Use it as with any facial wash – circular motion and concentrating on “dirtier” areas like the sides of your nostrils and chin.

This is an example of my first few attempts with too much water until it was so runny an hard to use.

IMG_7758

After using this for about a week, I did find my pores tighter and blackheads reduced, leaving my skin brighter and more radiant.

IMG_7868

I will definitely keep on using it because I am loving the results! Now I need to look out for this on Groupon again for a good deal! 😉

XOXO

Jessica

Read Full Post »

fmd2riv

REGEN is a household name for most Koreans as they are the largest leading beauty medical group that provides services like plastic surgery, dermatology & dentistry. Since 2010 REGEN received the Grand Prize of Medical Korea every year and they are the no.1 brand in the plastic surgery part of the Korean Customer Satisfaction Index.

Dr. Kim Woo Jung, Director of REGEN Clinic, who is ahead of his time, went ahead and developed cosmetics to reflect the distinct characteristics of cosmetic surgery and help the cubic effect. As a result he founded a way to provide a off-the-counter mask to satisfy Asia’s thirst to achieve a small & cubic face through the 2 Step Synergy Effect Mask & V Fill-Up Mask.

I got myself some of their masks to try out and was eager to see the effects of a more V-Shaped and firmer face. (who doesn’t want a slimmer firmer face with smooth pore-less skin?!) Did some research and managed to find out the key ingredients used in their masks. As the packaging is entirely in Korean, I did up a simple table of the key ingredients in English to share with all of you!

oovcfqk

The above list is for the 5 different mask types the REGEN has for the 2 Step Synergy Effect Masks. They all carry the same 2nd step mask for the V-Shaping effect. This mask uses Halophyte, which is an ingredient from the polar region, to help moisture circulation of the skin to provide a sharper face contour. It reduces water retention in the jawline area making the face look slimmer and more picture perfect.

I decided to try out the masks for pores first as I am most concerned with my open pores around my cheeks. The application of the mask is fairly straight forward with the only difference of the V-shaping mask in step 2. Since the instructions is entirely in Korean, this video helps a lot with the application of the mask just to ensure we are using it right.

hs55s2l

Apply the sheet mask as Step 1

hc11hct

2dznahb

0qq03mt

Step 2 – V-Shaping mask

Leave the mask on for a minimum of 20 minutes. I removed the step 1 mask after about 25 minutes but left the shaping mask on for an additional 10 minutes hoping to get better results.

0k5dc1f

Immediately, I went to the mirror to check my pores and miraculously they were shut tight. The exact results I wanted! As you can see from the photo below with my make-up free face.

bnfnfp3

That additional 10 minutes came up and I removed the step 2 mask. I could tell that my jawline was slightly smaller. So I used the mask again on the following night to enforce the results. This time I found jawline slimmer and sharper looking with the puffiness of water retention gone.

Results: I would say that this mask is really effective in both the pore reduction and V-shaping. Especially so for those of you who tend to have a rounder face from water retention and fatty deposits and not because of bone structure. (Why I emphasise on bone structure is because I have a squarer jawline on one side compared to the other and this won’t make my face magically symmetrical, just smaller and sharper) The pressure applied from the V-Shaping mask applies a comfortable but firm pressure that tightens the skin tone and flushes away excessive fluids in the unwanted areas including your double chin.

It’s no wonder that Paris Hilton unveiled that REGEN’s Synergy mask is her secret go-to mask especially on plane rides.

패리스힐튼 트라쇼_ 리젠 캡쳐

This mask is really worth a try and I am always a fan of home facials, using masks on myself every night to maintain a naturally healthy youthful looking skin. (A hardworking girl will always be beautiful ;P)

It is available in:

Hong Kong – Watsons  at HKD$187.50/box of 5 or HKD$37.50/piece

Singapore – http://www.hermo.sg/flagship/regencos.html at SGD$32.20/box of 5 or SGD$7/piece

Look out for my next blog post of REGEN’s V Fill-Up Mask for smoothening out fine lines and wrinkles on top of reshaping your face shape naturally.

XOXO

Jessica

Read Full Post »

IMG_8060I spent the whole of yesterday in the hot sweltering sun at West Kowloon Promenade participating in the very first Run For Your Lives Asia event in Hong Kong with my friends from Starz People.

IMG_8064

It was exhilarating playing this Walking Dead inspired run with obstacles and zombies to overcome. You can either opt to be a zombie or a survivor. We chose the survivor side as it was much more fun to go through the entire 5km route of zombies and obstacle course (better workout too!).

IMG_8076Our run was right smack in the afternoon sun at 1pm when the sun was up and clouds were no where to be seen. Great if you wanna get a tan, but not so great for my work nature & hair. What you won’t realise is that the UV rays are pretty harmful to our hair too. It damages and dehydrates our hair unknowingly. In addition, for the past 2 weeks I have been working in the sun filming a commercial for HK Disney filled with hairspray as well. So my hair condition wasn’t in good shape after the run yesterday.

Decided to give my hair a treat with Aussie Miracle Moist shampoo and the 3 Minute Miracle deep conditioner.IMG_8040The shampoo was heavenly with a tinge of natural sweet smelling goodness which doesn’t overwhelm you with artificial scents that certain shampoo brands use. It uses Australian Macadamia Nut Oil to infuse moisture back into my hair. After shampooing my hair texture felt slightly better but not satisfactory. So I added on the 3 Minute Miracle Deep Conditioner after washing off the shampoo and squeezing out excess water from my hair. I applied a generous amount and left it on for 5 minutes (yes, I was being greedy as my hair was really really damaged!). The Australian Balm Mint added extra moisture and life back to my hair. When I applied the 3 Minute Miracle, the texture was thick and greasy like some conditioners and I was wondering if it will really make my hair silky smooth like some other richer conditioners. So after about 5 minutes, I rinsed it off and miraculously I could run my fingers through my hair again! After just 1 use, my hair feels very different, and I’m definitely one happy camper with this product. Brushing my hair last night was much easier and I had lesser hair fall from tugging. I’m gonna use it again tonight to further improve my hair condition. 🙂

Effectiveness: 4 out of 5

Texture: 5 out of 5

Scent: 5 out of 5

For those of you who have trouble finding a good shampoo & conditioner for severely damaged hair, maybe you can give Aussie a try! I am definitely a new fan of theirs!

IMG_8061

XOXO

Jessica


Read Full Post »

Older Posts »